Tutorial
Make your own widget
A widget of your own that shows a sensor's temperature in large type, made from three short pieces of code, saved and on your dashboard.
- Takes
- About 5 minutes
- Steps
- 7
What you end up with

Open the Workshop
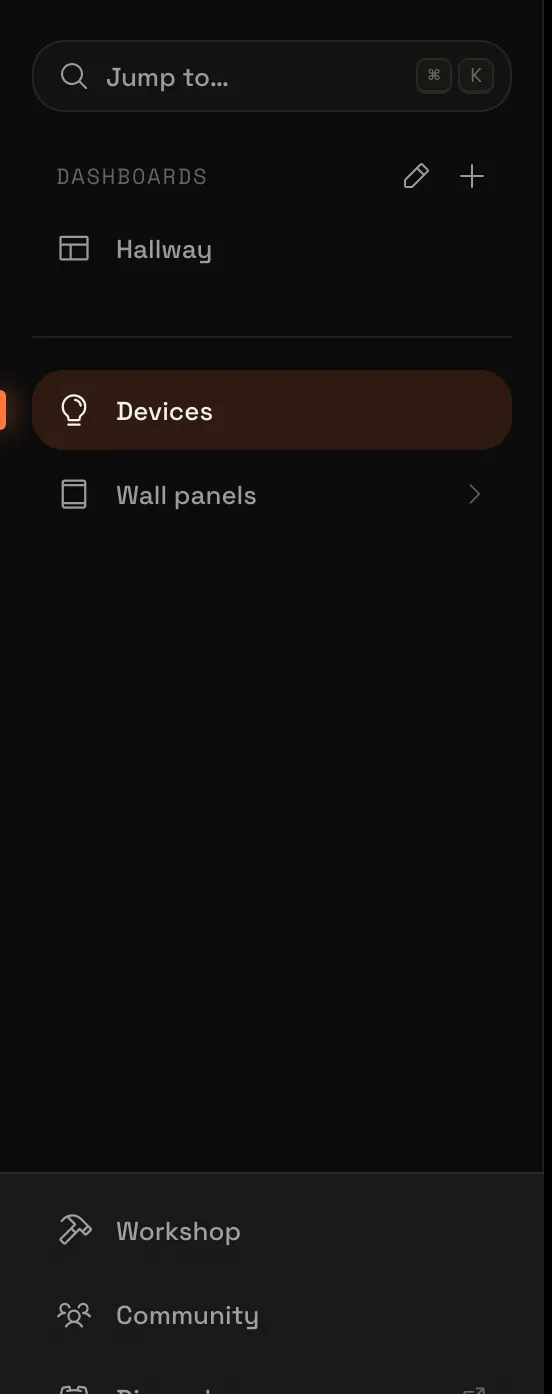
In the sidebar, choose Workshop. The page lists everything you’ve made, widgets first, with search and New at the top.
Start empty
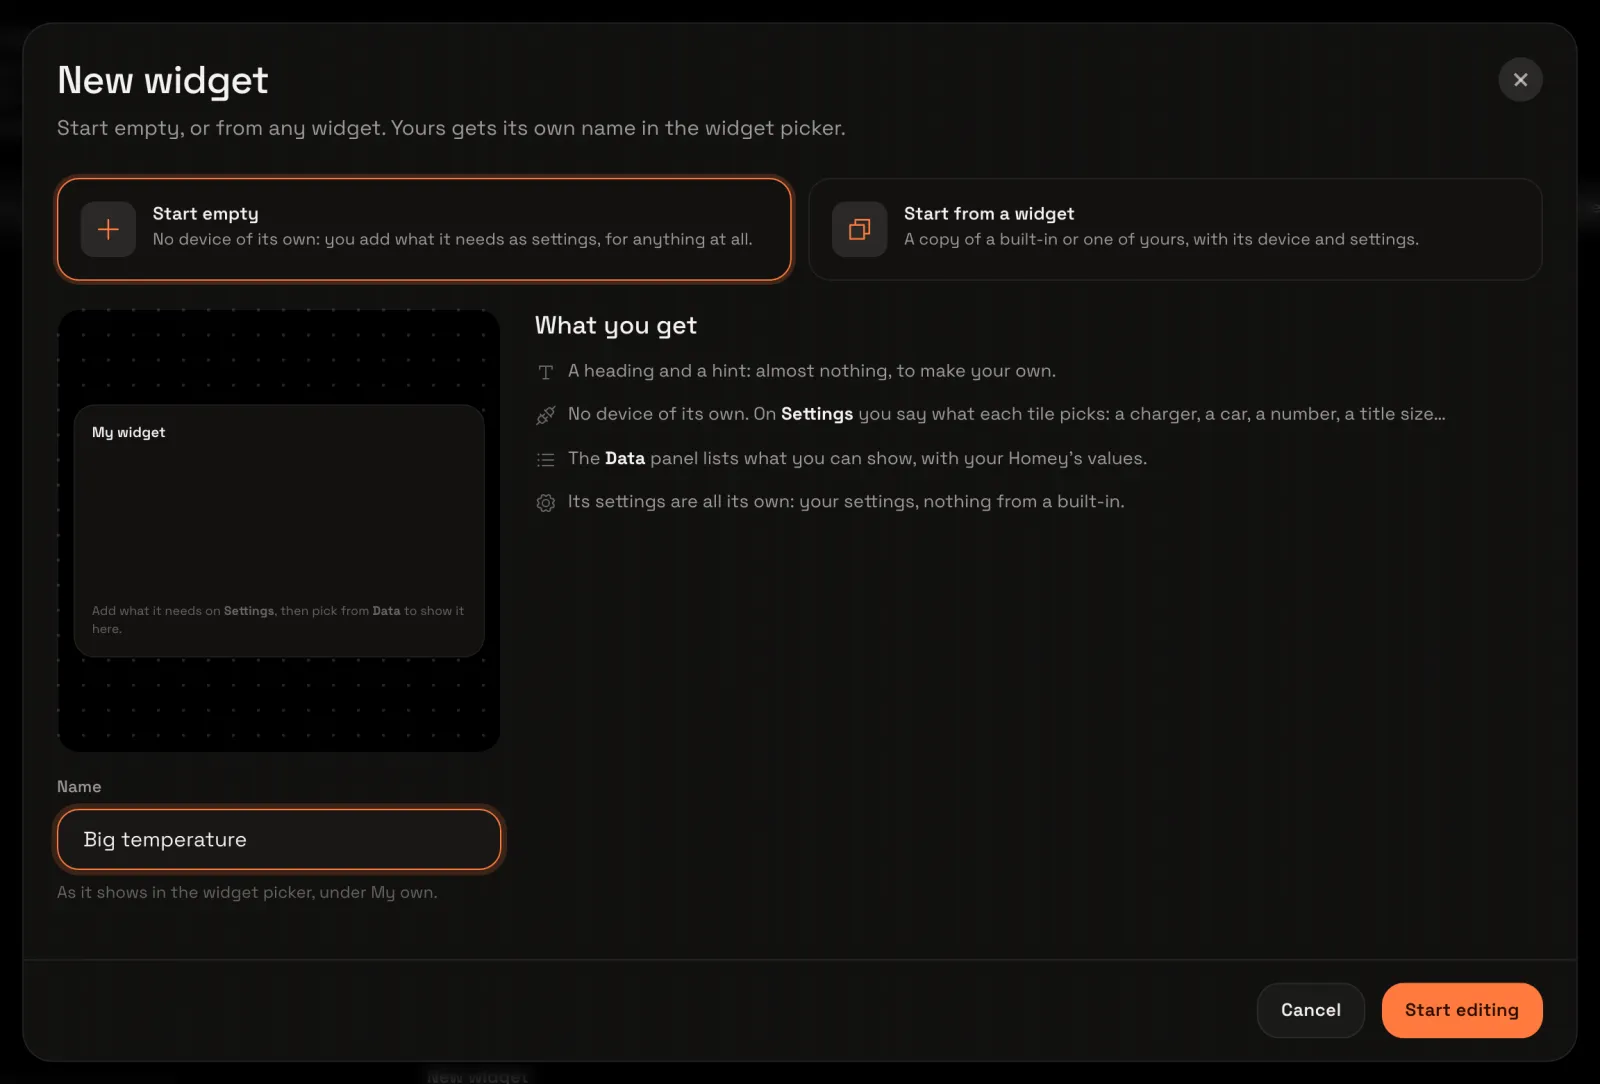
Choose New → Widget, then Start empty: a widget with no device of its own, which picks its device through a setting. Name it Big temperature and choose Start editing. The editor opens, and says it started empty.
Add its settings
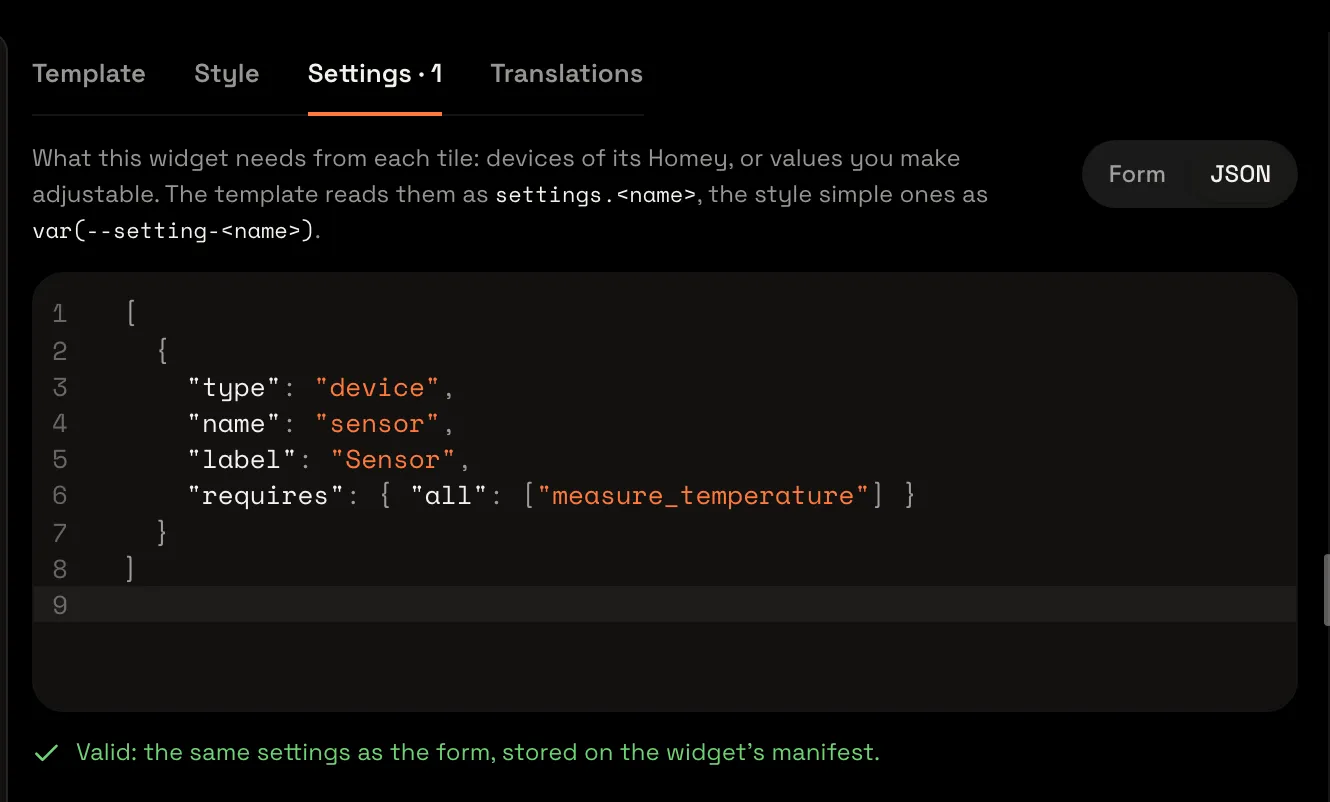
Settings are what each tile picks; this widget has one, a sensor that measures temperature. Open the Settings tab, choose JSON, and paste over what’s there:
[ { "type": "device", "name": "sensor", "label": "Sensor", "requires": { "all": ["measure_temperature"] } }]The editor says the settings are valid, and A tile’s settings asks for a Sensor.
Add the template and style
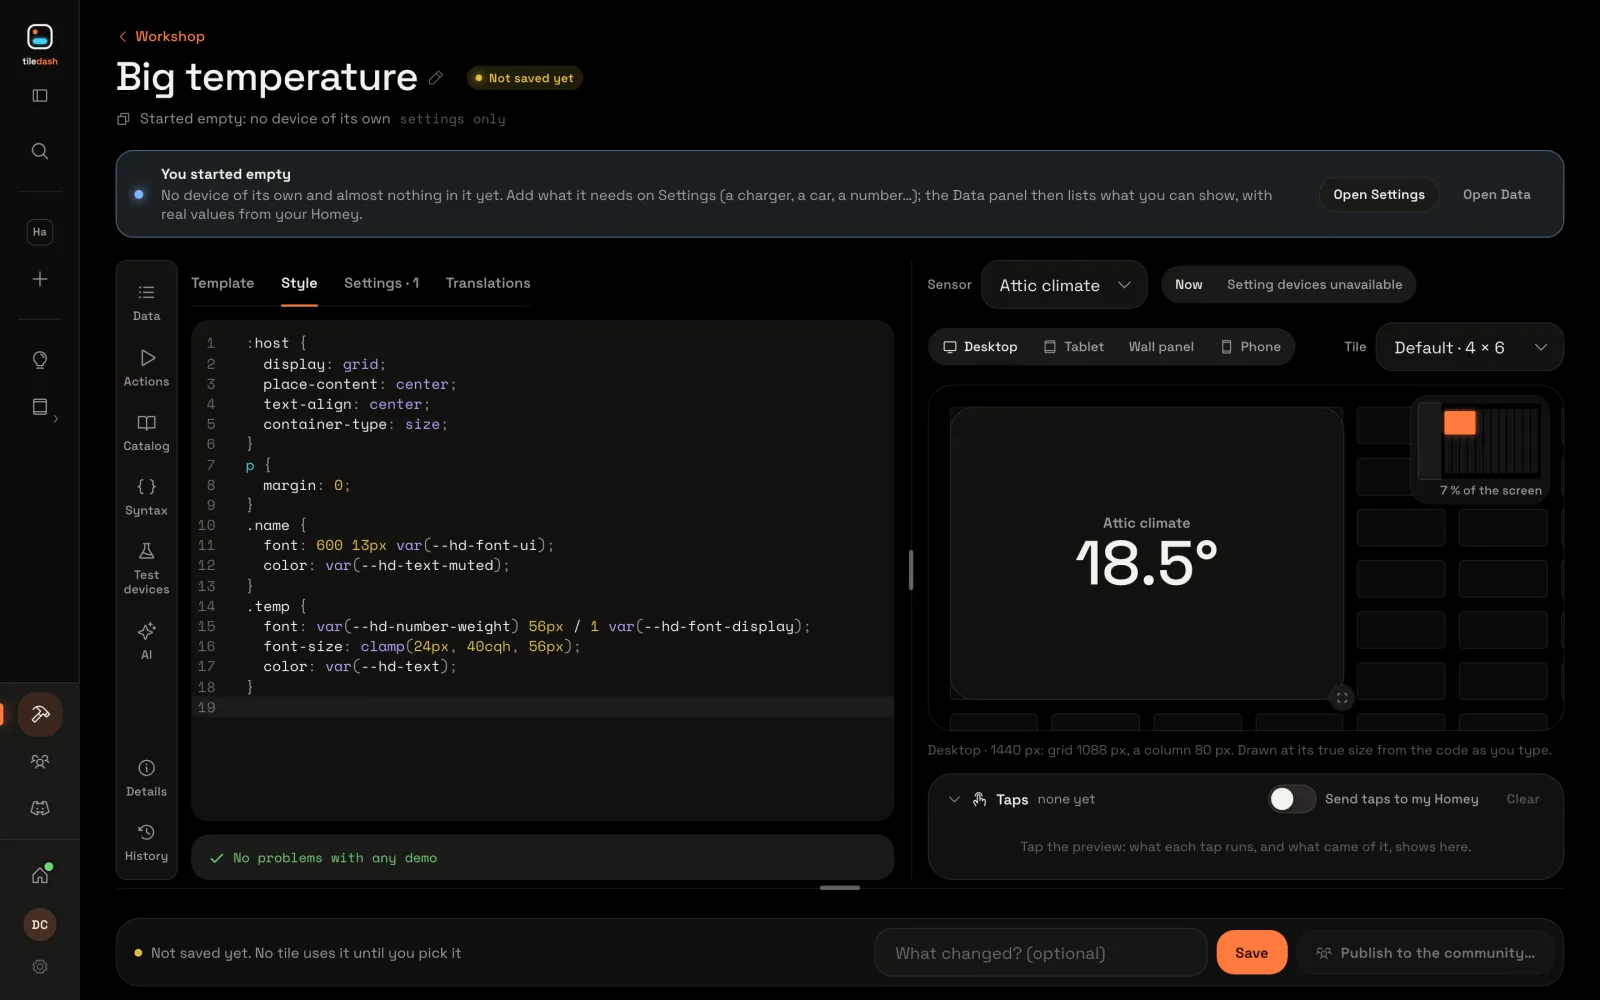
The template says what the tile shows: the sensor’s name, and its temperature. On the Template tab, paste over what’s there:
{%- assign sensor = settings.sensor -%}<p class="name">{{ sensor.name }}</p><p class="temp">{{ sensor.cap.measure_temperature.value | temp }}</p>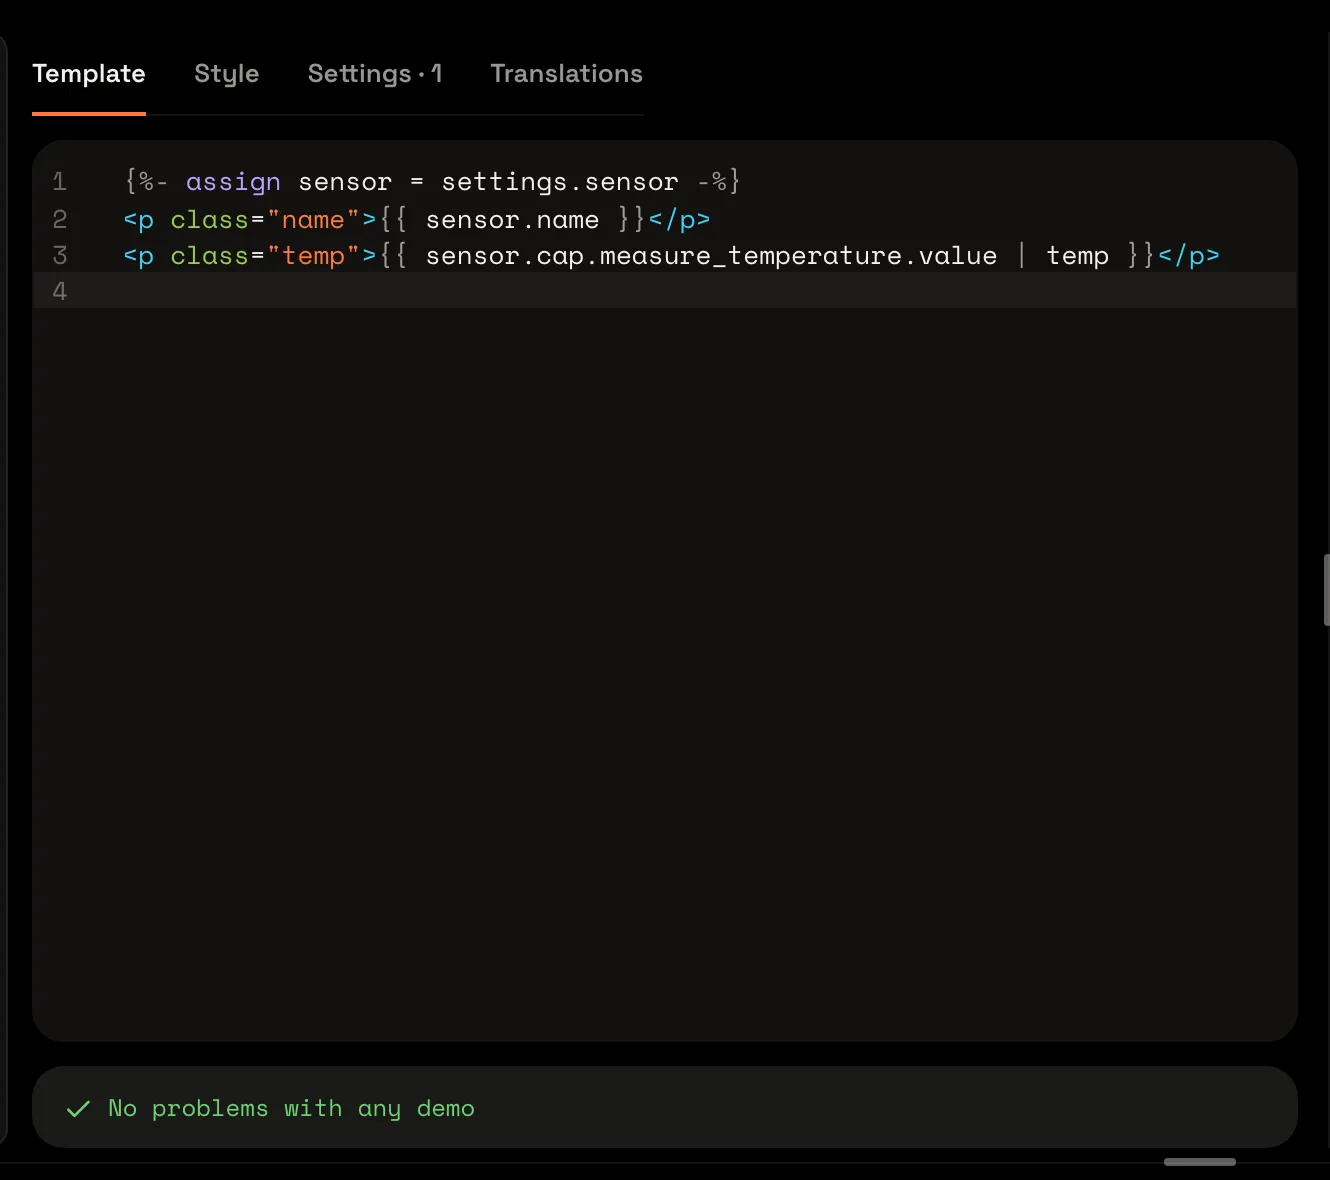
The style says how it looks: the number as large as the tile has room for, up to 56 pixels. On the Style tab, paste:
:host { display: grid; place-content: center; text-align: center; container-type: size;}p { margin: 0;}.name { font: 600 13px var(--hd-font-ui); color: var(--hd-text-muted);}.temp { font: var(--hd-number-weight) 56px / 1 var(--hd-font-display); font-size: clamp(24px, 40cqh, 56px); color: var(--hd-text);}The editor says No problems with any demo, and the preview shows a sensor of yours with its temperature in large type.
Save it
Choose Save at the bottom. It says Saved, and your widget is in the widget picker.

Add it to a dashboard
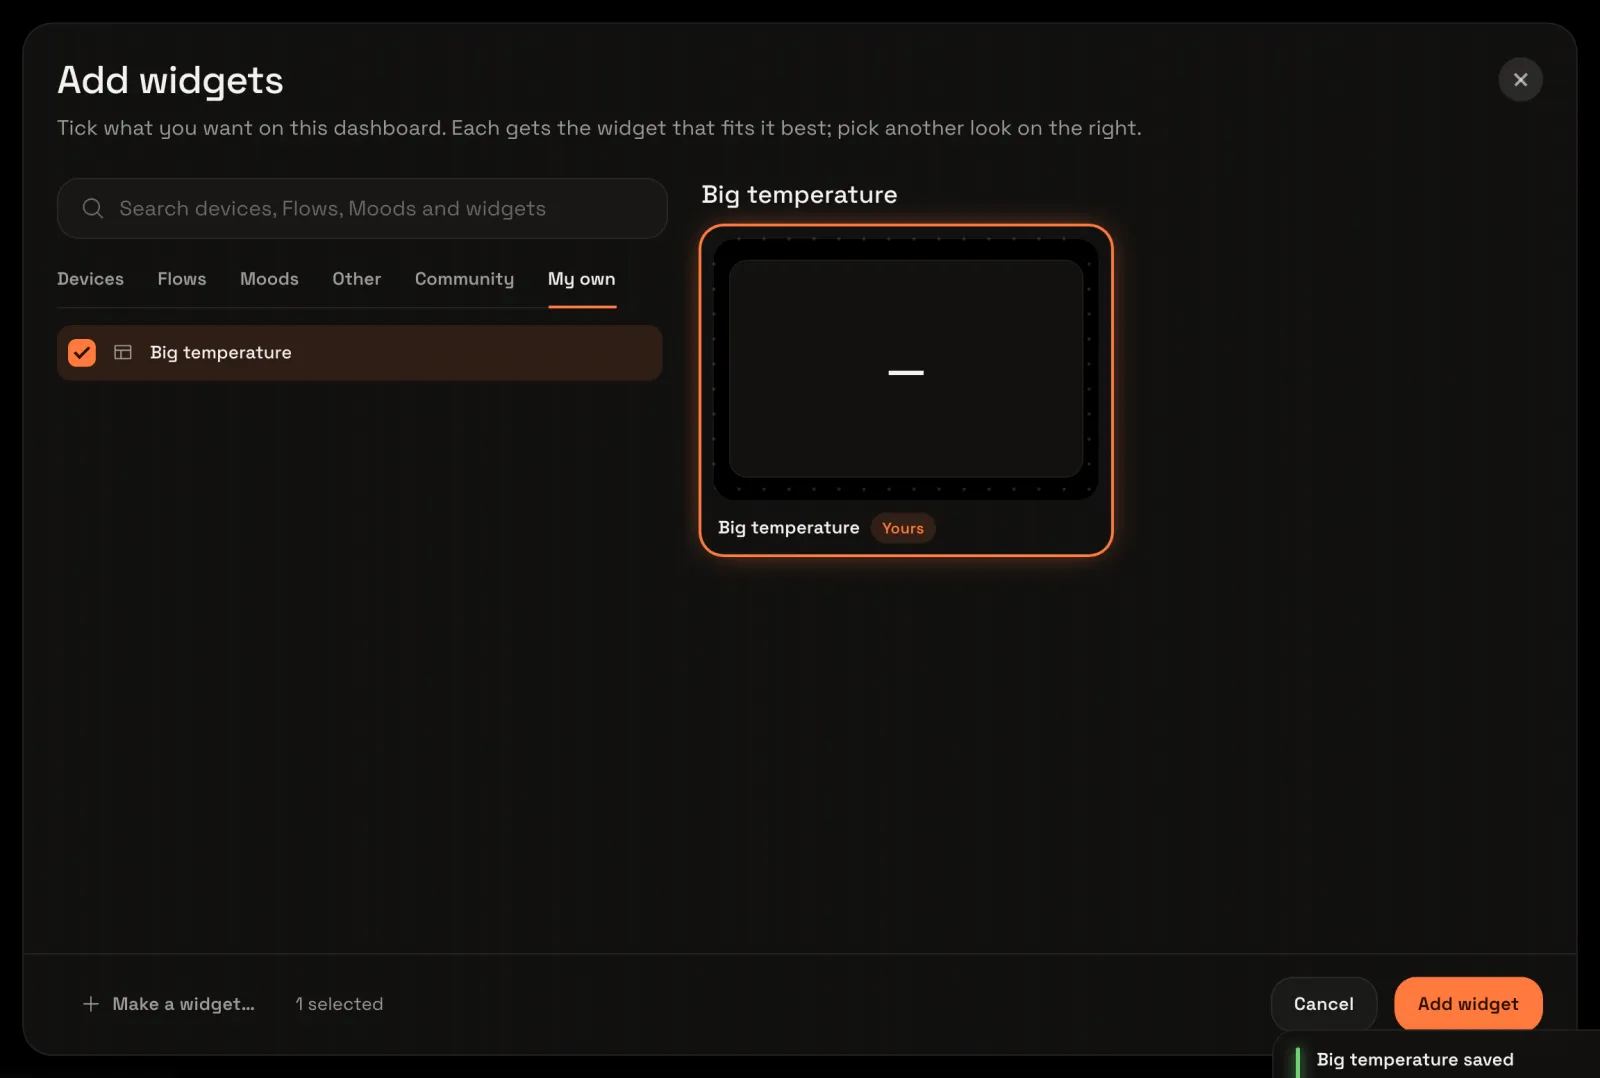
Open your dashboard and choose Add a widget (or Widget in edit mode). Your widgets are on the My own tab: tick Big temperature and choose Add widget. The tile’s settings open by themselves, as it needs a sensor.
Pick its sensor
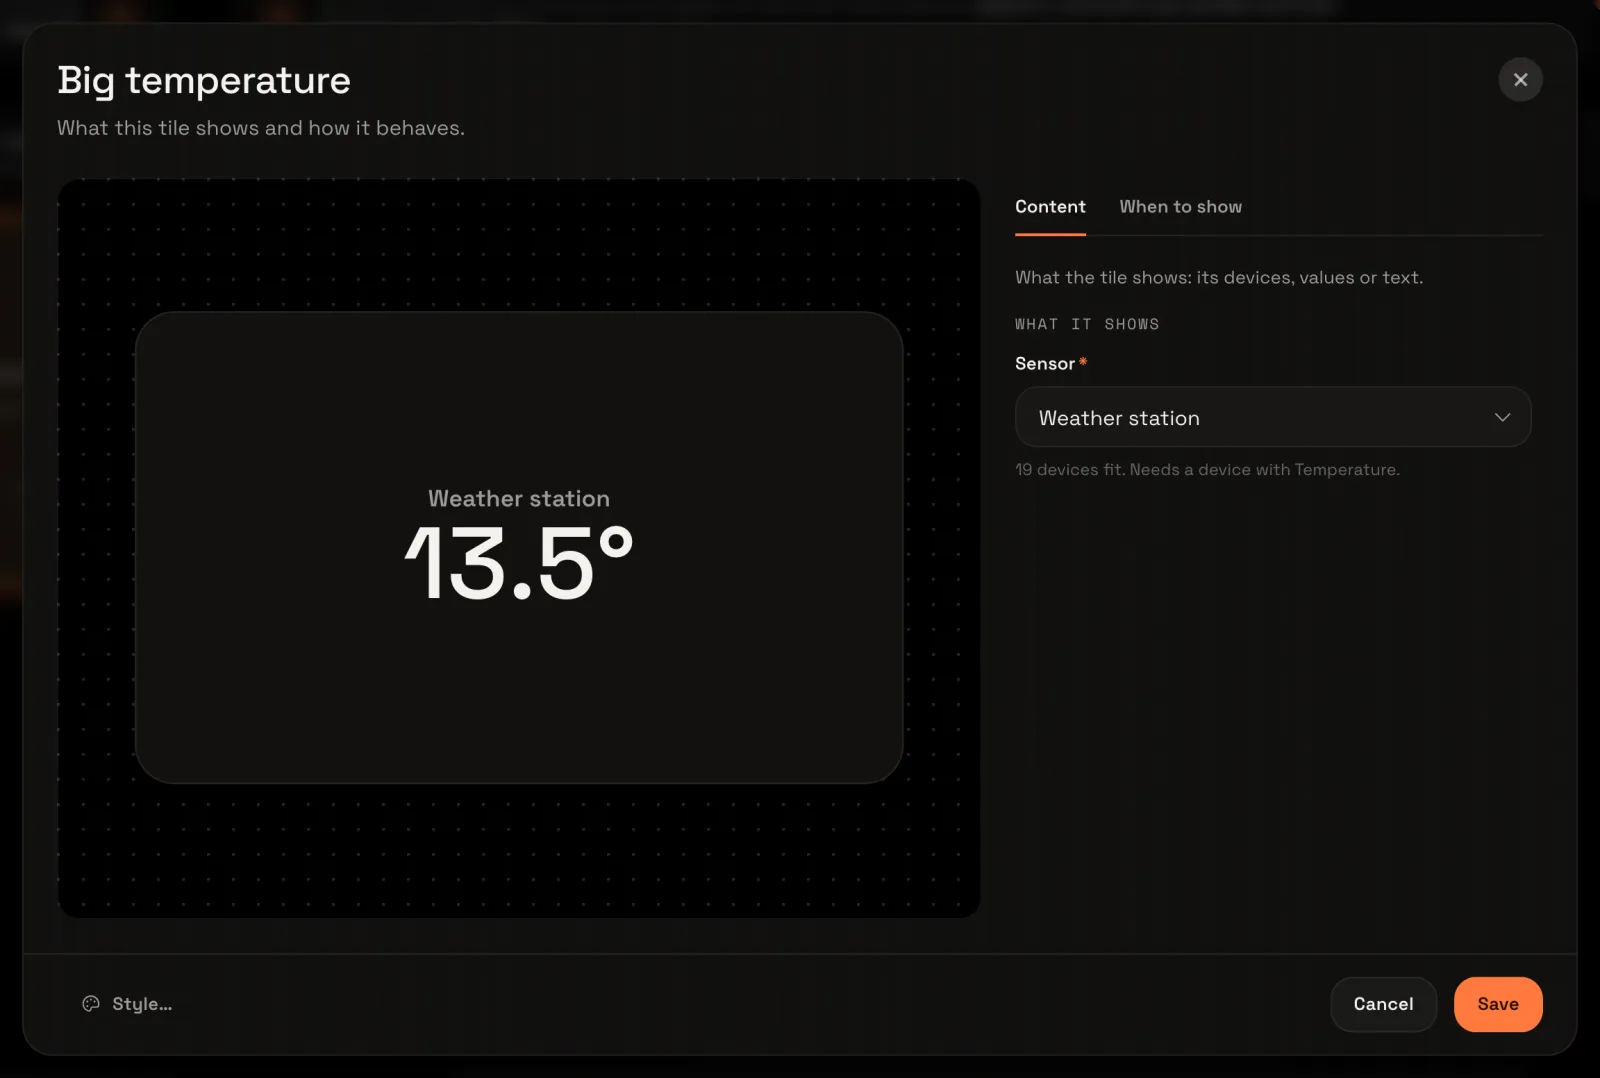
For Sensor, choose the one you want on the tile, such as your Weather station, and choose Save.
Your widget is on your dashboard
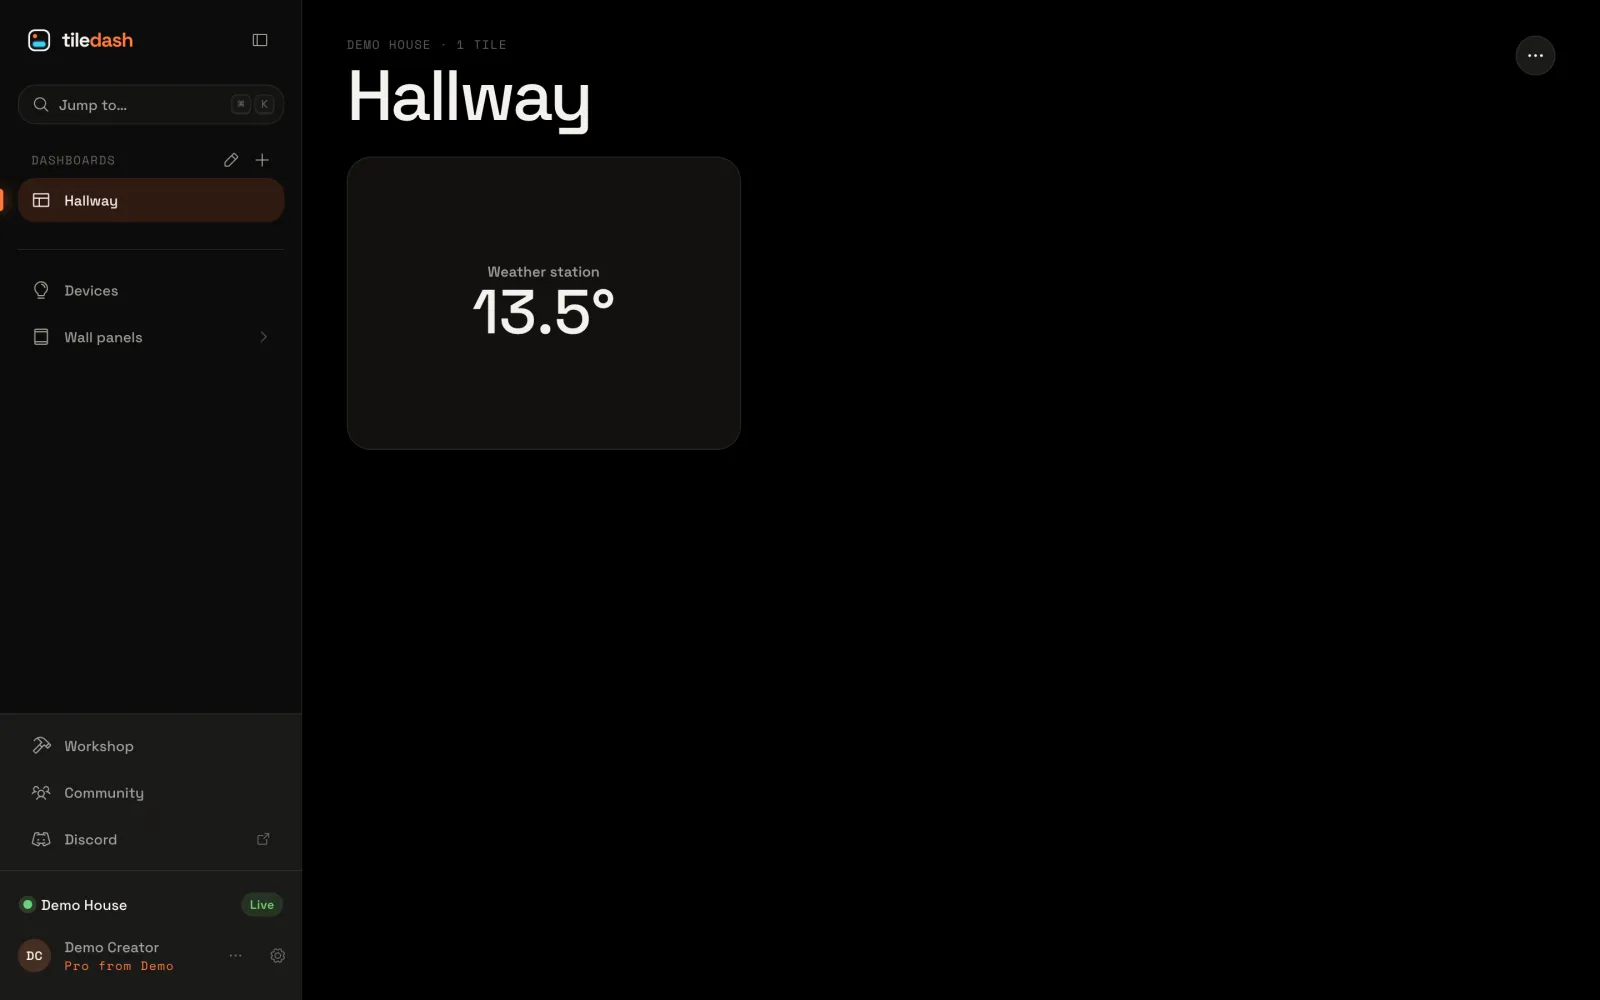
Choose Done at the top right. Your tile shows the sensor live: here the weather station at 13.5°.
Next: publish it to the community, so others can use it too. How templates work is in How a widget works and the template reference.


