Tutorial
Publish your widget to the community
Your widget in the community under a name of your own, for anyone to install, from the editor in a few steps.
- Takes
- About 3 minutes
- Steps
- 5
- First
- Make your own widget
What you end up with

Open Publish to the community
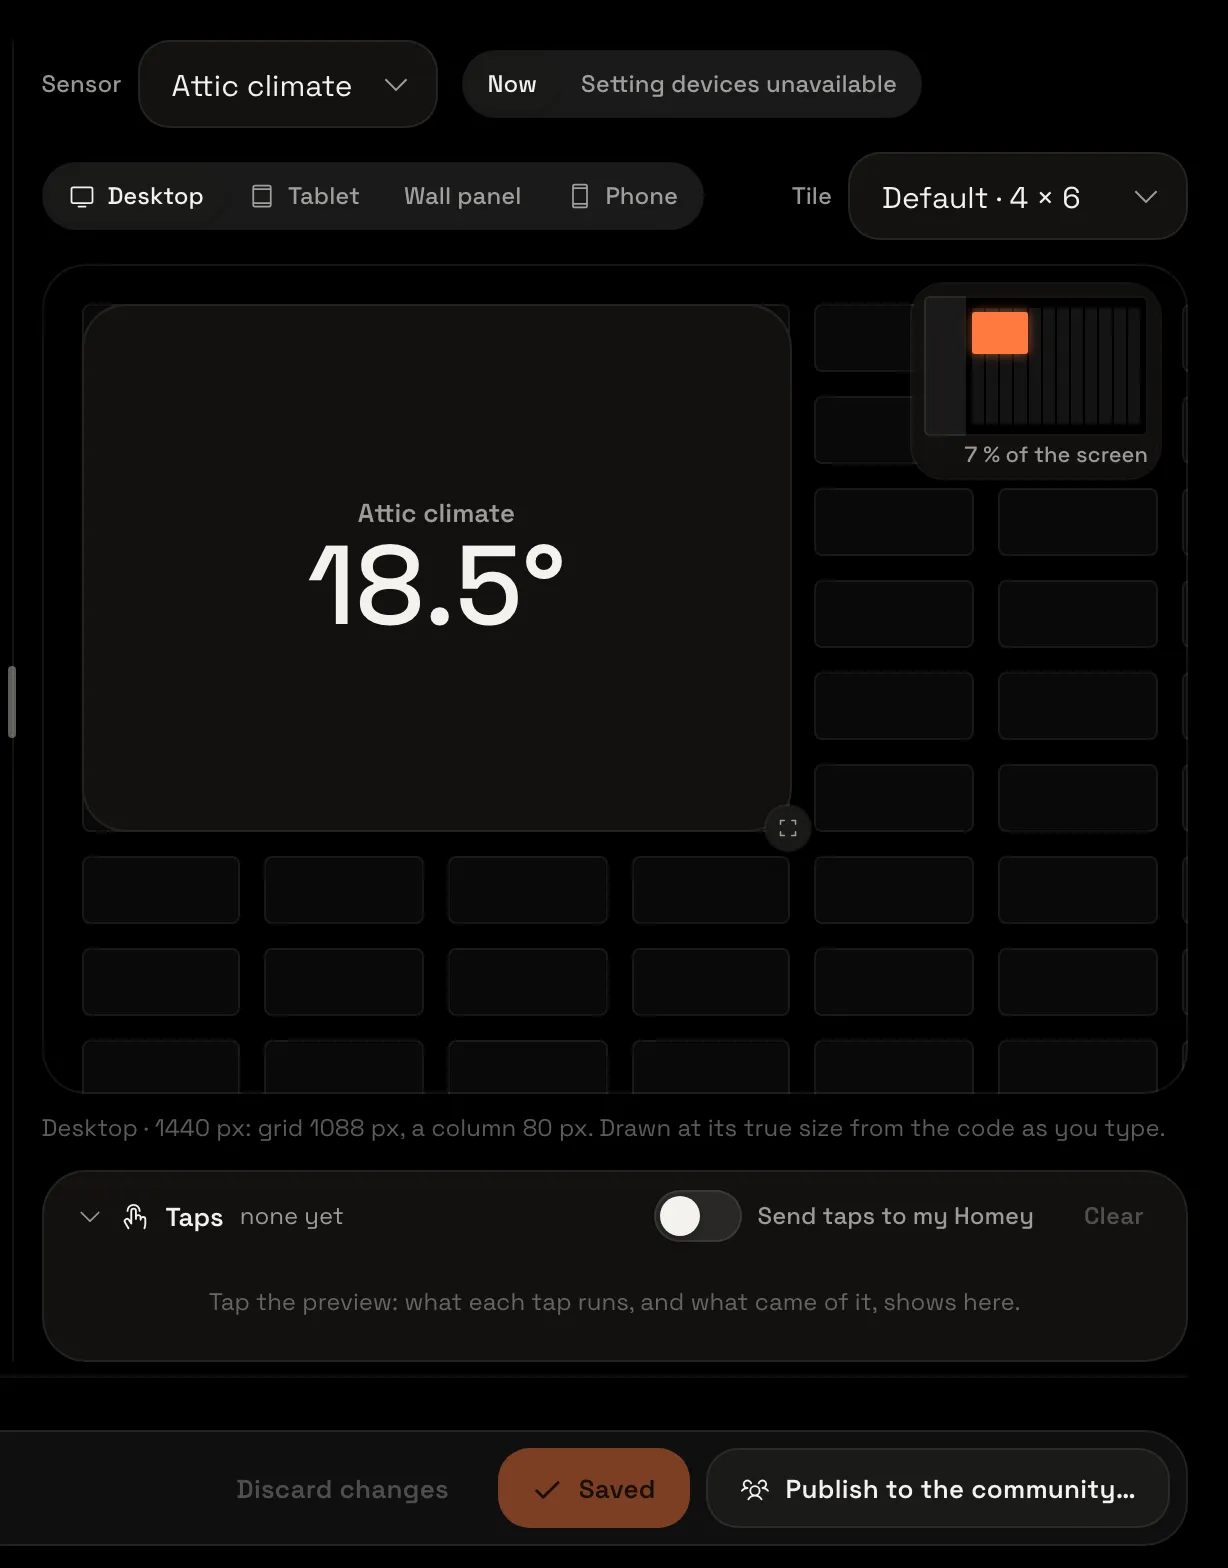
Open your widget in the editor, from the Workshop, and choose Publish to the community… at the bottom. The first time, it asks for your name in the community.
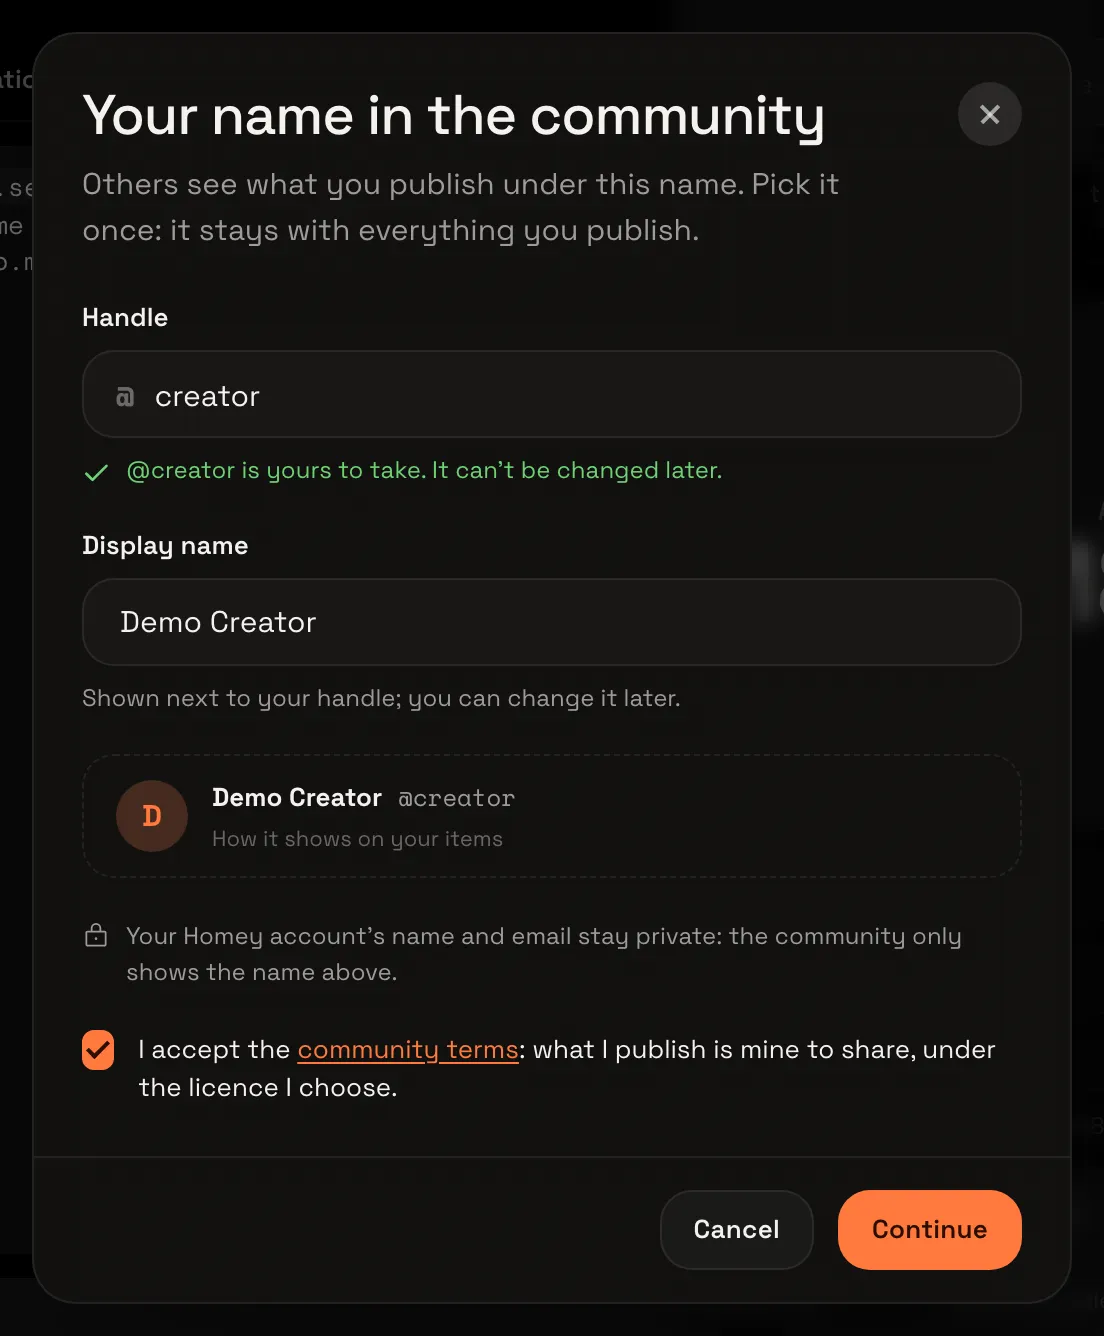
Pick your name in the community
Type a Handle (1), the name your widgets are listed under, such as @creator; it can’t be changed later. Type a Display name (2) shown next to it, tick that you accept the community terms (3), and choose Continue. Your Homey account’s name and email stay private.
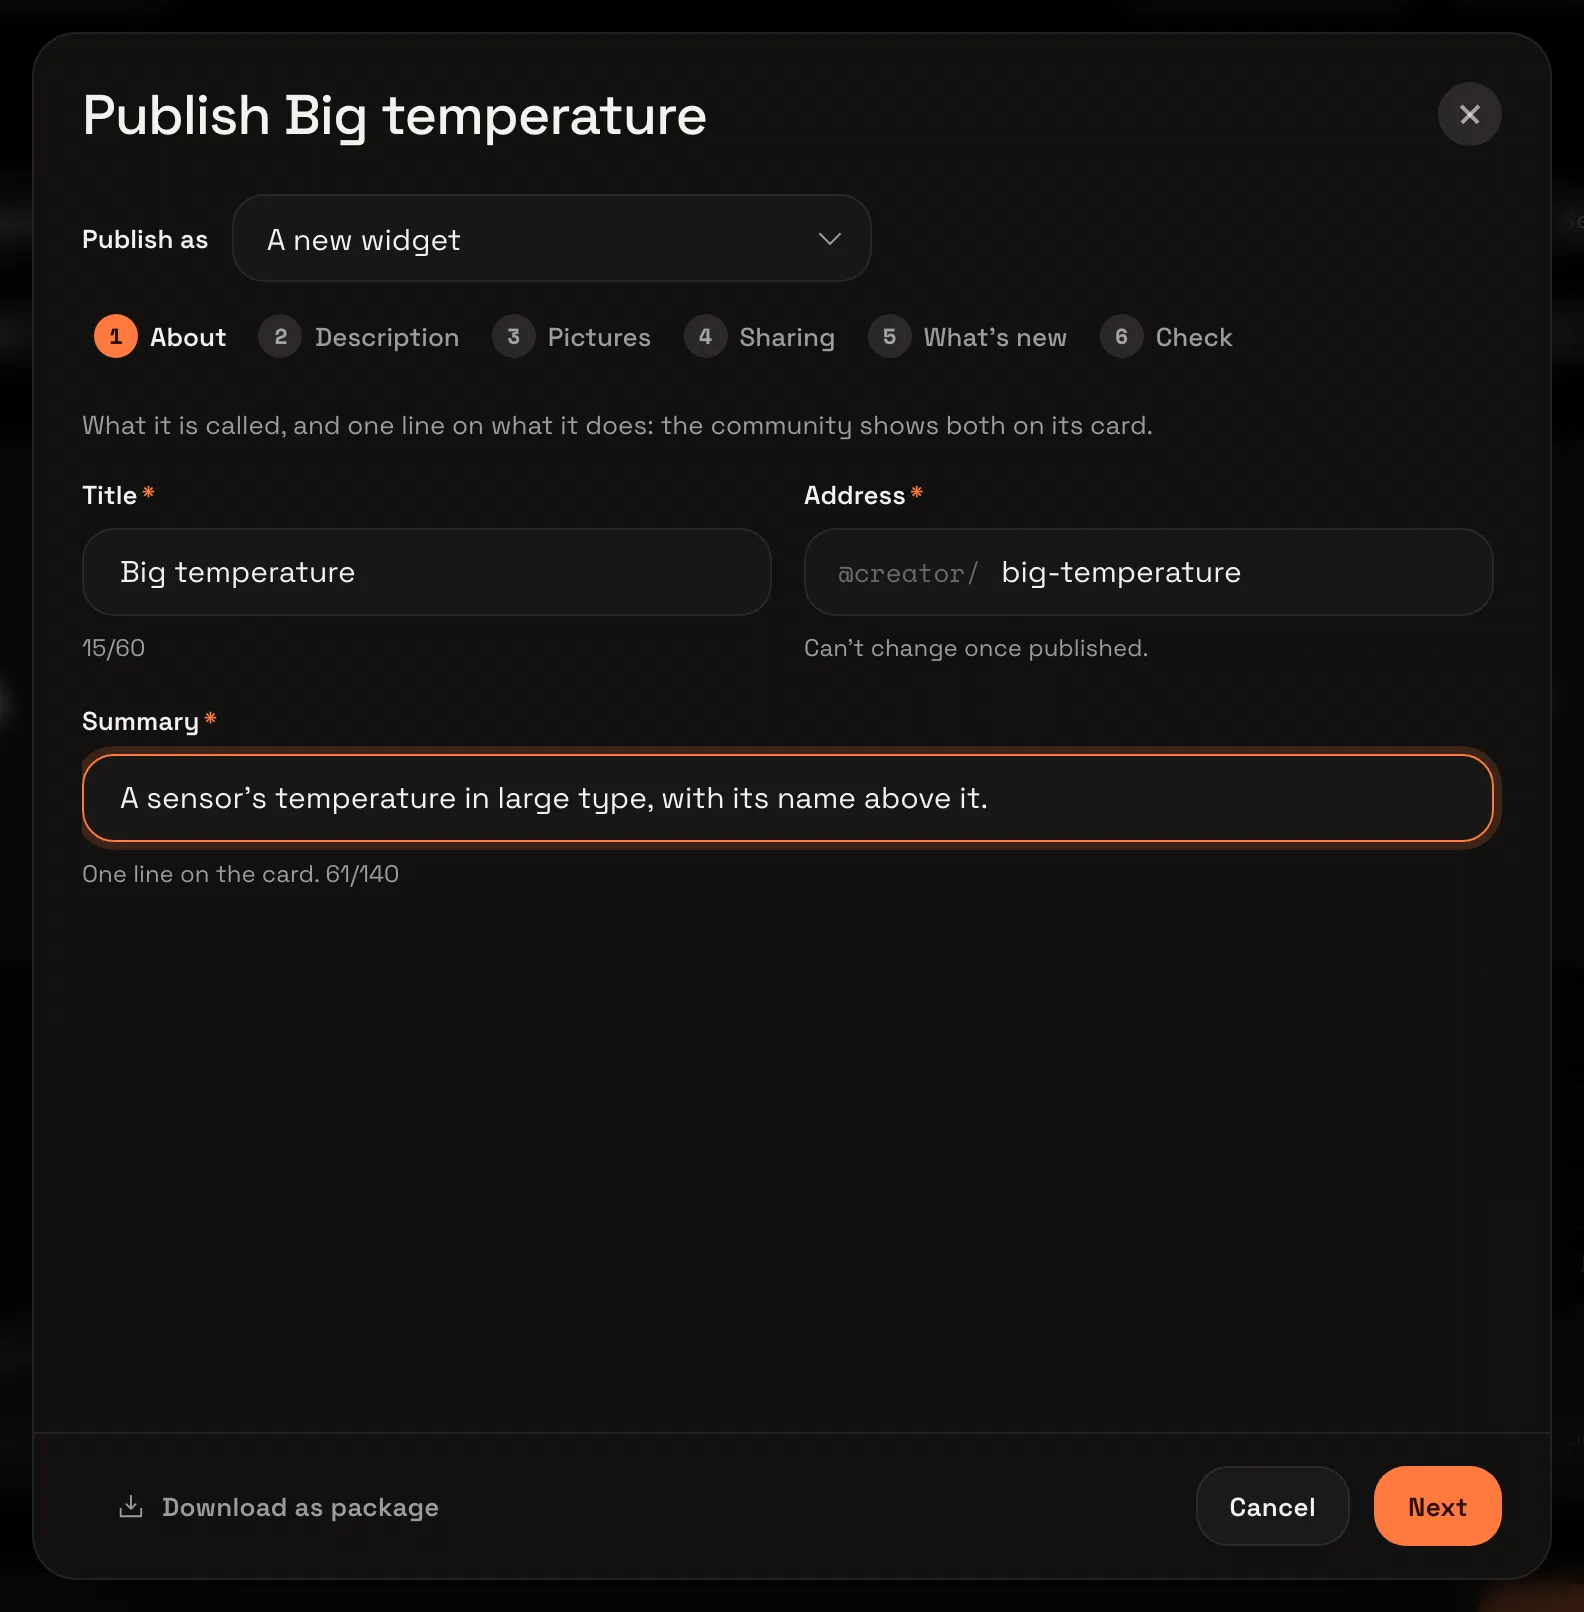
Say what it is
Publish Big temperature opens on About, the first of its steps along the top. The title comes from your widget, and its address is your handle with the widget’s name. Type a Summary (1), one line for its card, and choose Next.
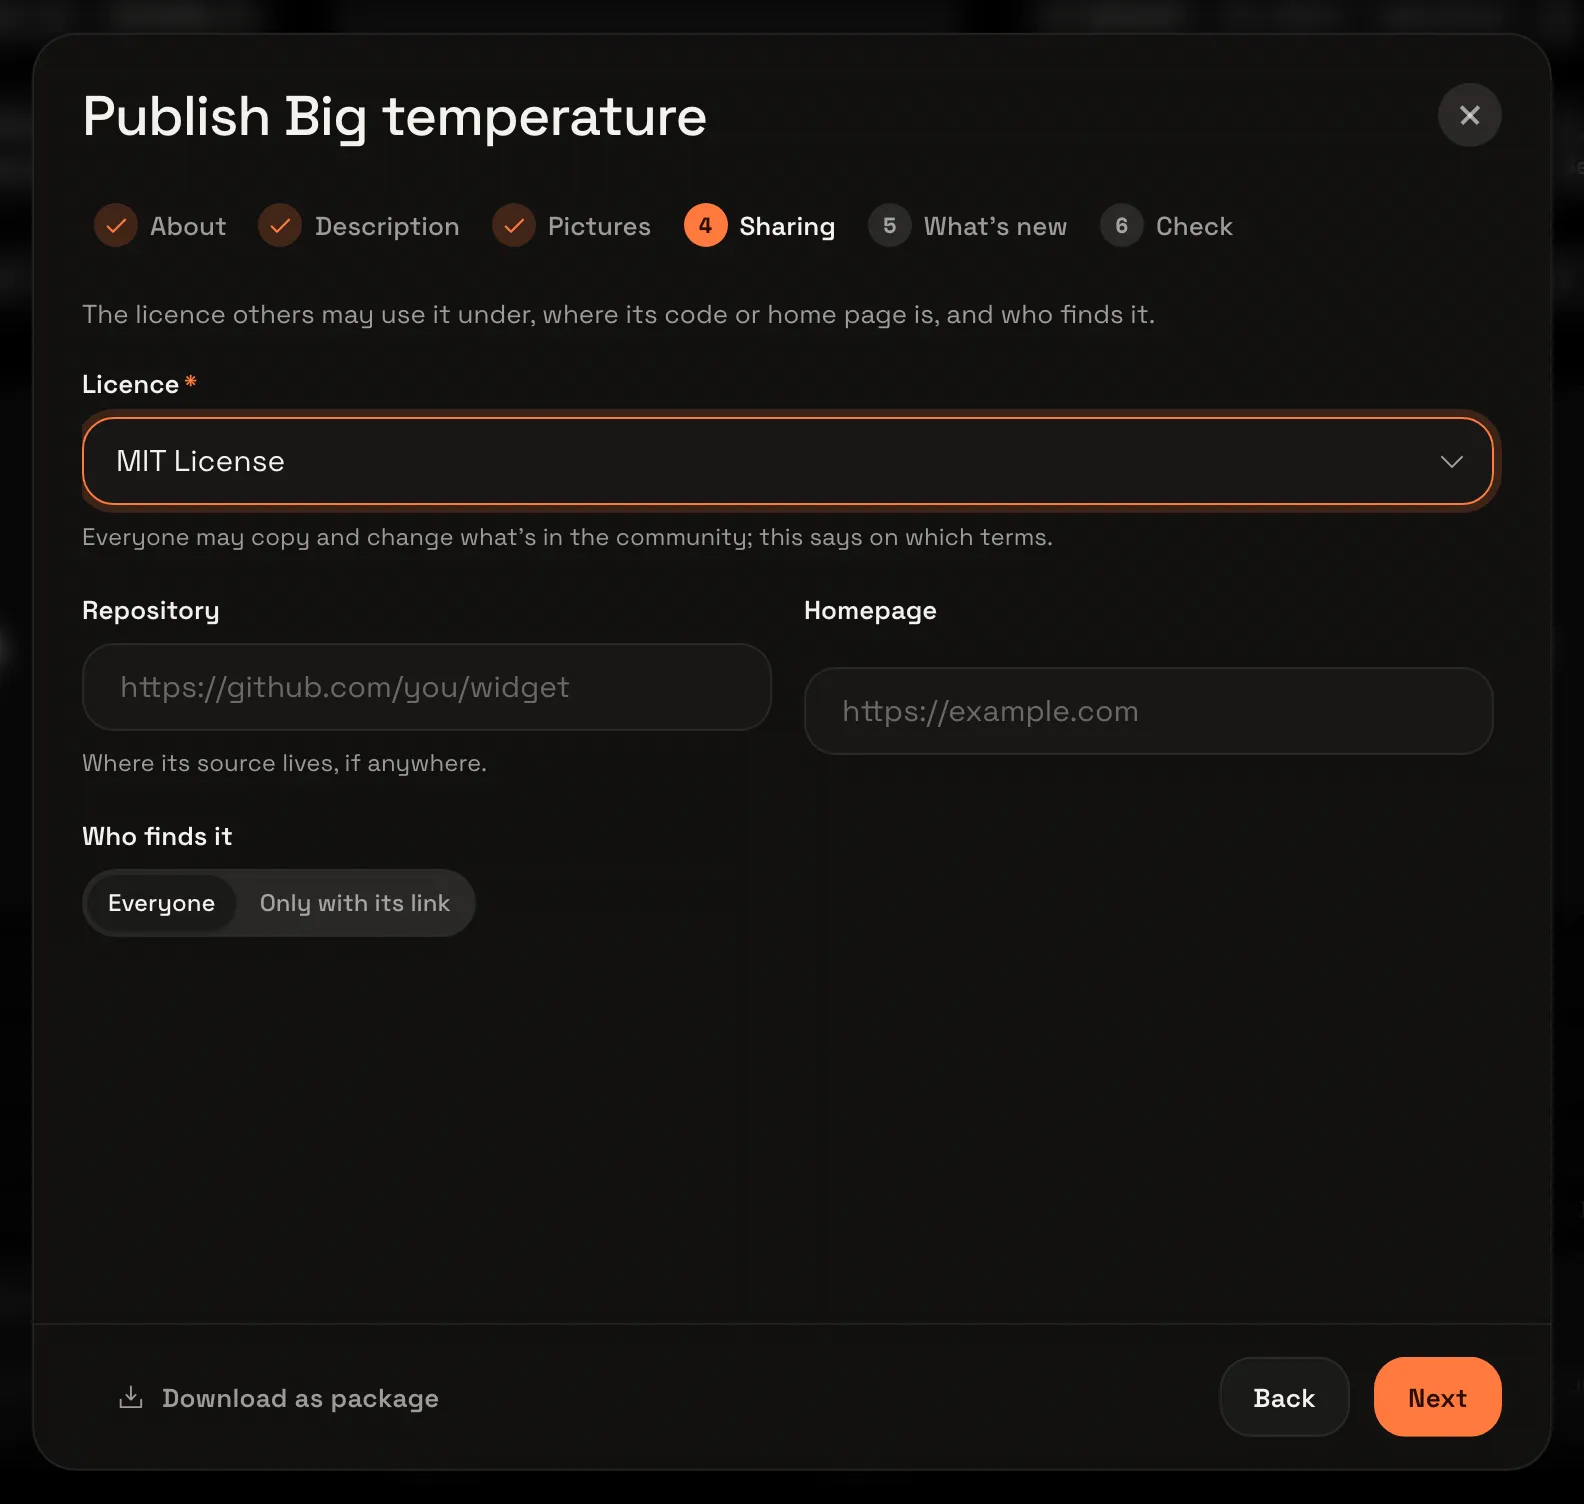
Pick a licence
Description and Pictures are optional: choose Next past them, or fill them in. On Sharing, pick a Licence (1): it says on which terms others may copy and change it. Choose Next, and Next again past What’s new, where you can add notes for the first version.
Check it and publish
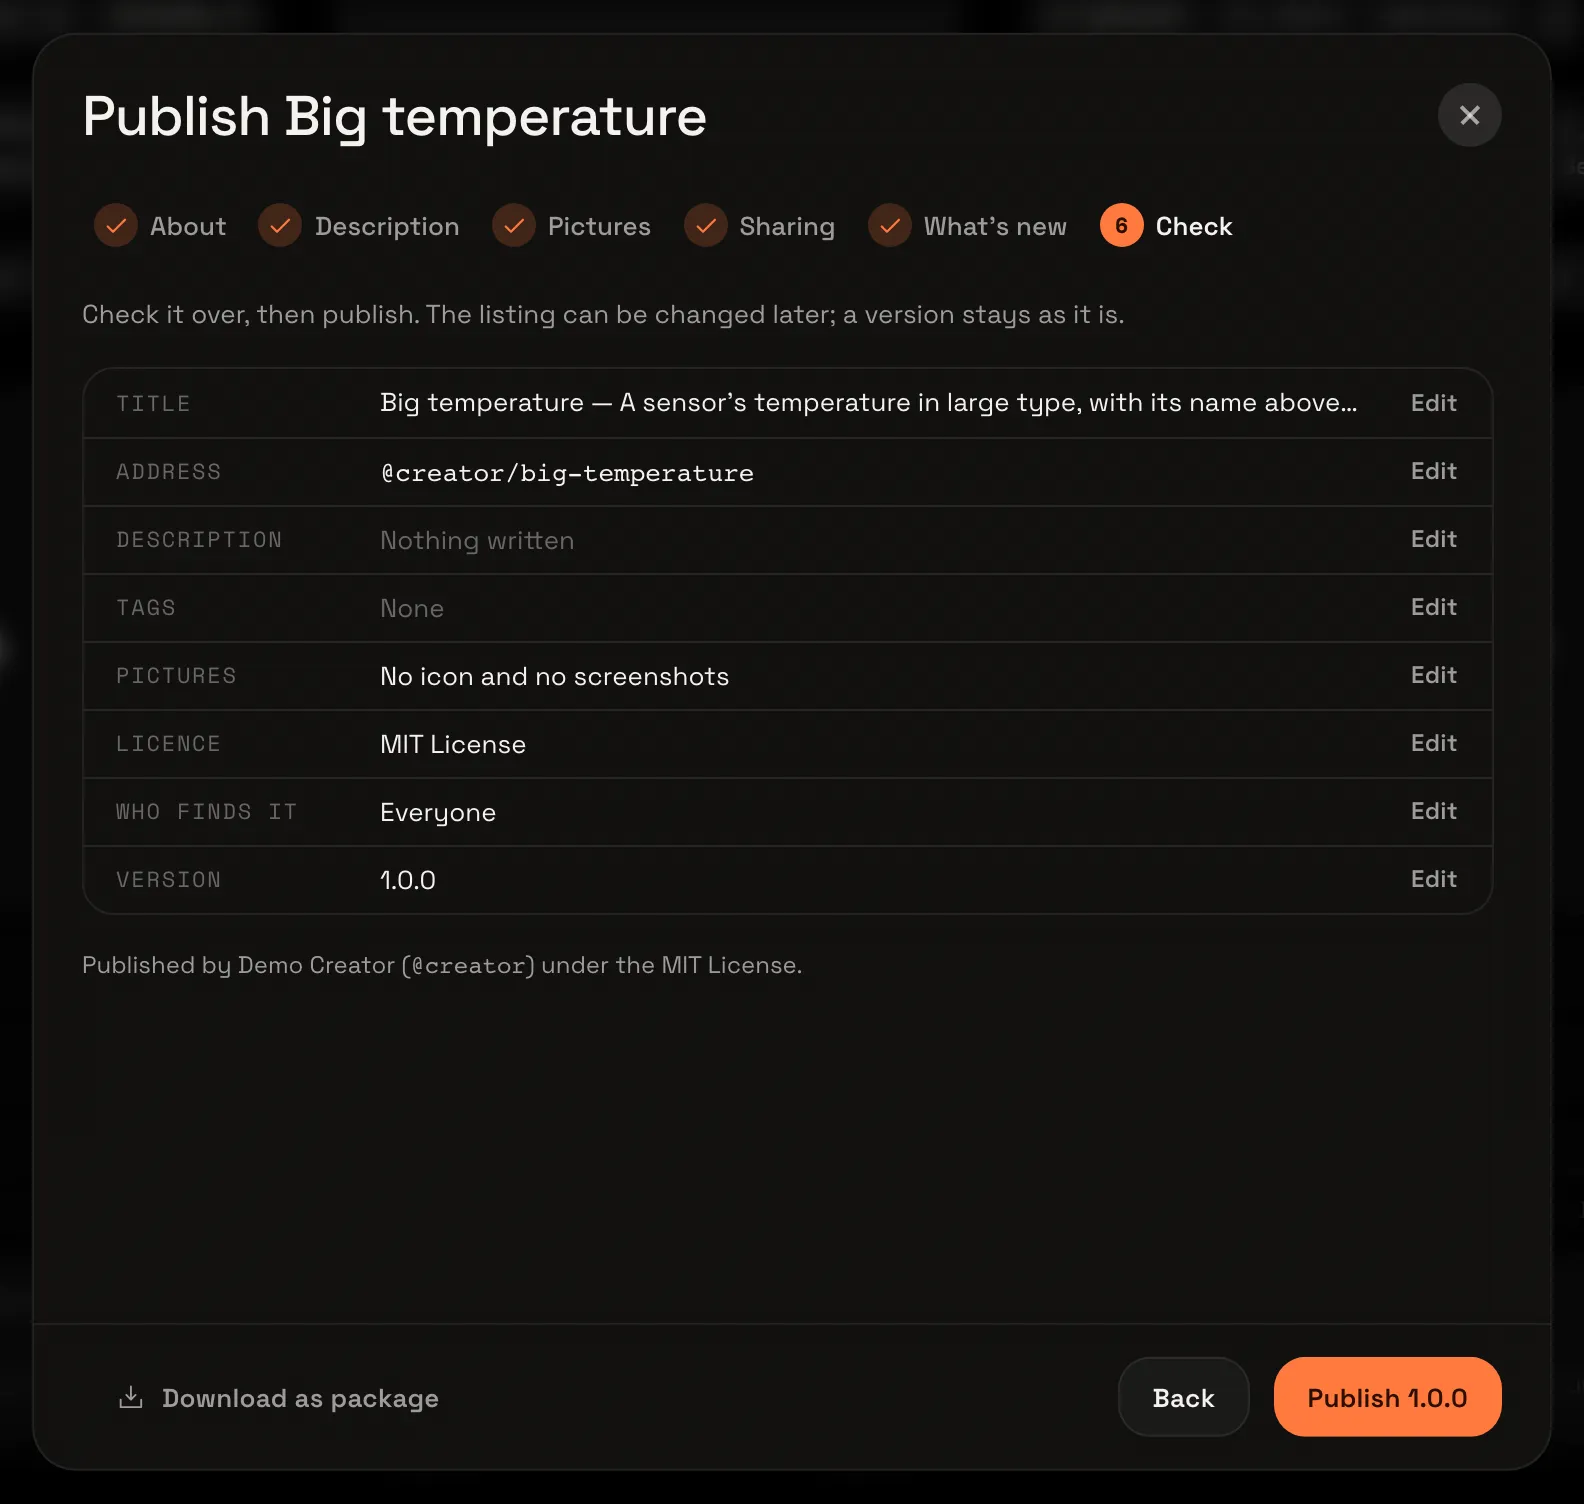
Check sums it all up, with Edit beside each line to go back to it. The first version is 1.0.0: choose Publish 1.0.0. It says Published: your widget is in the community as @creator/big-temperature.
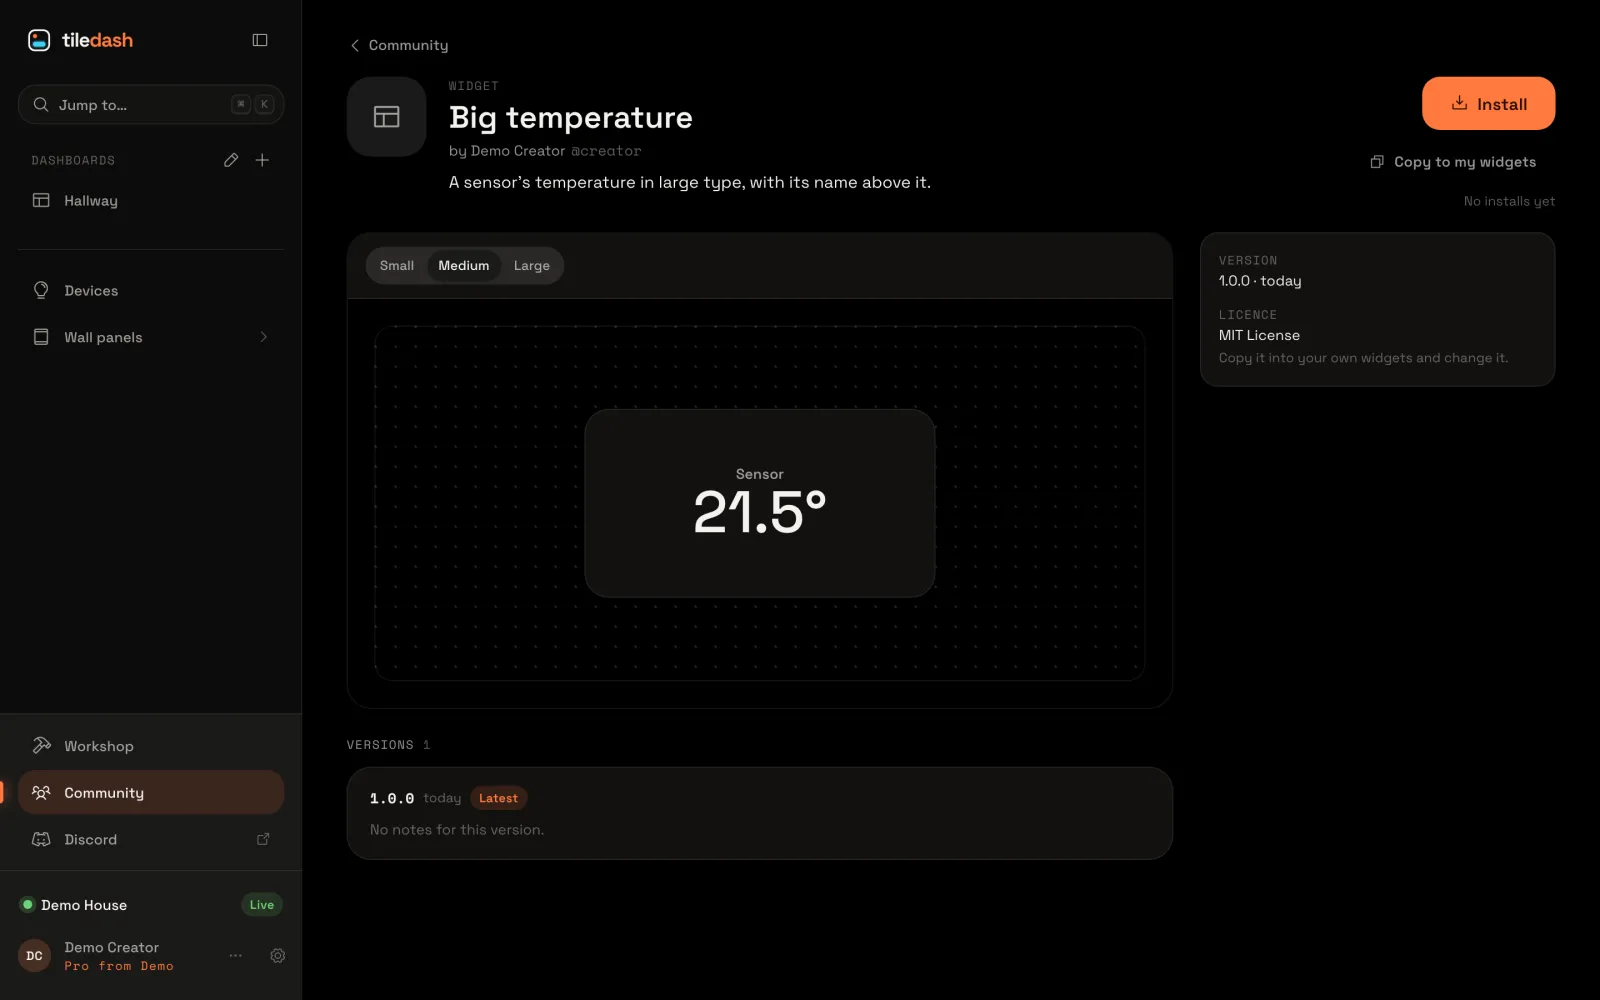
It’s in the community
Choose Open in the community. Anyone can find your widget there now, install it or copy it into their own widgets. When you save changes later, Publish to the community… publishes a new version, and those who have it get the update.
The community has the rest: versions, editing the listing, withdrawing a version and publishing from the command line.


