Tutorials
Short walks through Tiledash, one step at a time, with a picture of each. Start at the top if you’re new.
1Sign in and connect your HomeyYour Tiledash account, made with your Homey account, and your Homey connected, ready for your first dashboard.
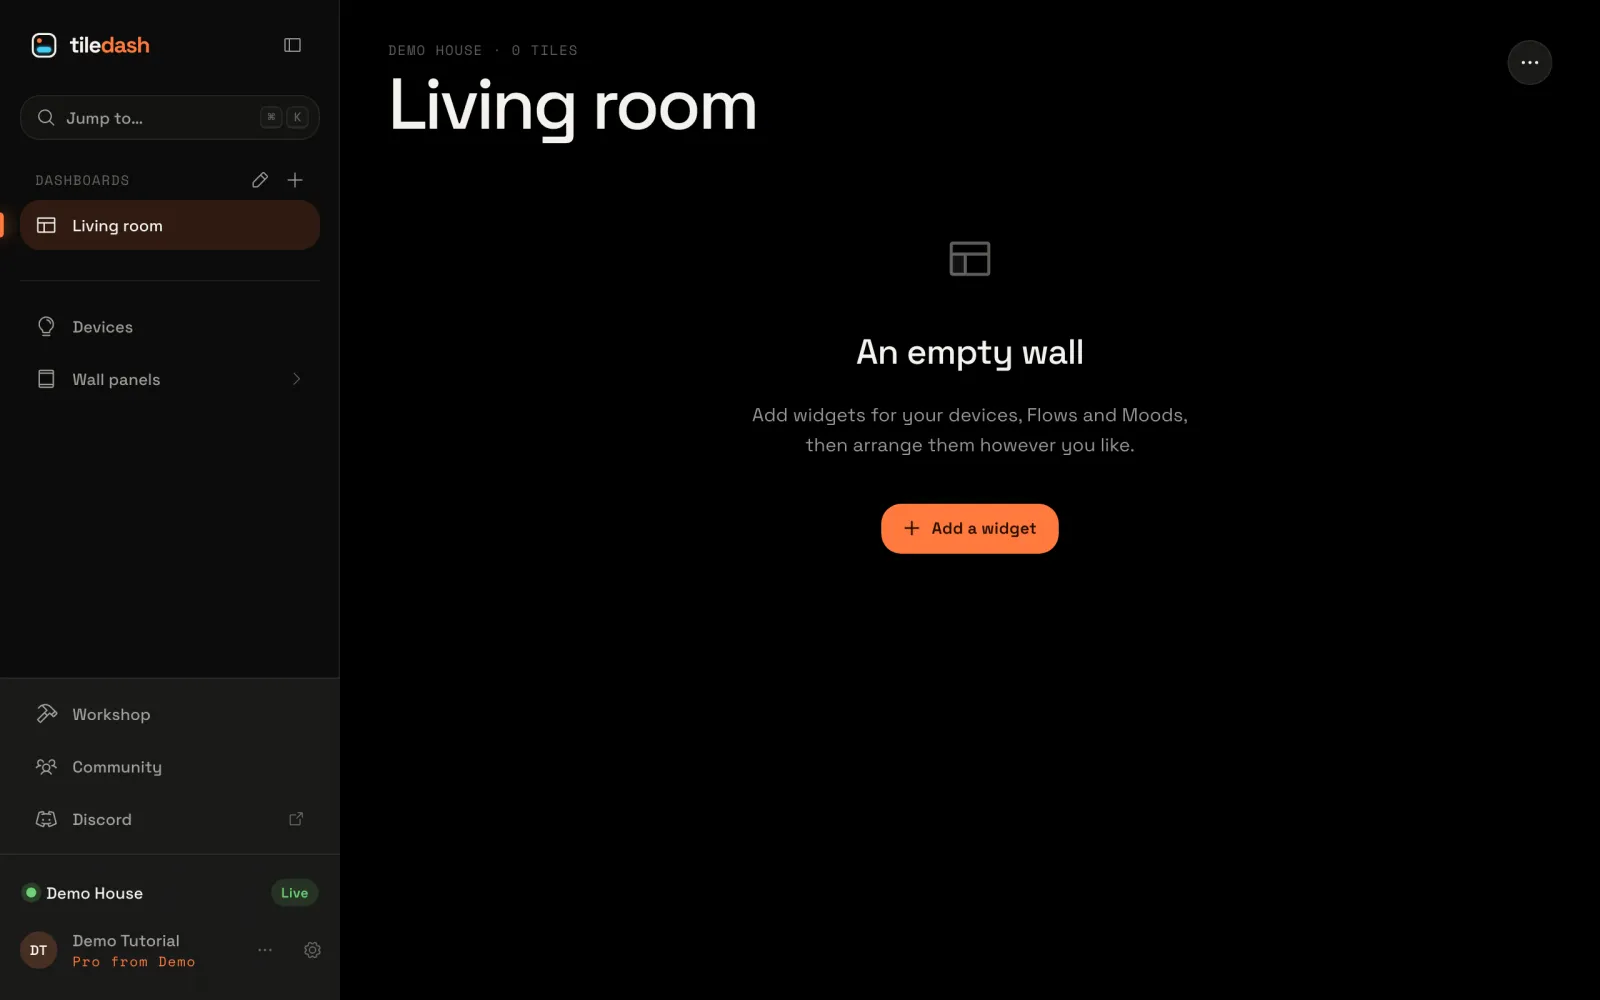
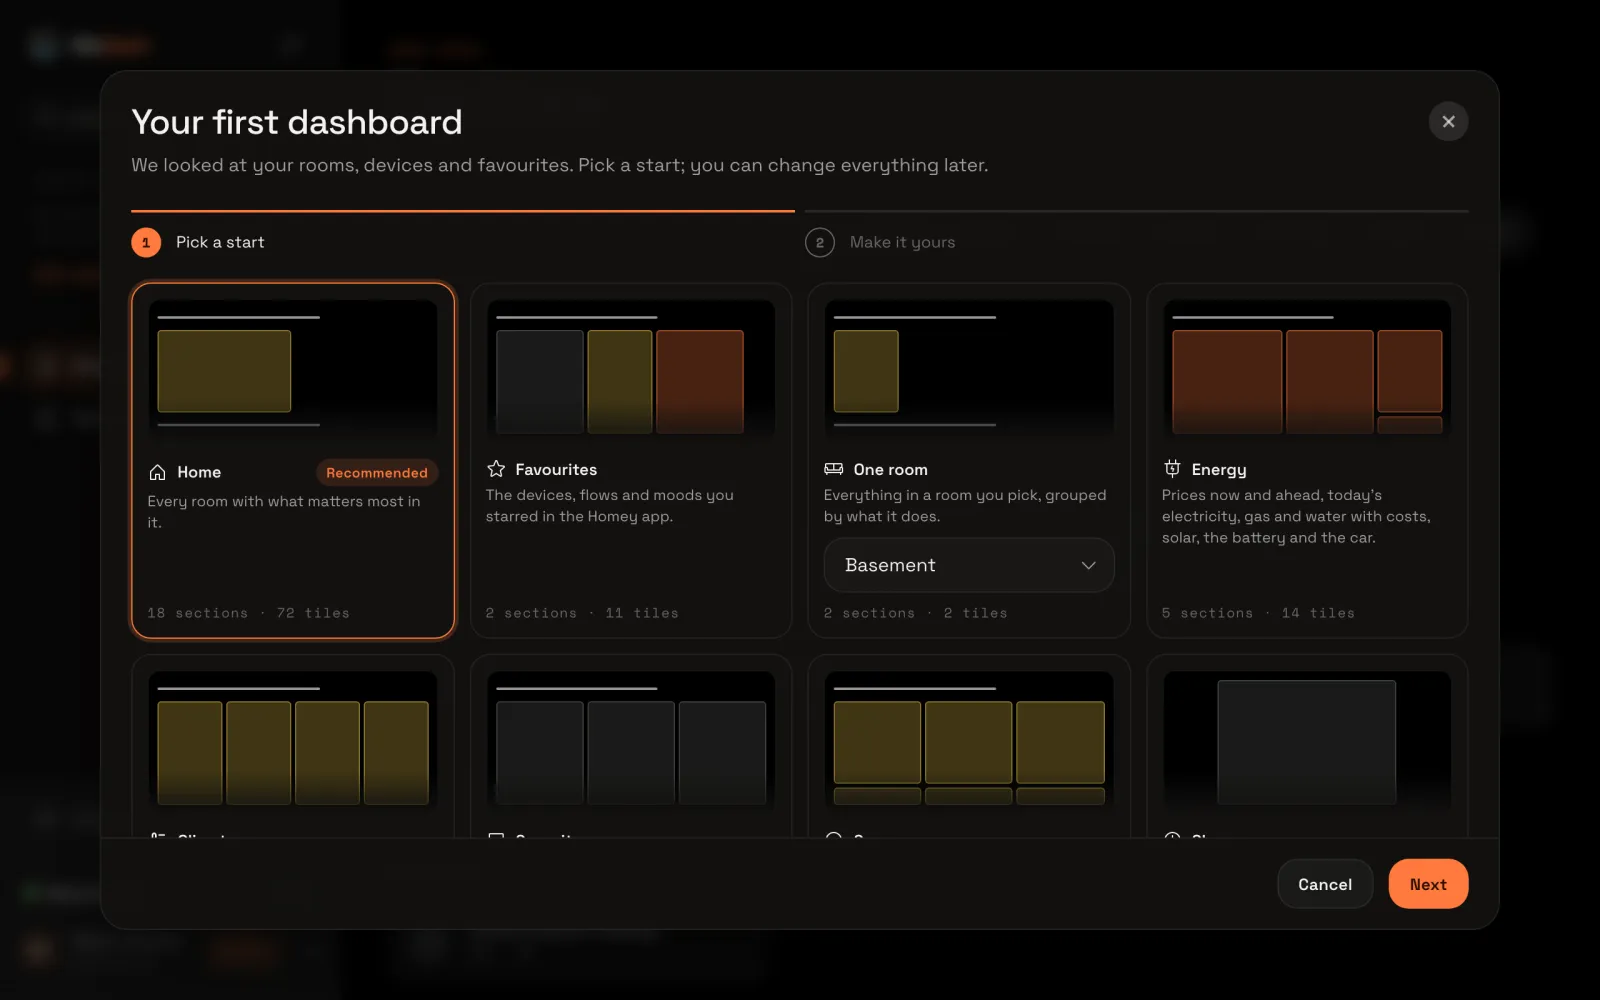
2Make your first dashboardA dashboard of your own, with its name in the sidebar, ready for its first widgets.
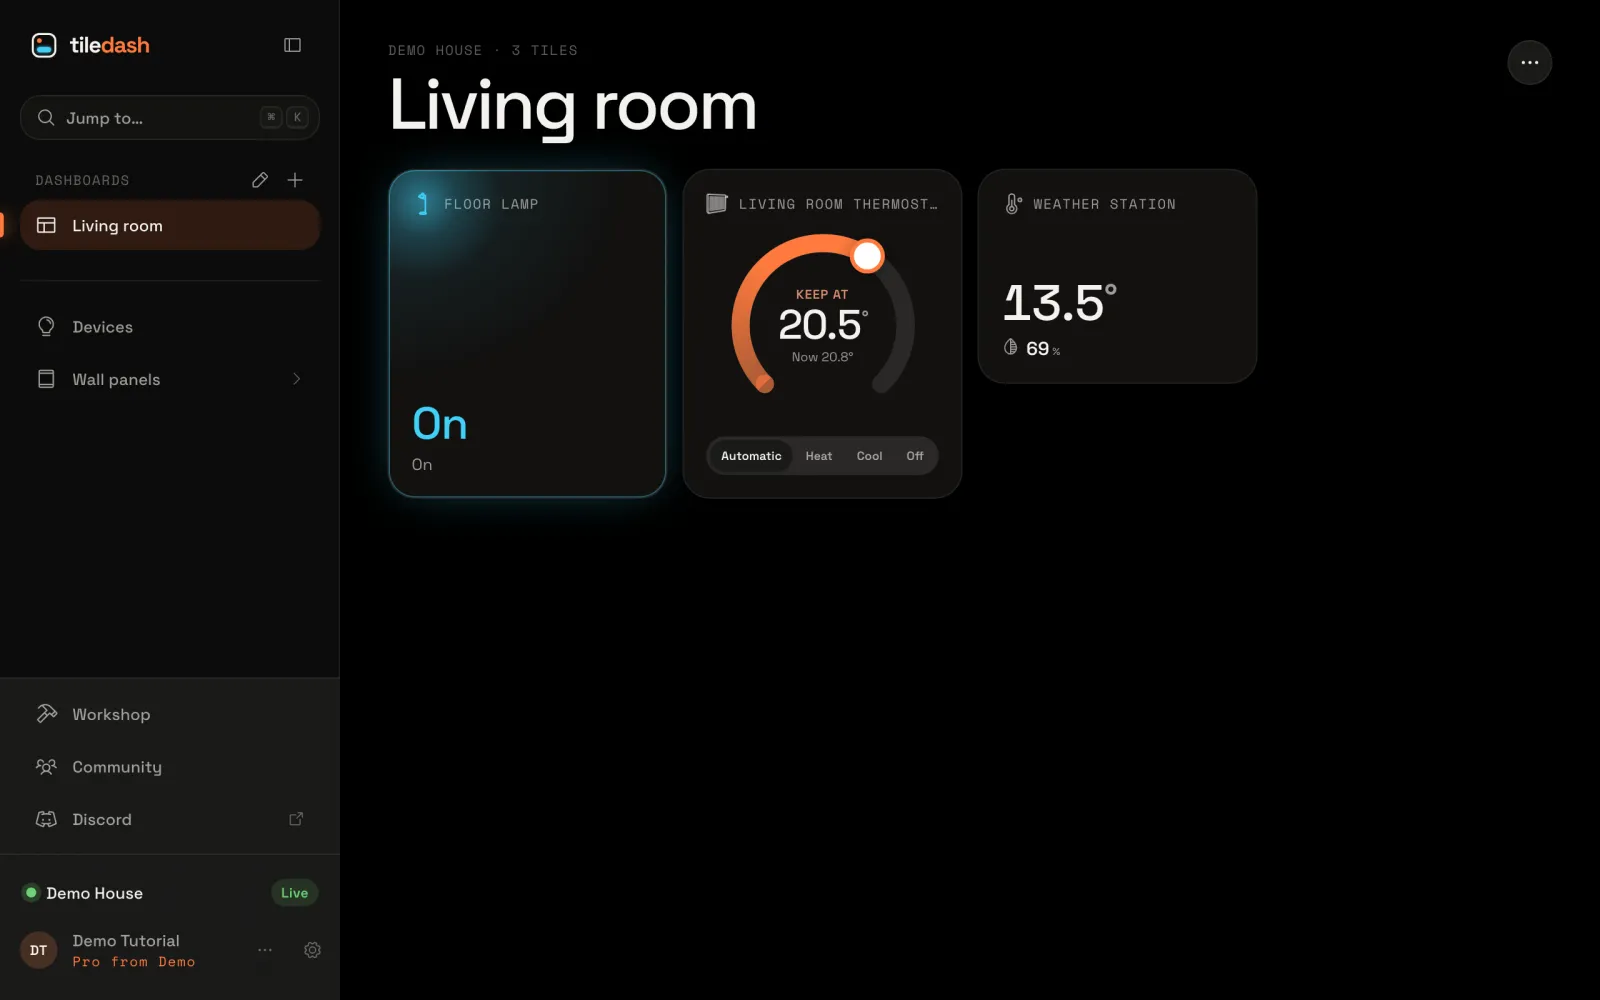
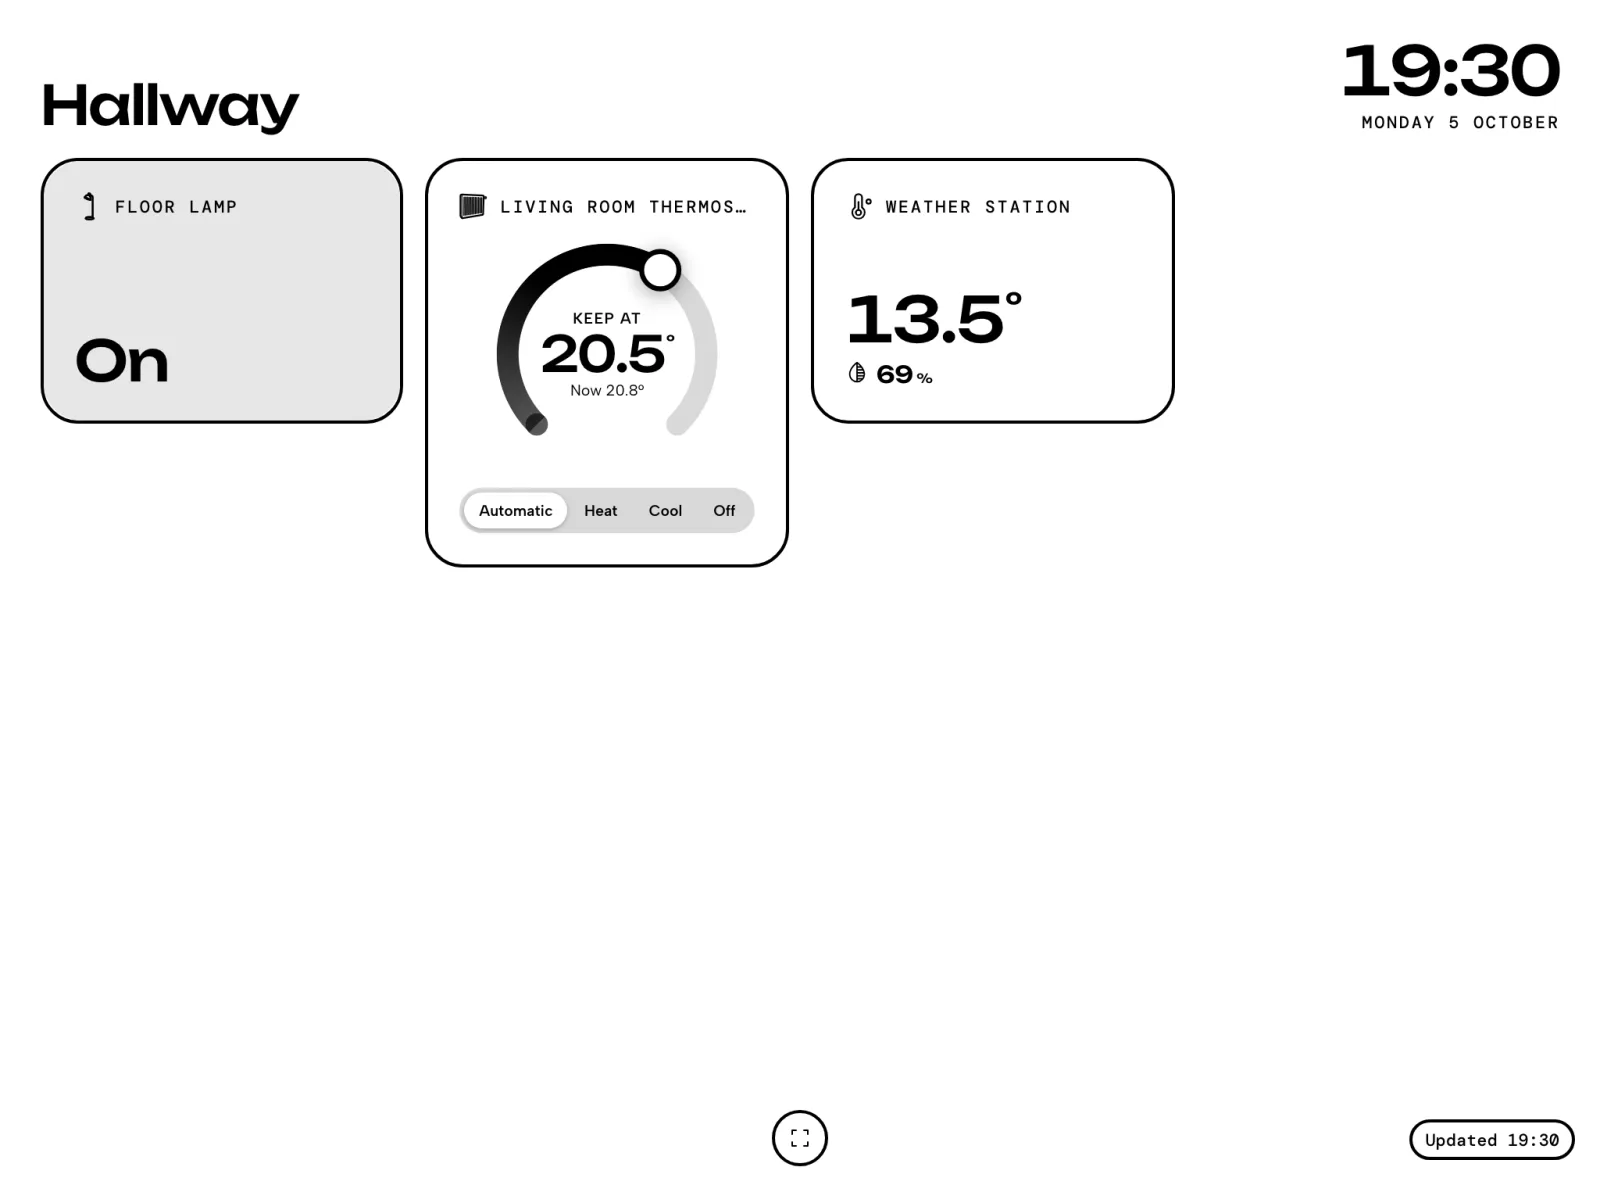
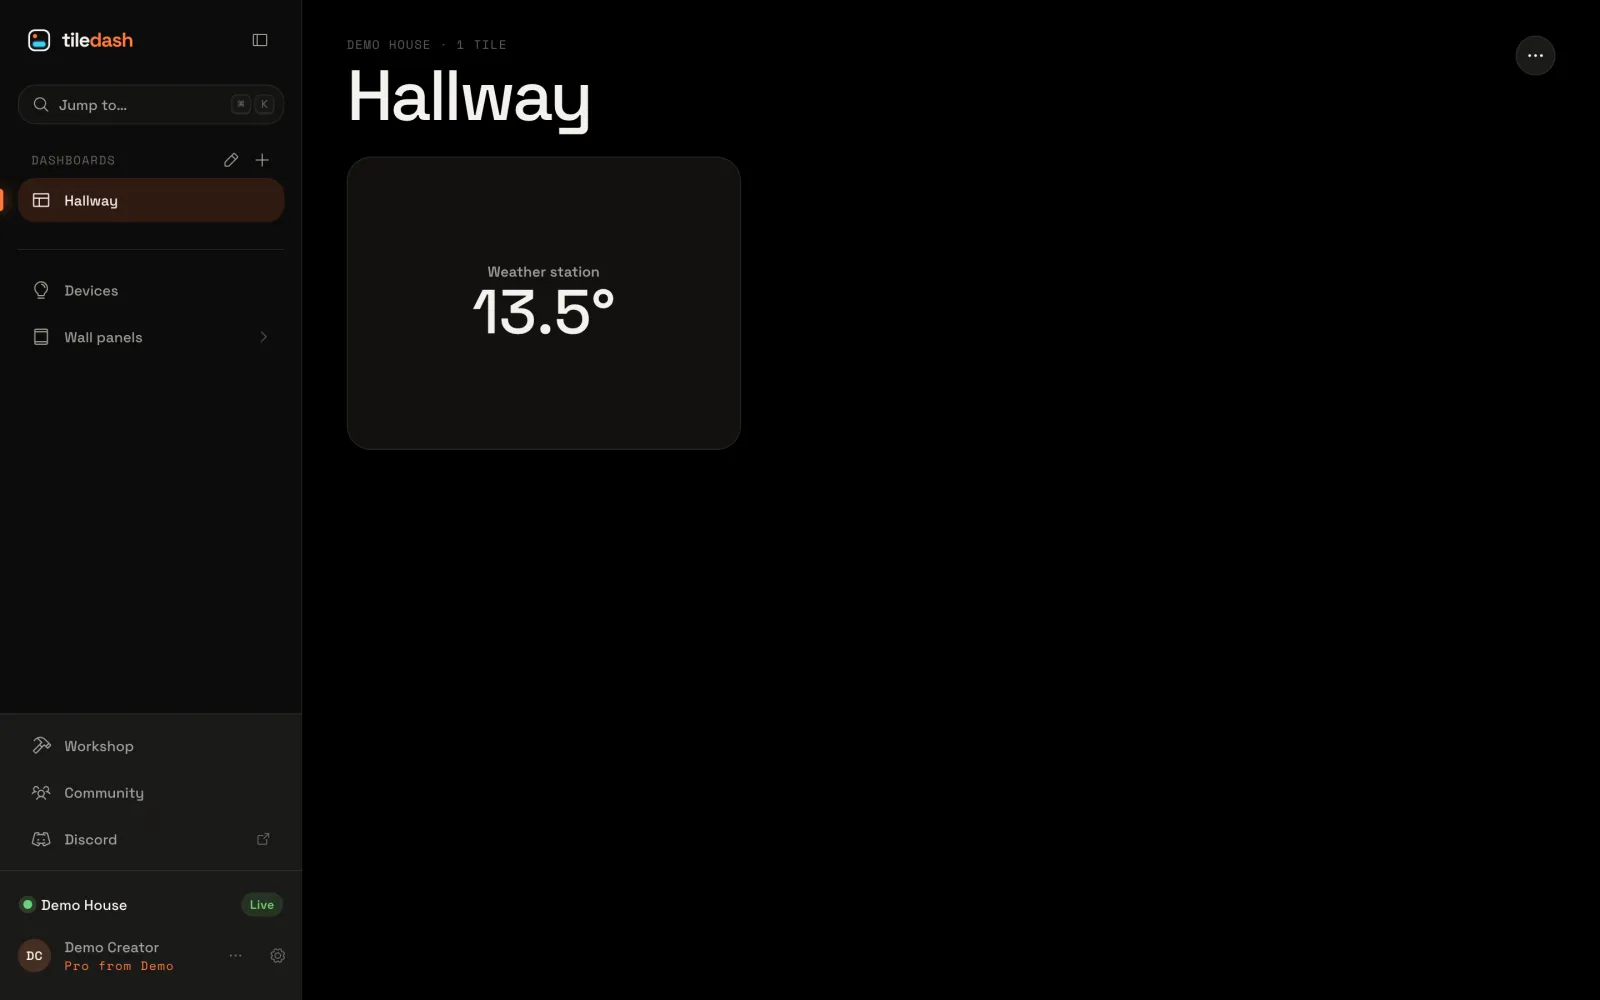
3Add your first widgetsA lamp, your thermostat and the weather station on your dashboard, live, with the lamp made as tall as the thermostat.
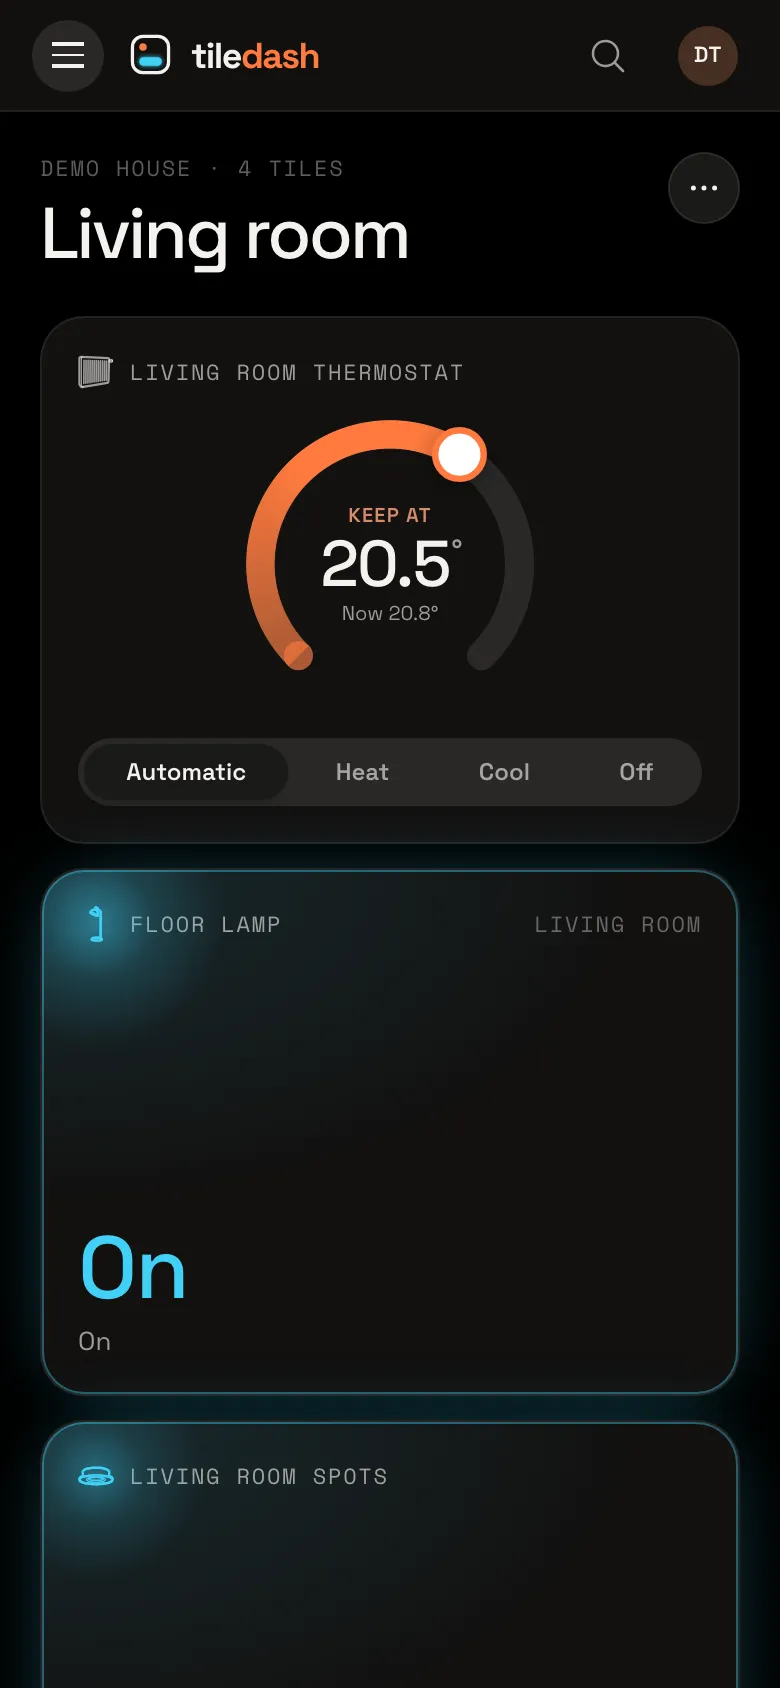
4Arrange tiles for each screen sizeGive your dashboard its own layout for phones, with the thermostat first and the weather station left out, while tablets and desktops keep theirs.
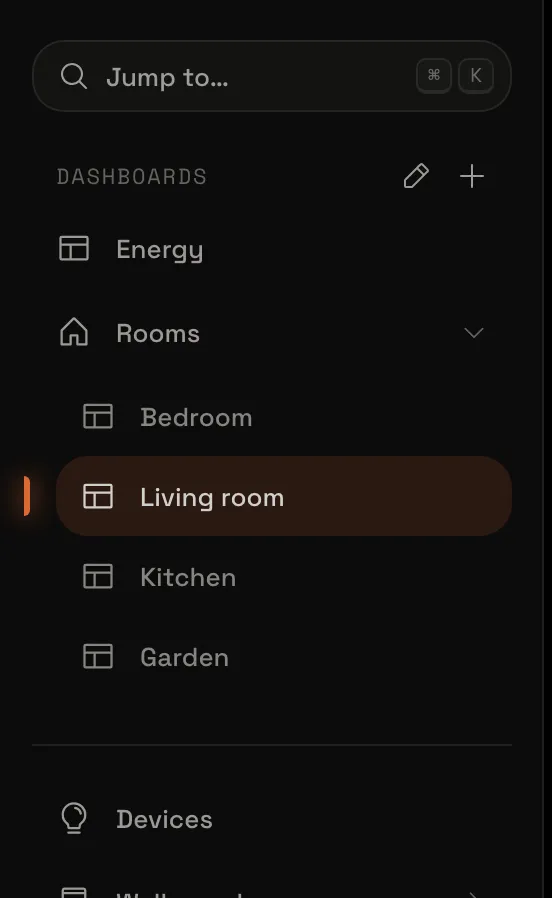
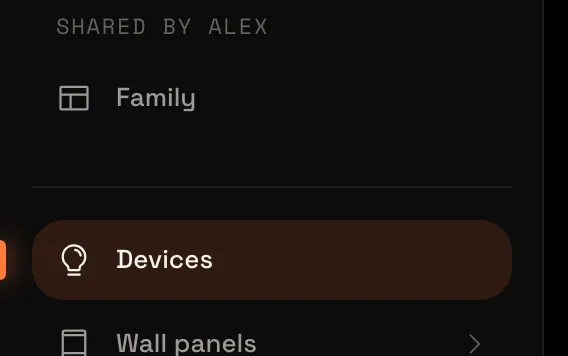
5Tidy your sidebarPut your room dashboards in a group of their own, hide a page you rarely use, and make quick changes with a right-click.
6Connect an e-ink screenAn e-ink screen on your wall running a wall panel, paired with a code and without your login on it, in the theme you pick from your account.
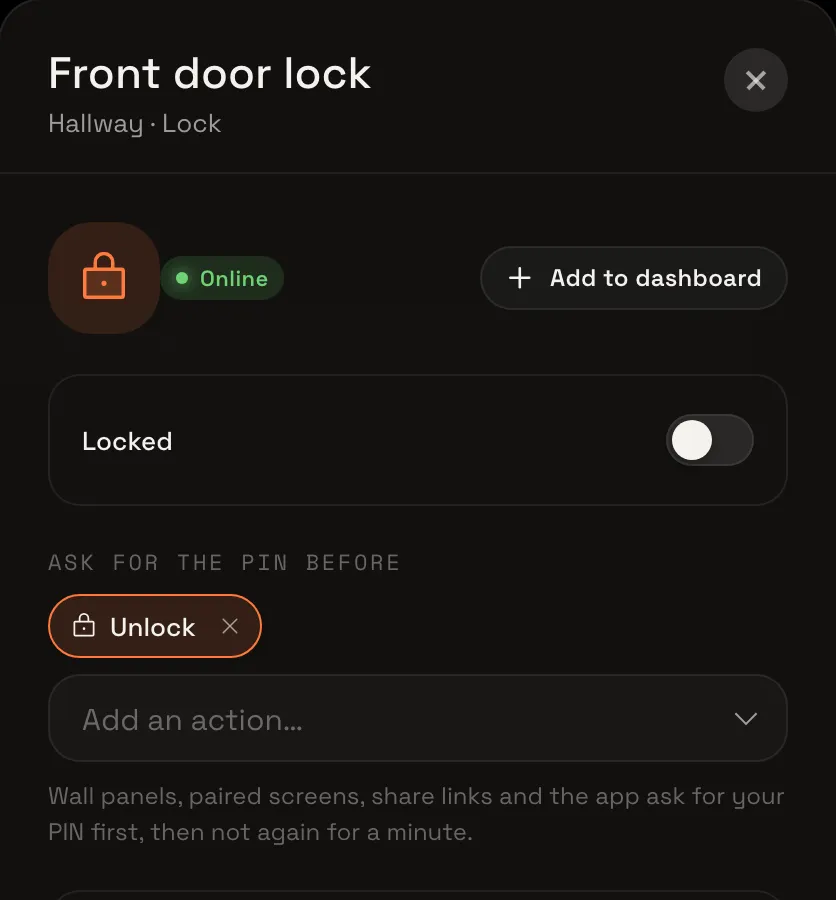
7Protect an action with a PINSet your PIN, choose which device action asks for it, and try unlocking your front door.
8Let your household into your HomeySomeone else who uses your Homey asked to join. Let them in, choose which rooms they may see or switch, and share a dashboard with them.
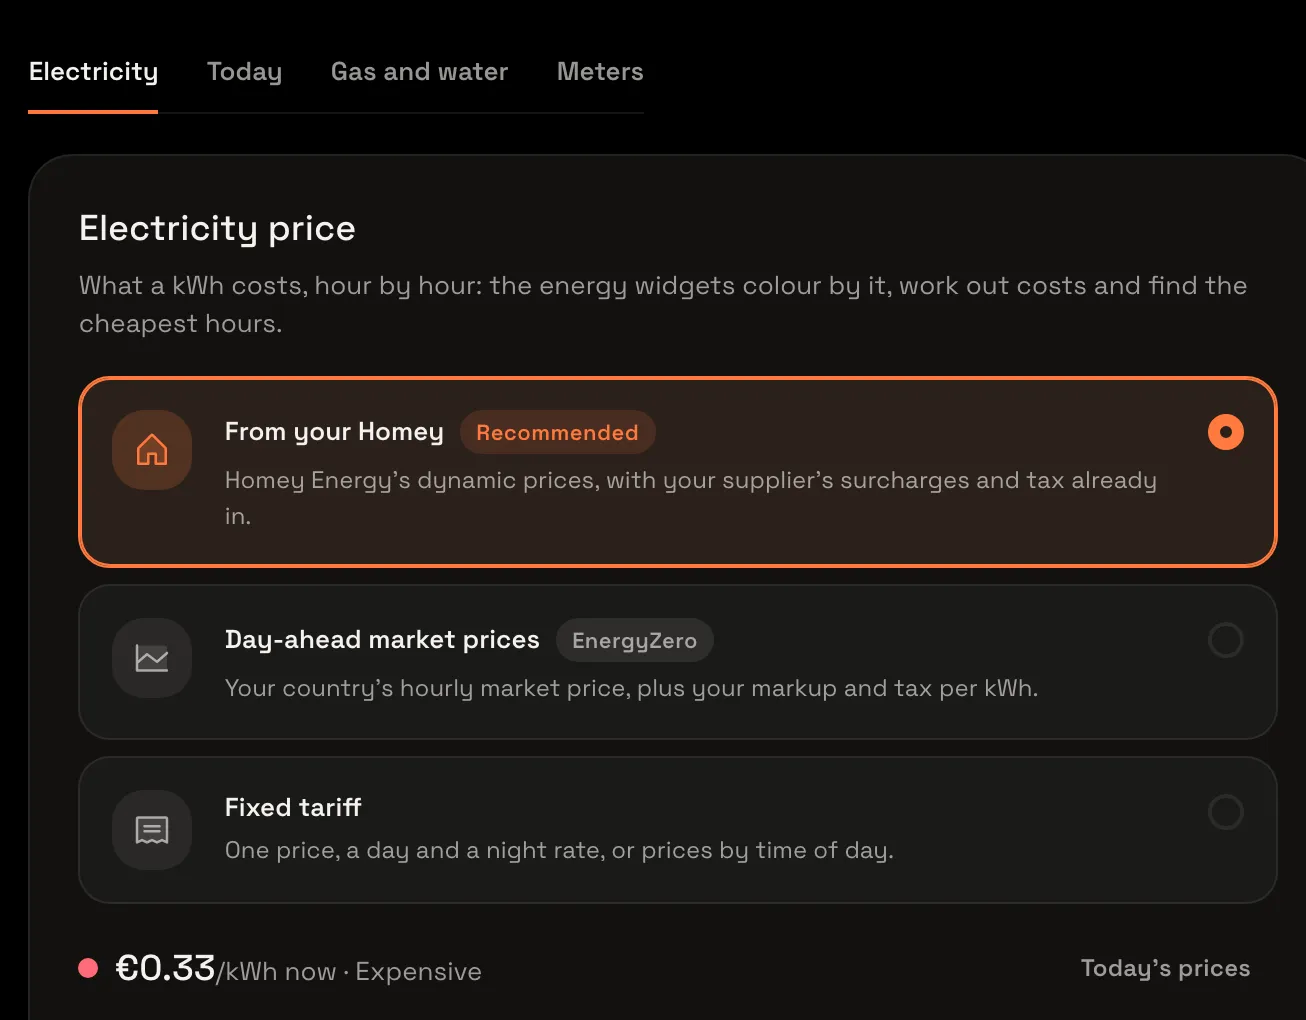
9Set up your energy prices and metersCheck where your electricity price comes from, see today’s prices, add gas and water prices, and check the meters the energy widgets count.
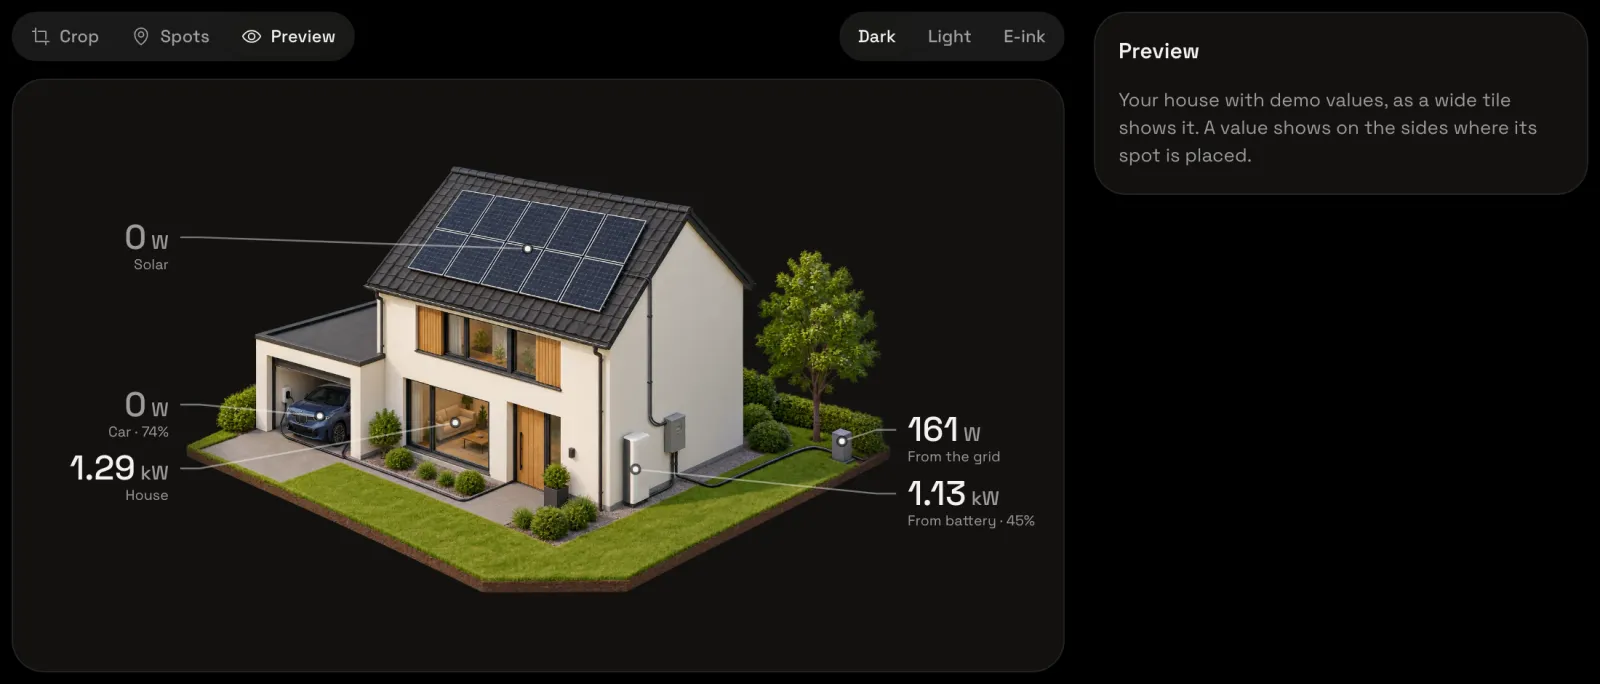
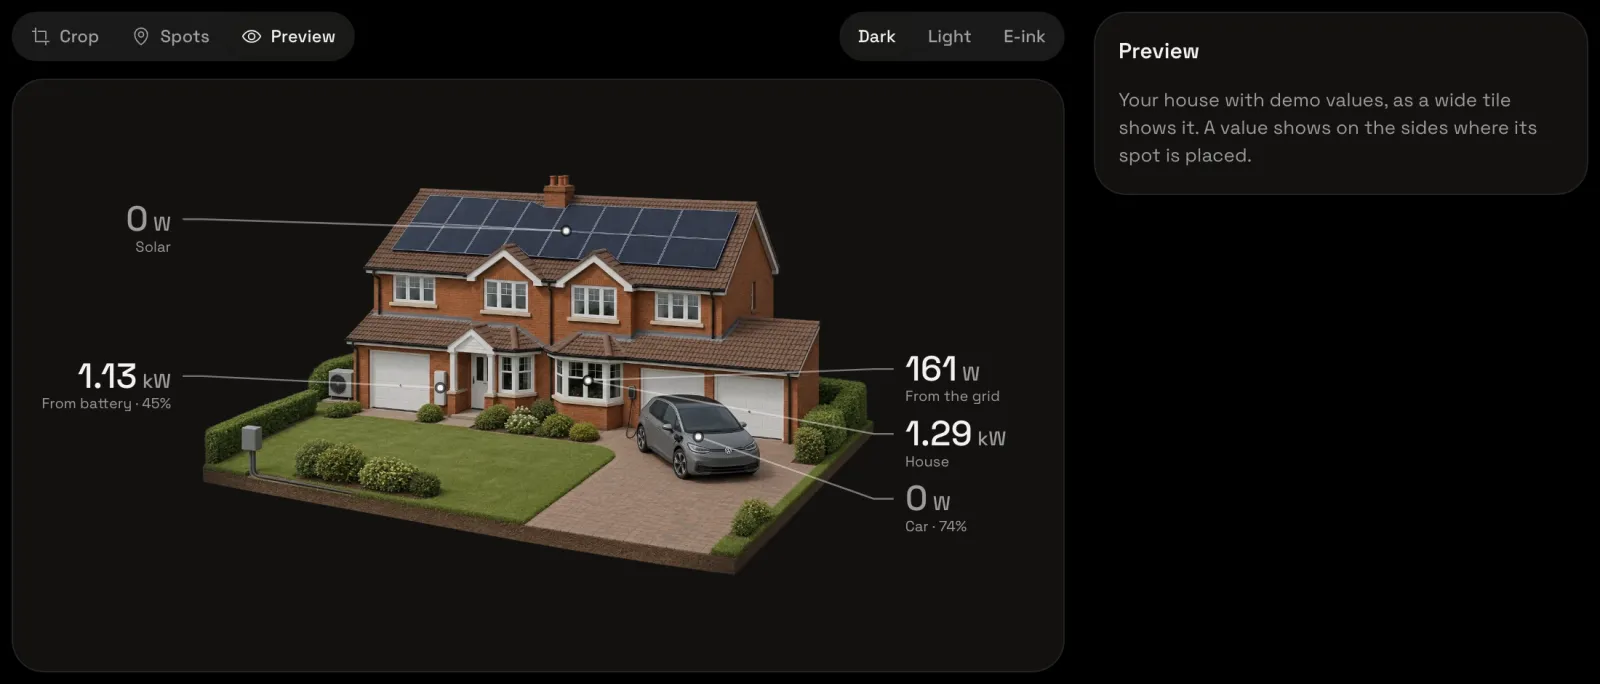
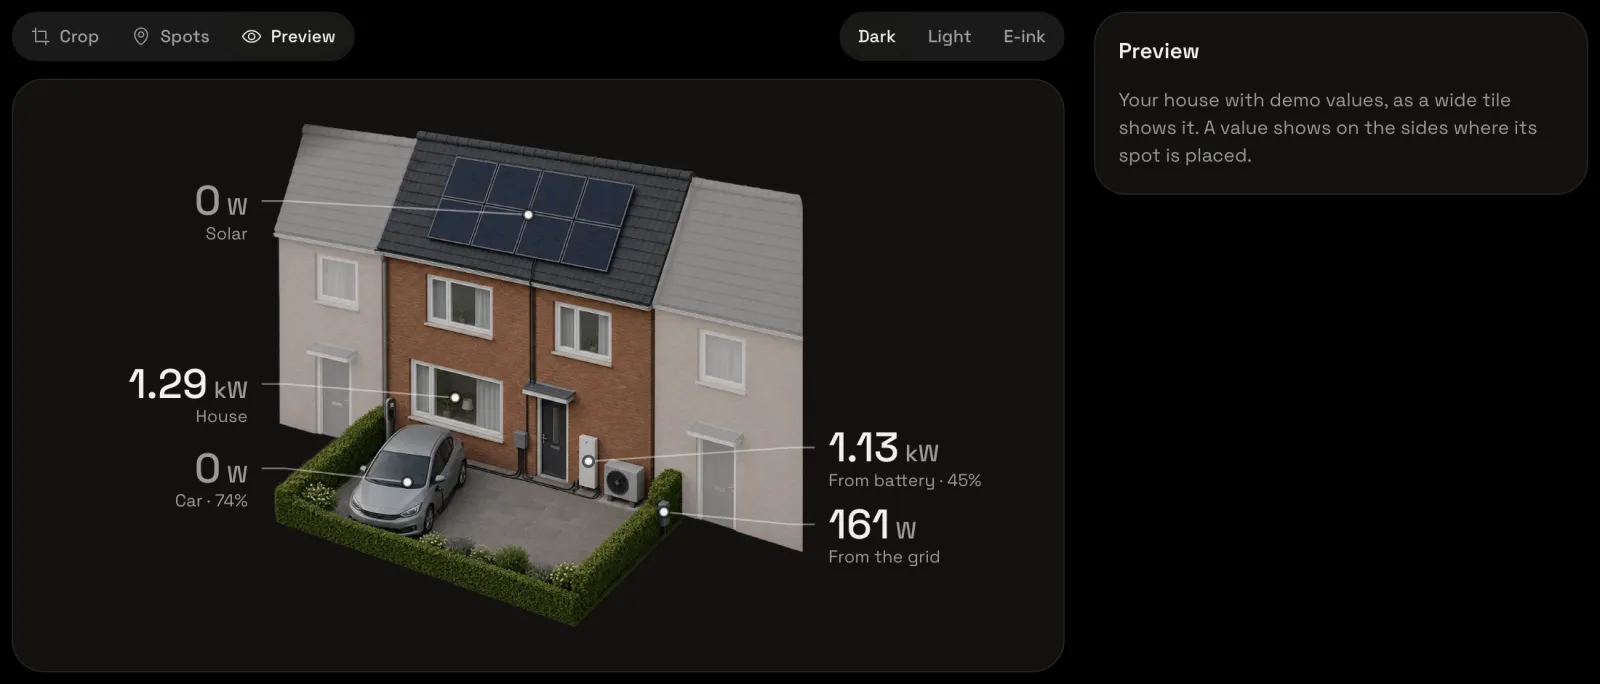
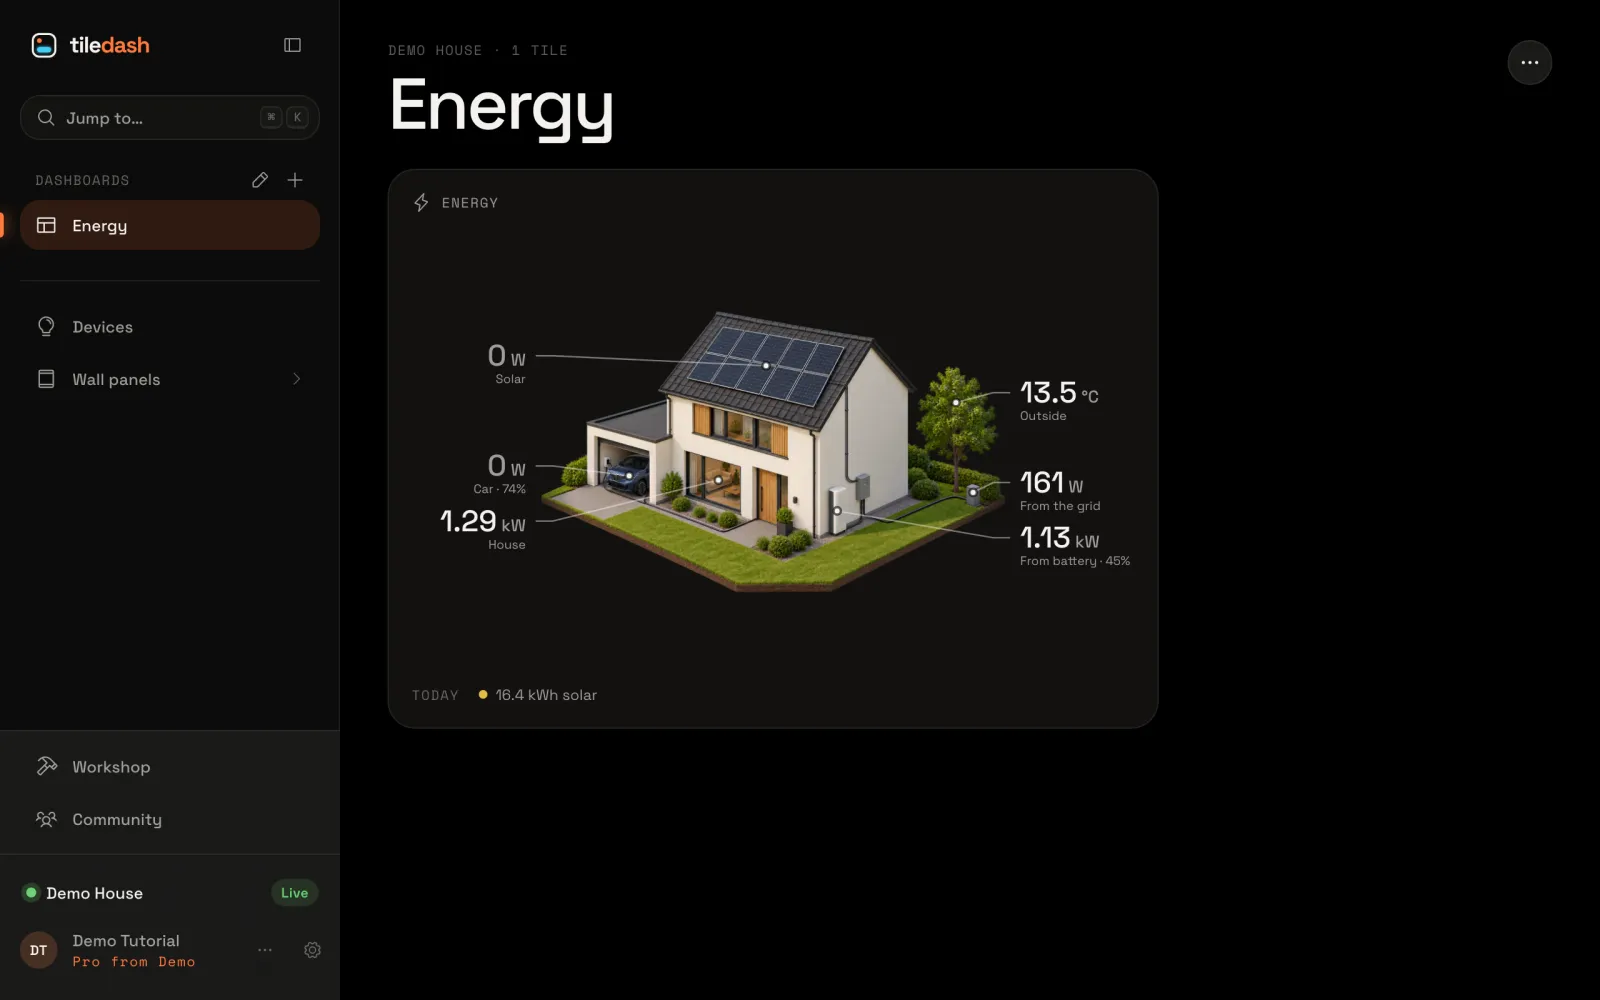
10Start your house in 3D from a Tiledash housePick one of Tiledash’s ready-made 3D houses, with its solar, battery, car and the rest already marked, and see how your energy shows on it.
11Turn a photo of your house into a 3D pictureUpload a photo of your house, answer a few questions, and let Tiledash make a 3D picture of it with its solar, battery, car and the rest already marked.
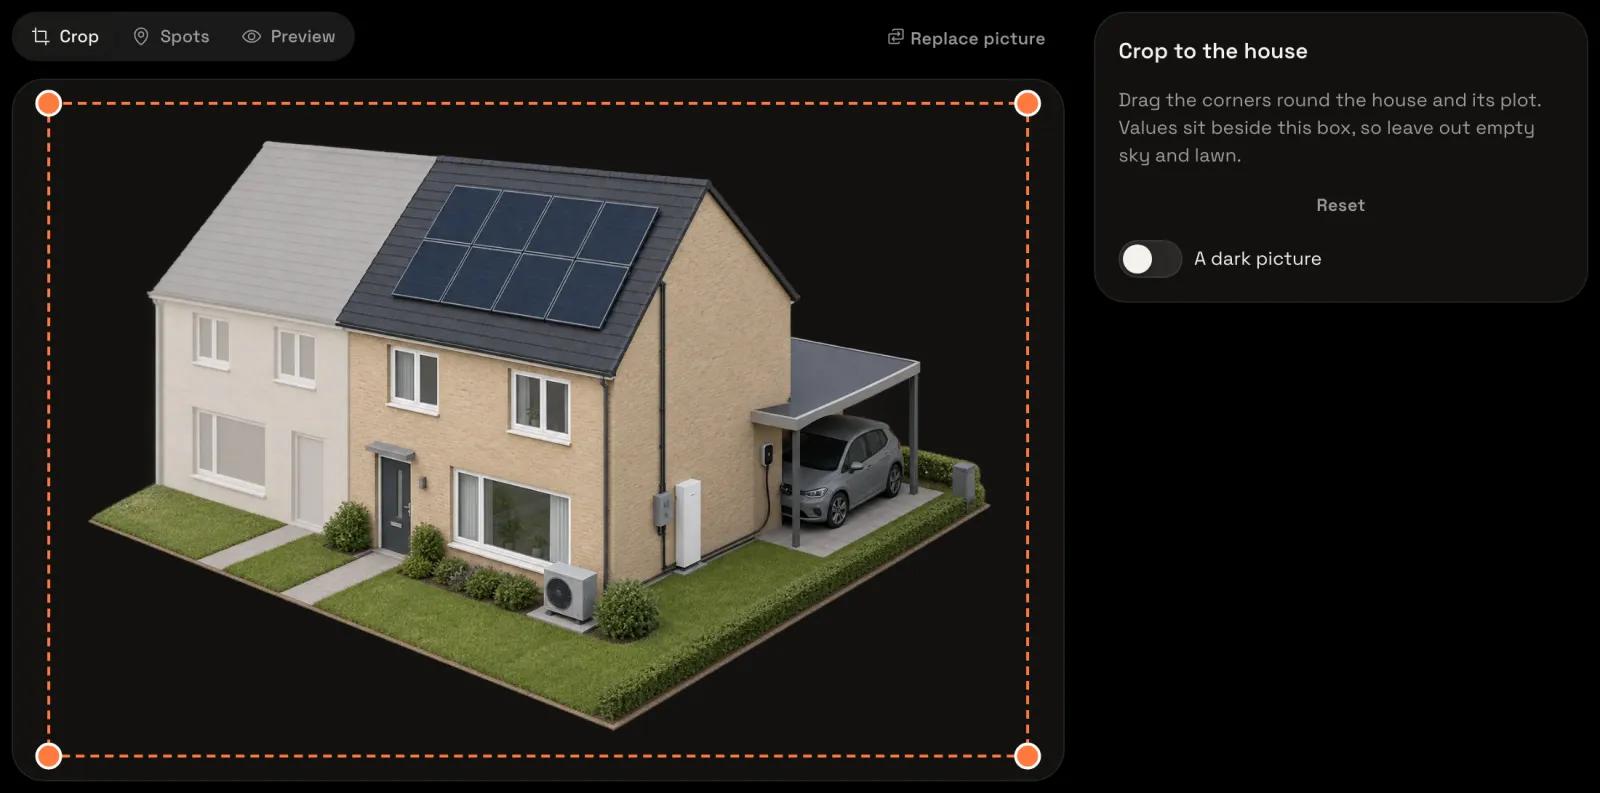
12Upload your own house picture and place its spotsUpload a 3D picture of your house you already have, crop it to the house, and mark where your solar, battery, car and the rest are, one tap each.
13Make a picture of your house in your own chatLet Tiledash write the prompt for a picture of your house, make it in ChatGPT or Gemini, and upload what it makes.
14Show your house on a dashboardPut your 3D house on a dashboard with the Energy house widget, choose which house it shows, and give its garden the temperature outside.
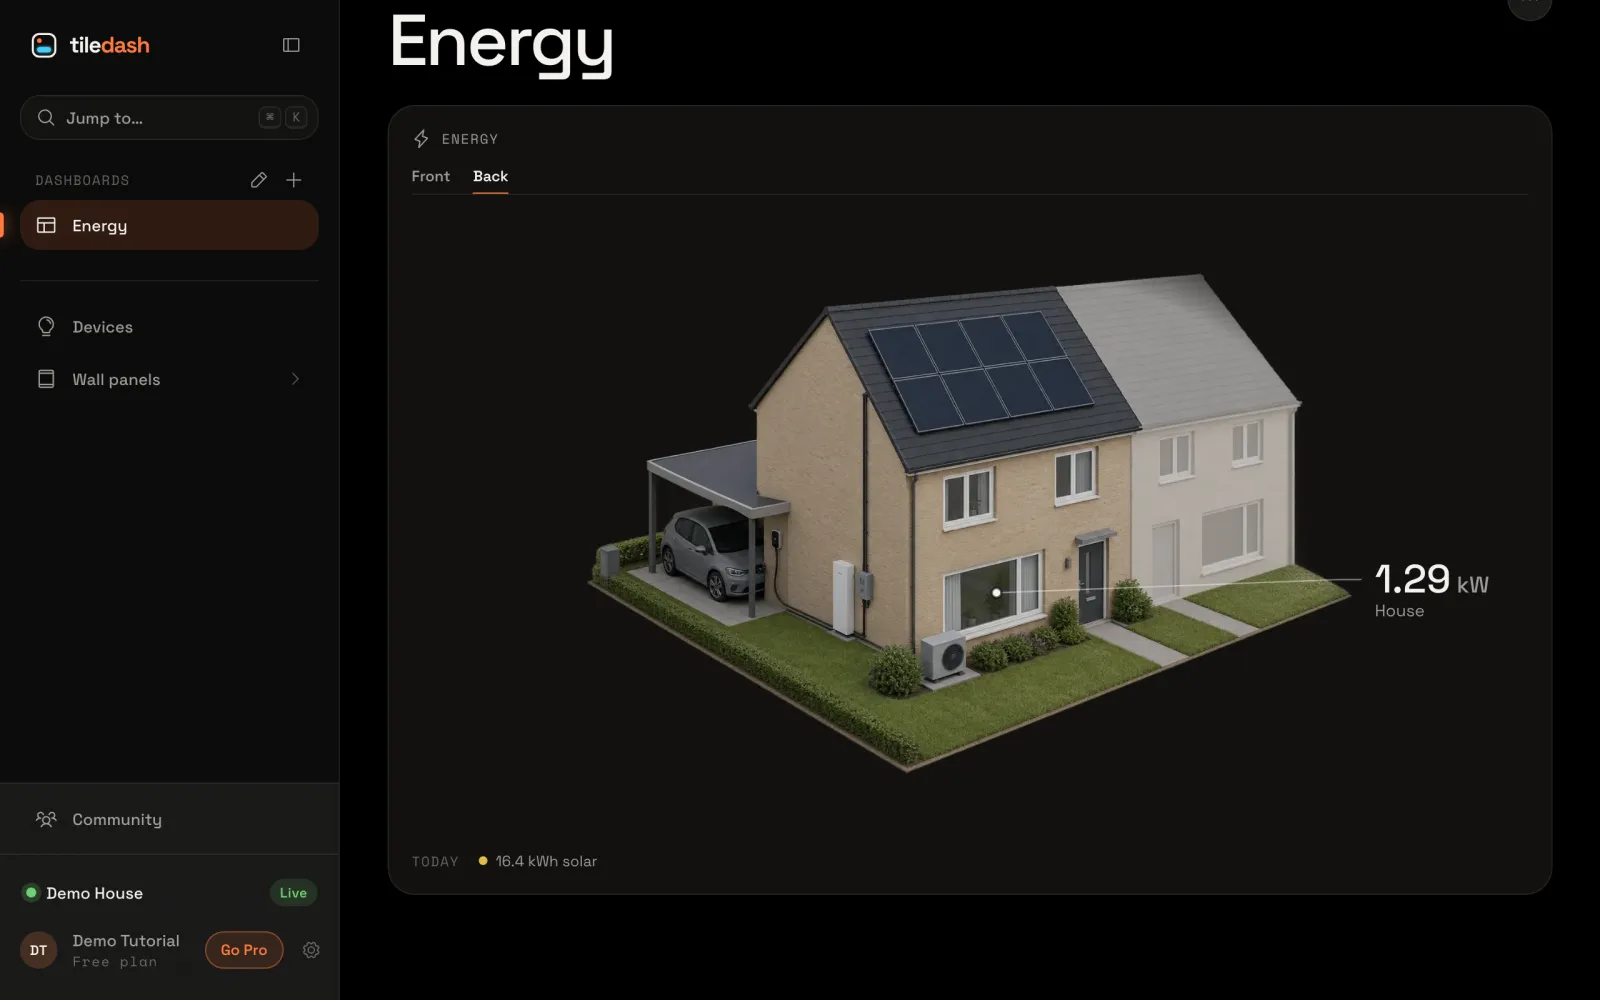
15Show the front and back of your houseGive your house a second side with its own picture and spots, and move between the sides on the Energy house tile with tabs.
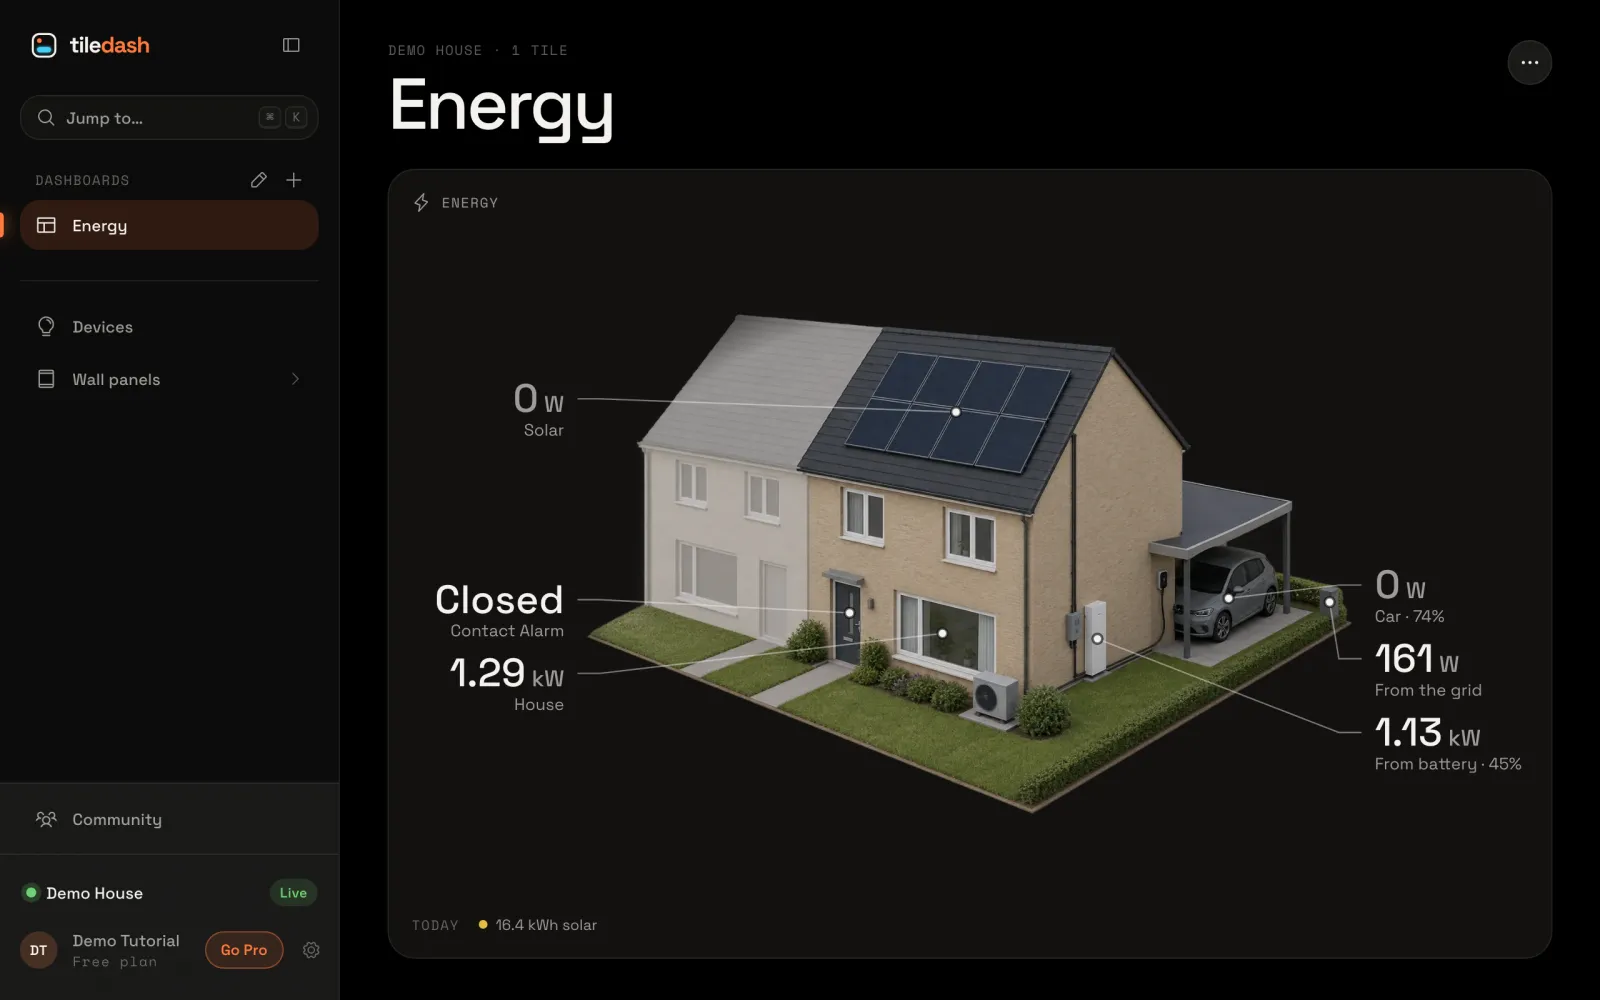
16Give your own spot a valueAdd a spot of your own to your house’s picture, such as the front door, and show a sensor’s reading there on the Energy house tile.
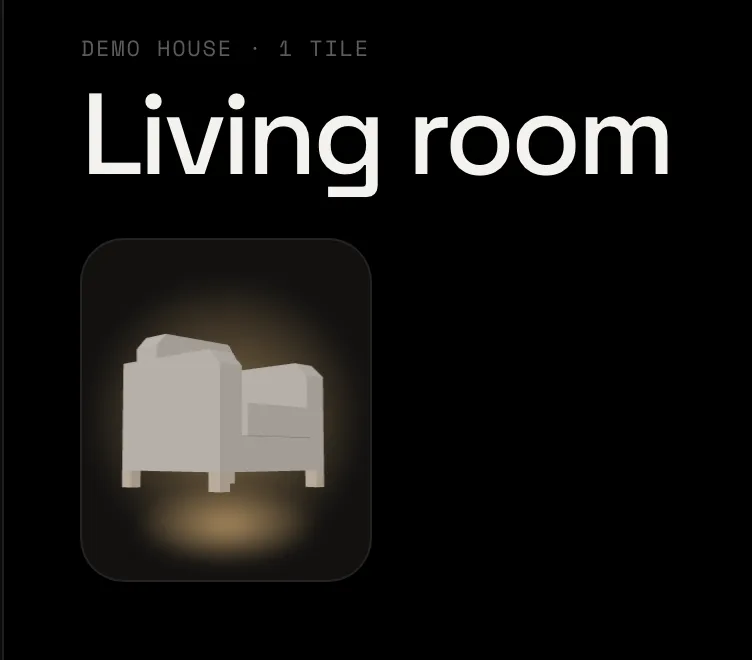
17Show a 3D model on a tileAn armchair on your dashboard, turned the way you like in 3D, glowing while the sofa lamp is on.
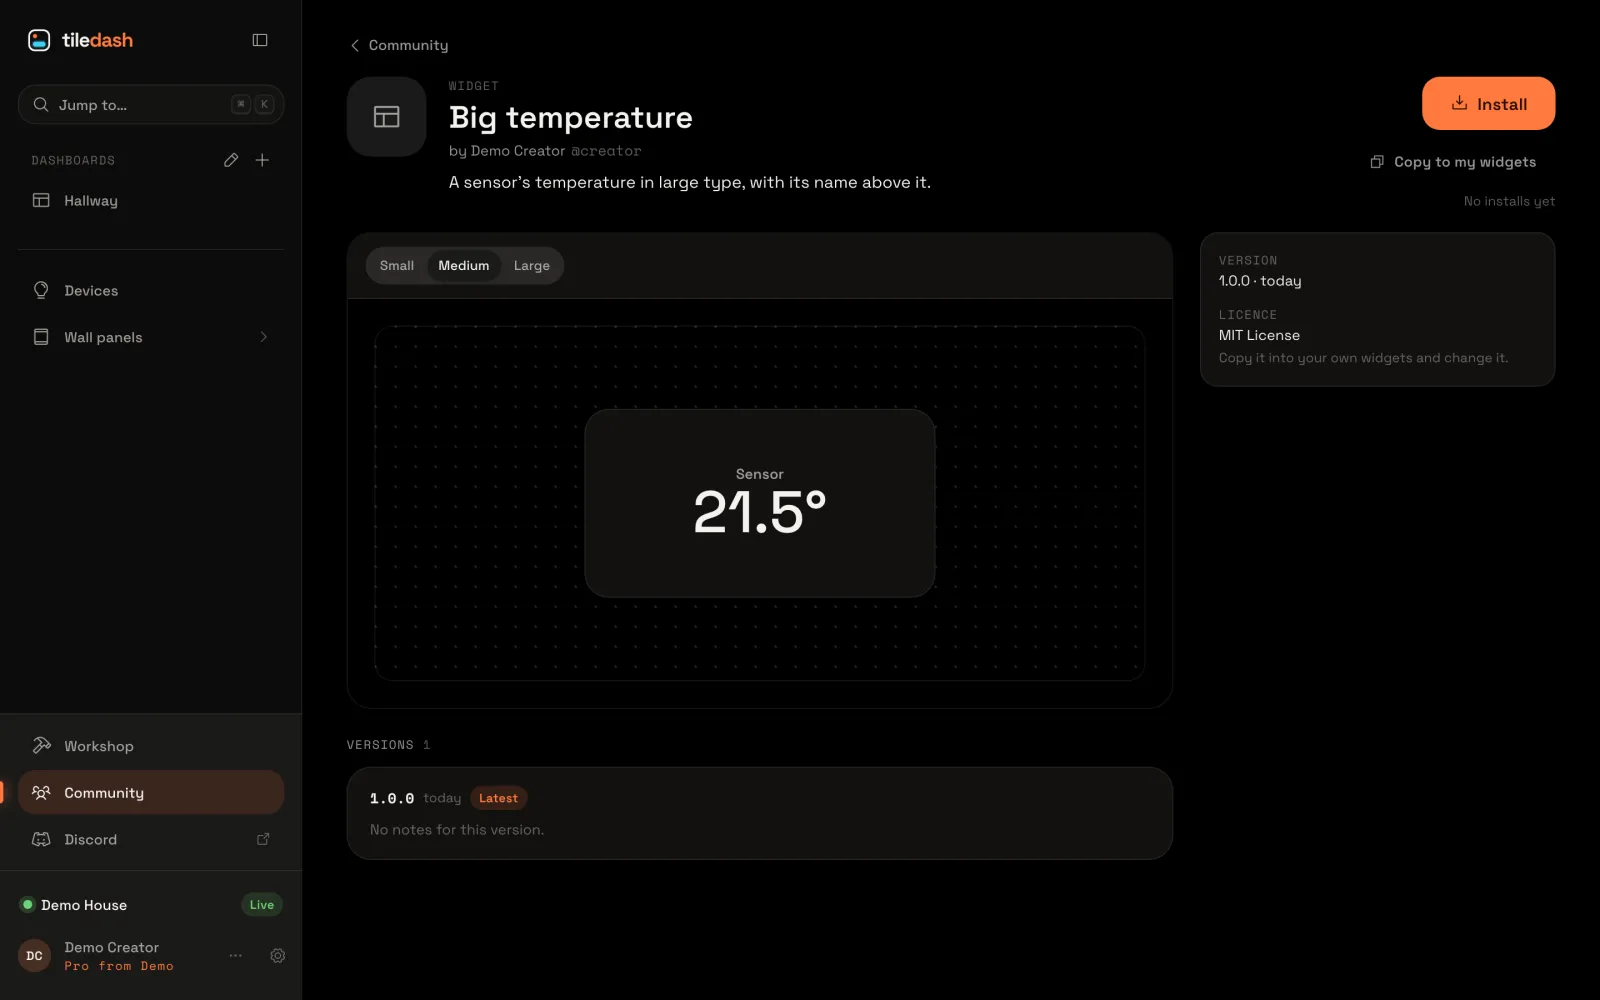
18Make your own widgetA widget of your own that shows a sensor's temperature in large type, made from three short pieces of code, saved and on your dashboard.
19Publish your widget to the communityYour widget in the community under a name of your own, for anyone to install, from the editor in a few steps.
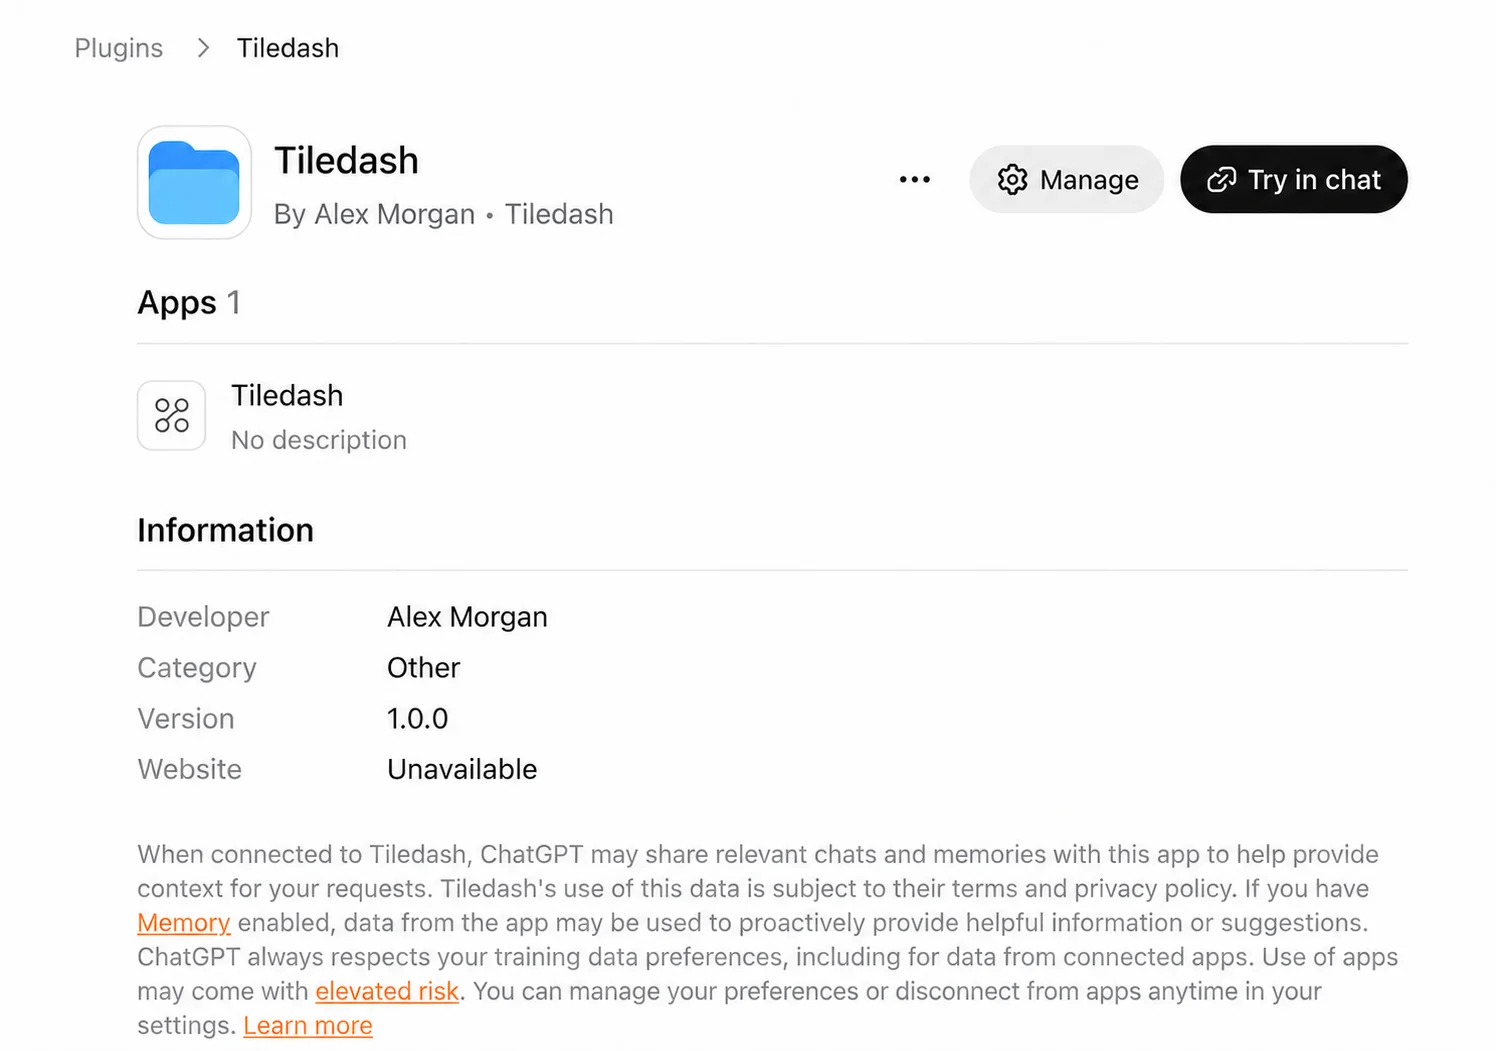
20Connect Tiledash to your AIAdd Tiledash’s MCP server to your assistant, sign in, and review the access before connecting.
21Disconnect an AI assistantTake an AI assistant’s access to your Tiledash away, so its key and preview links stop at once.
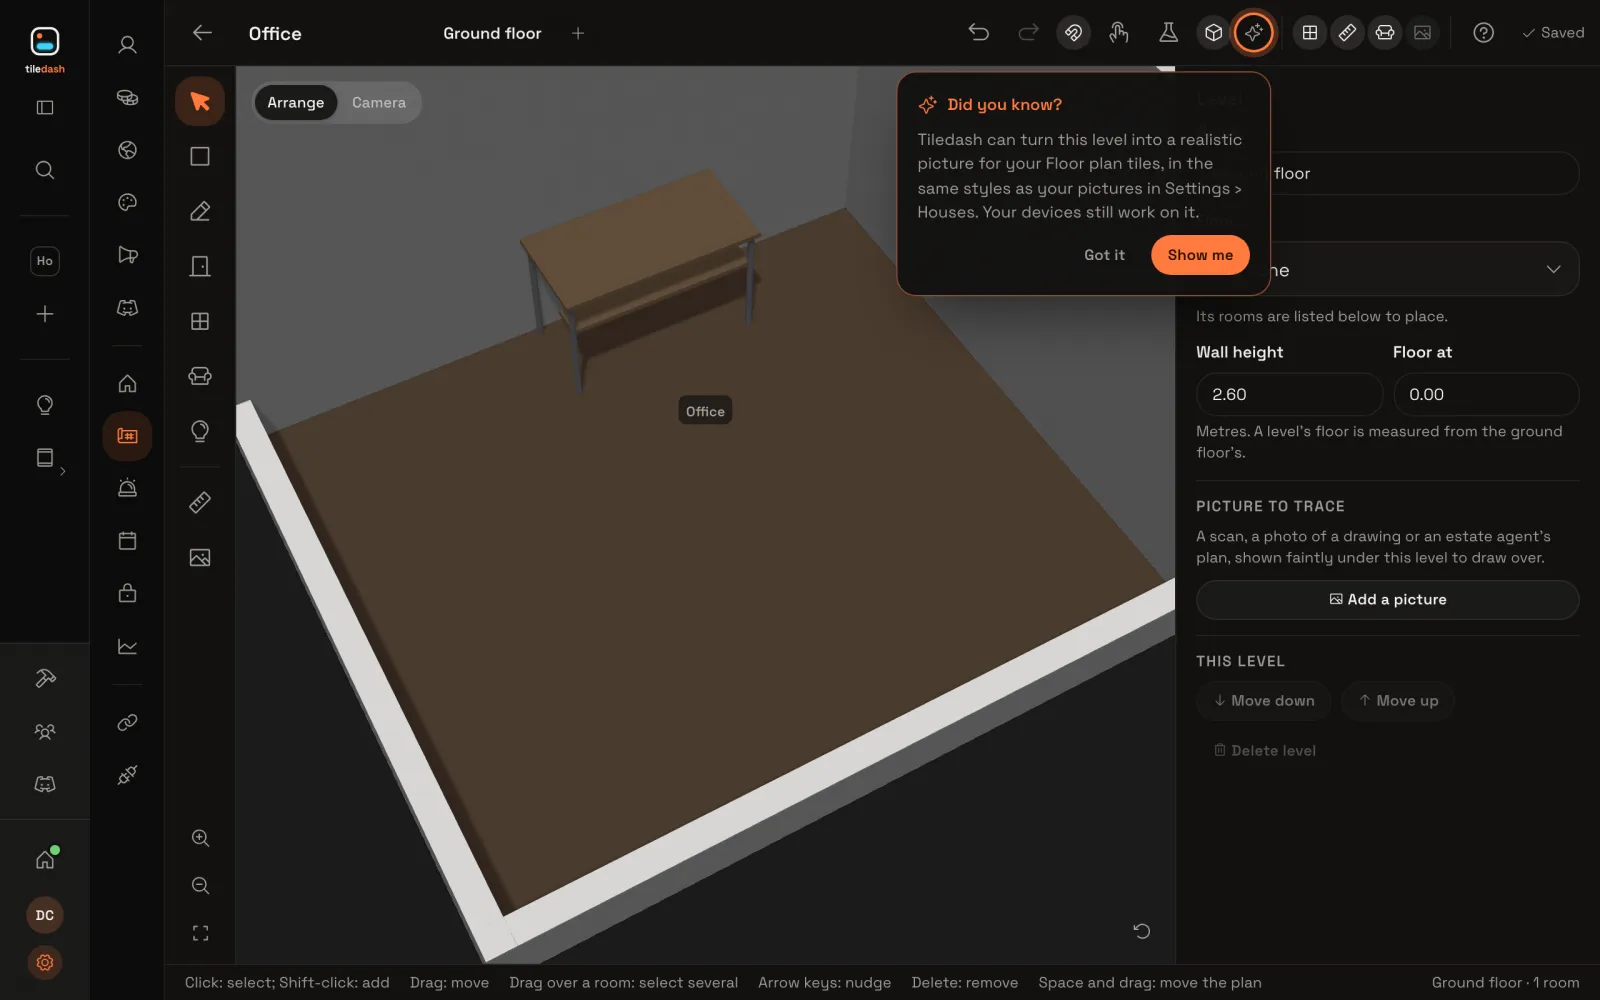
22Build a model with your AIDescribe a desk, refine it in a live preview, and place your new furniture in a floor plan.
23Make your first themeStart a theme from Tiledash’s own, give it a colour, a moving background and tiles that fill when on, and put it on a dashboard.
24Make a theme with your AIDescribe a theme, watch it in a live preview, ask for a change, see each save in History, and put it on a dashboard.