Tutorial
Add your first widgets
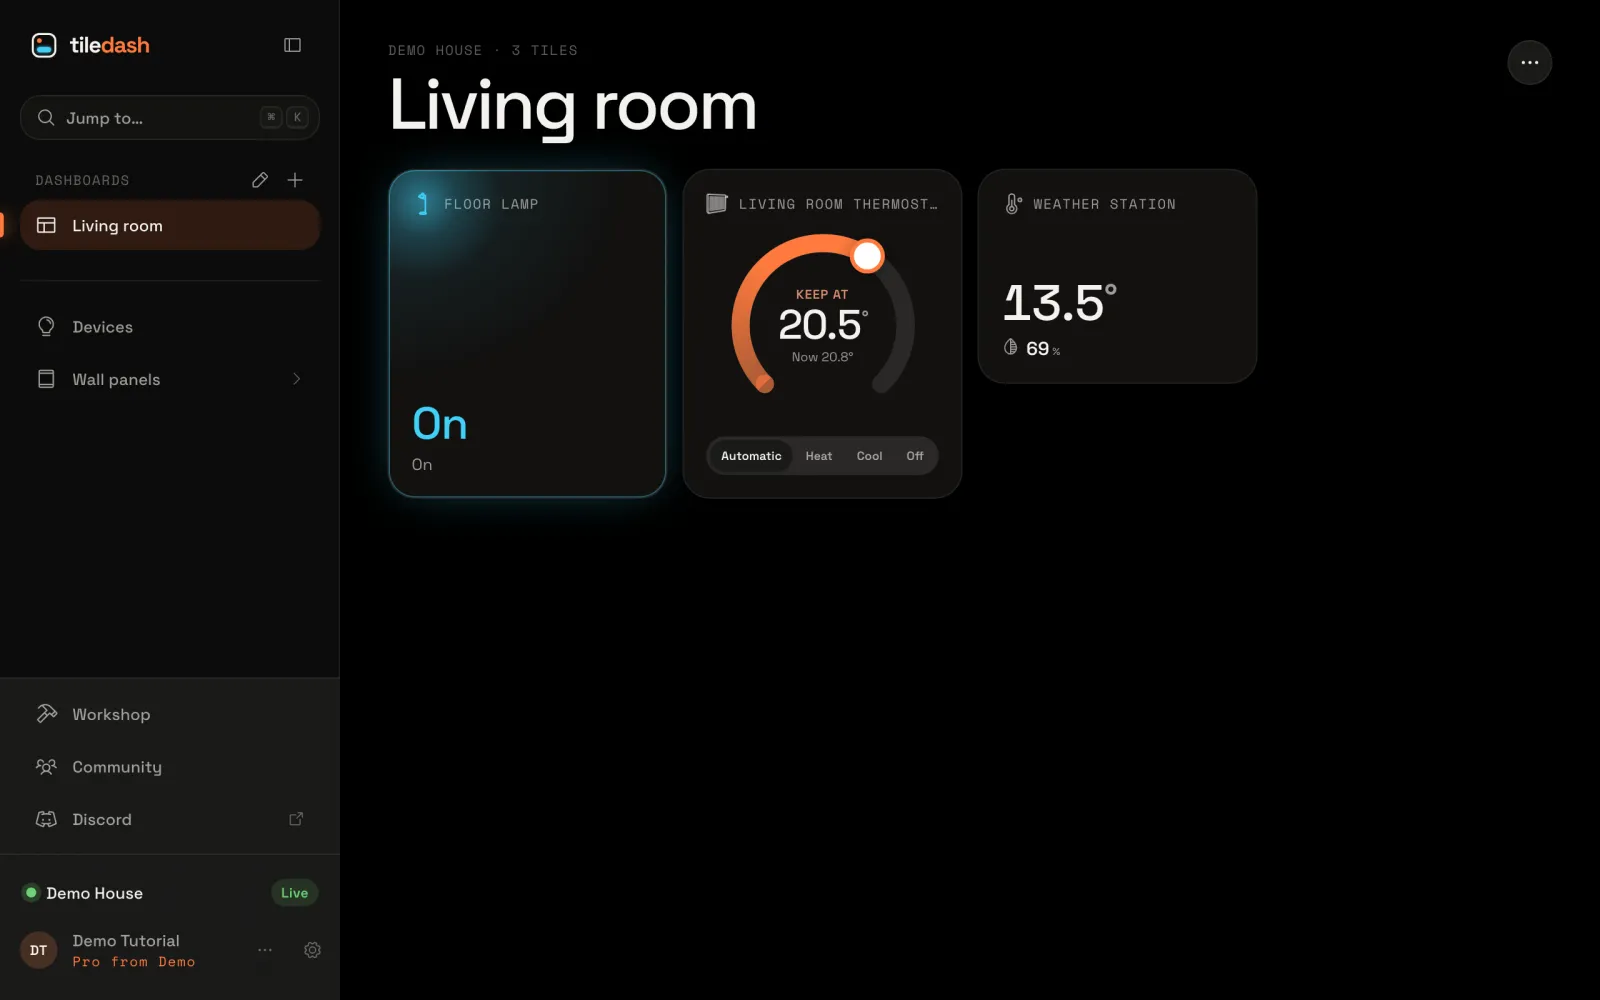
A lamp, your thermostat and the weather station on your dashboard, live, with the lamp made as tall as the thermostat.
- Takes
- About 4 minutes
- Steps
- 7
What you end up with

Open the widget picker
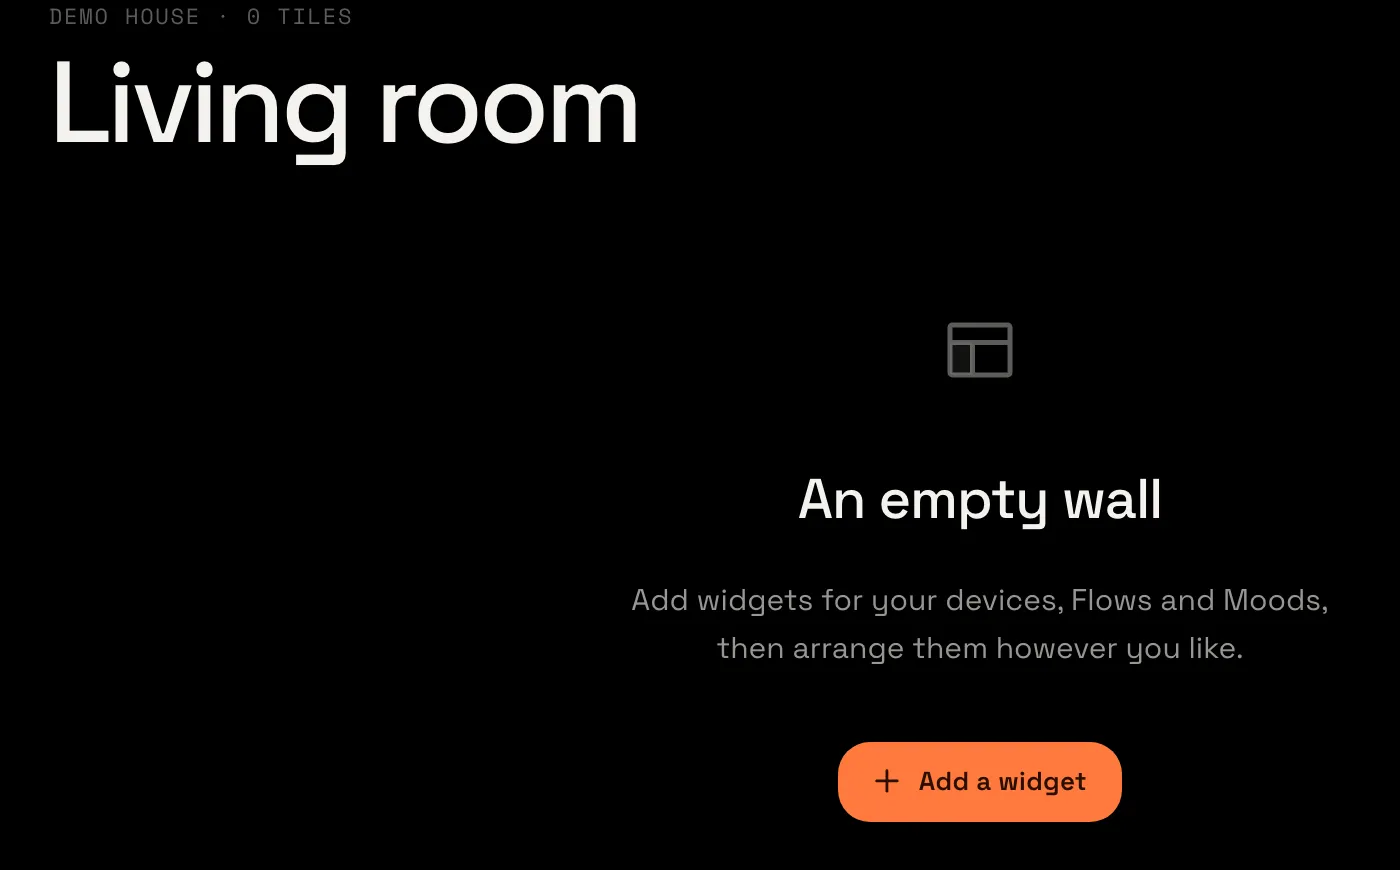
Open your empty Living room dashboard and choose Add a widget. The Add widgets window opens, with your devices listed by room.
Pick a lamp
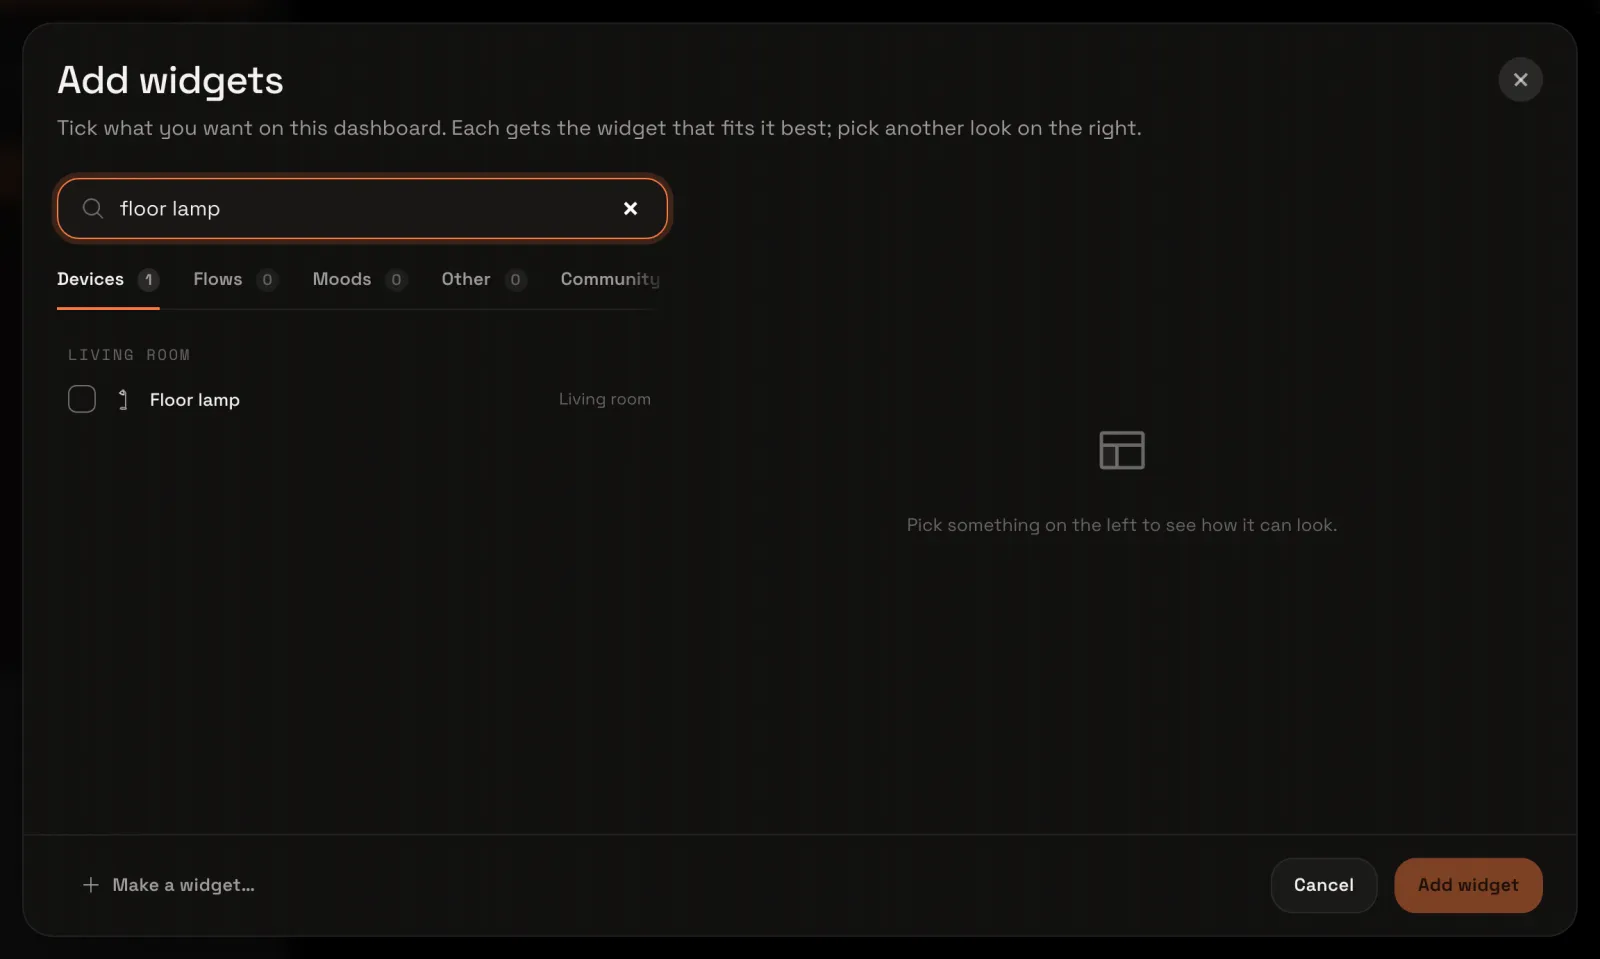
Type floor lamp in the search at the top. Only what matches is left. Tick Floor lamp: its looks show on the right, with Light marked Recommended, and the footer says 1 selected.
Add the thermostat
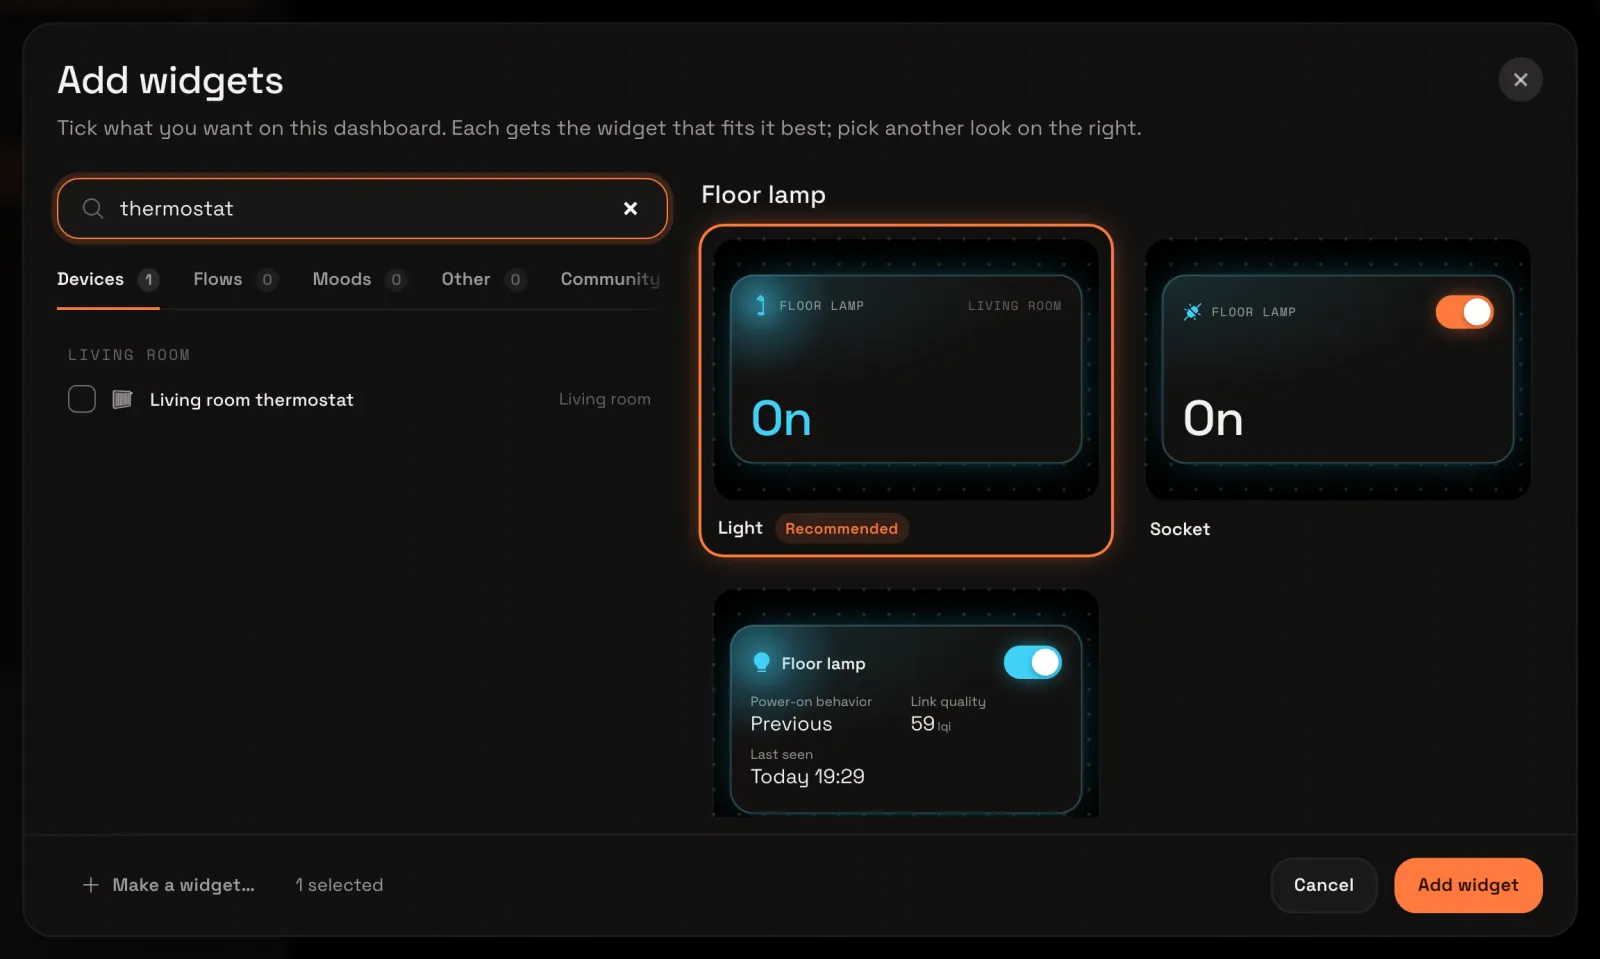
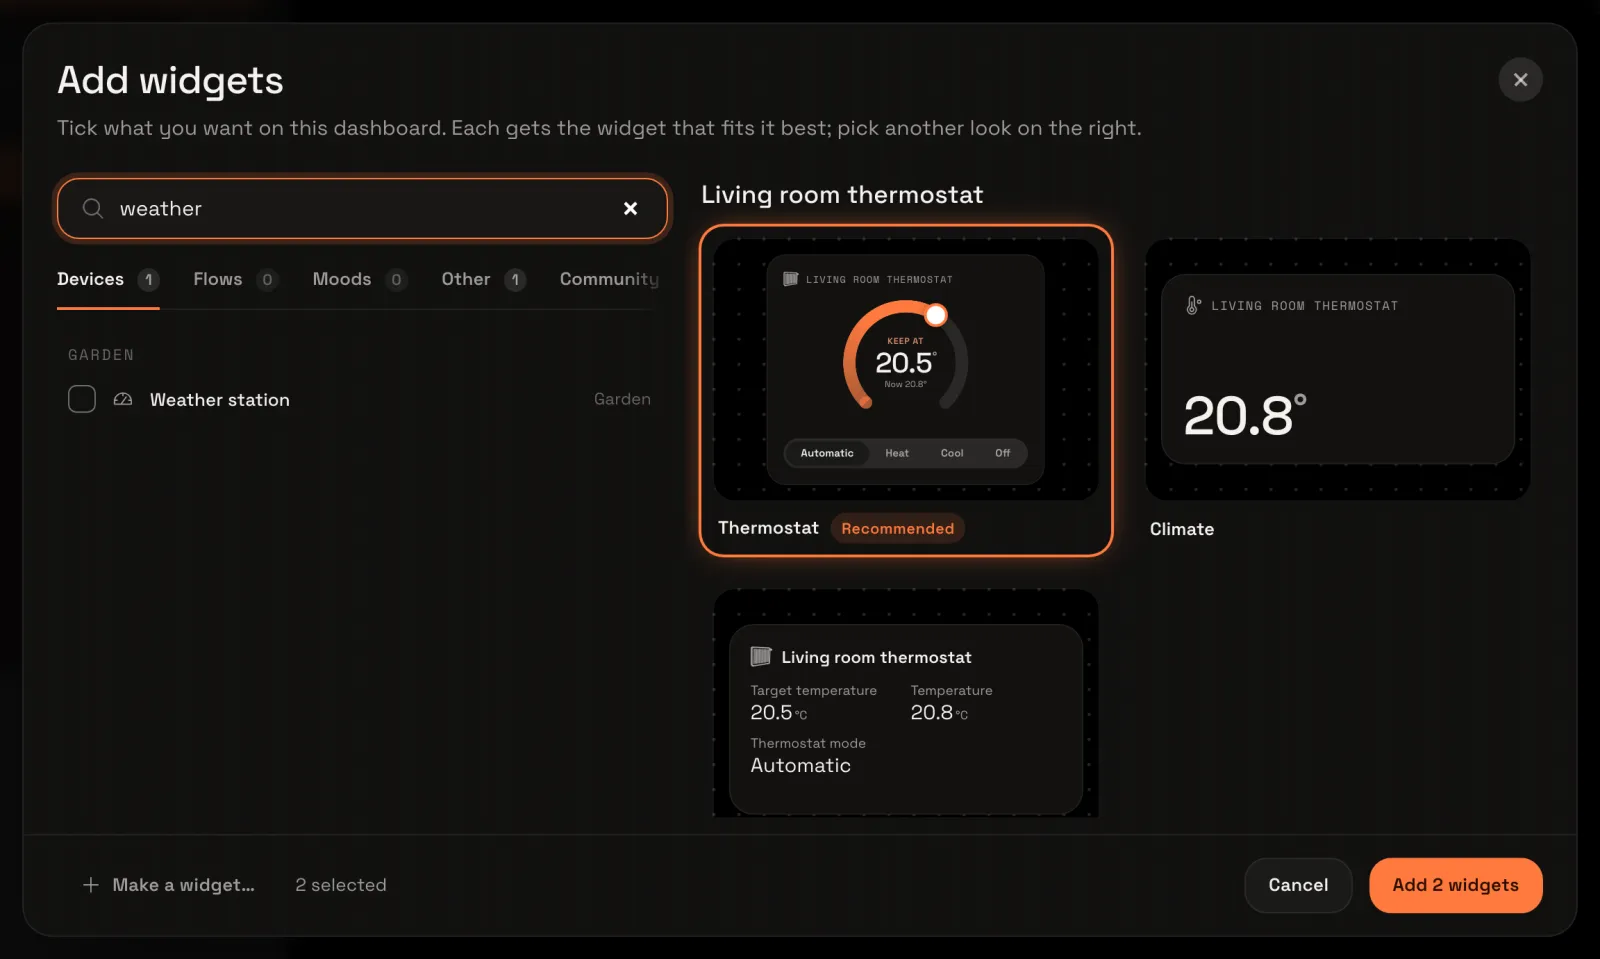
Type thermostat and tick Living room thermostat. The lamp stays ticked: the footer now says 2 selected, and Thermostat is the recommended look.
Add the weather station
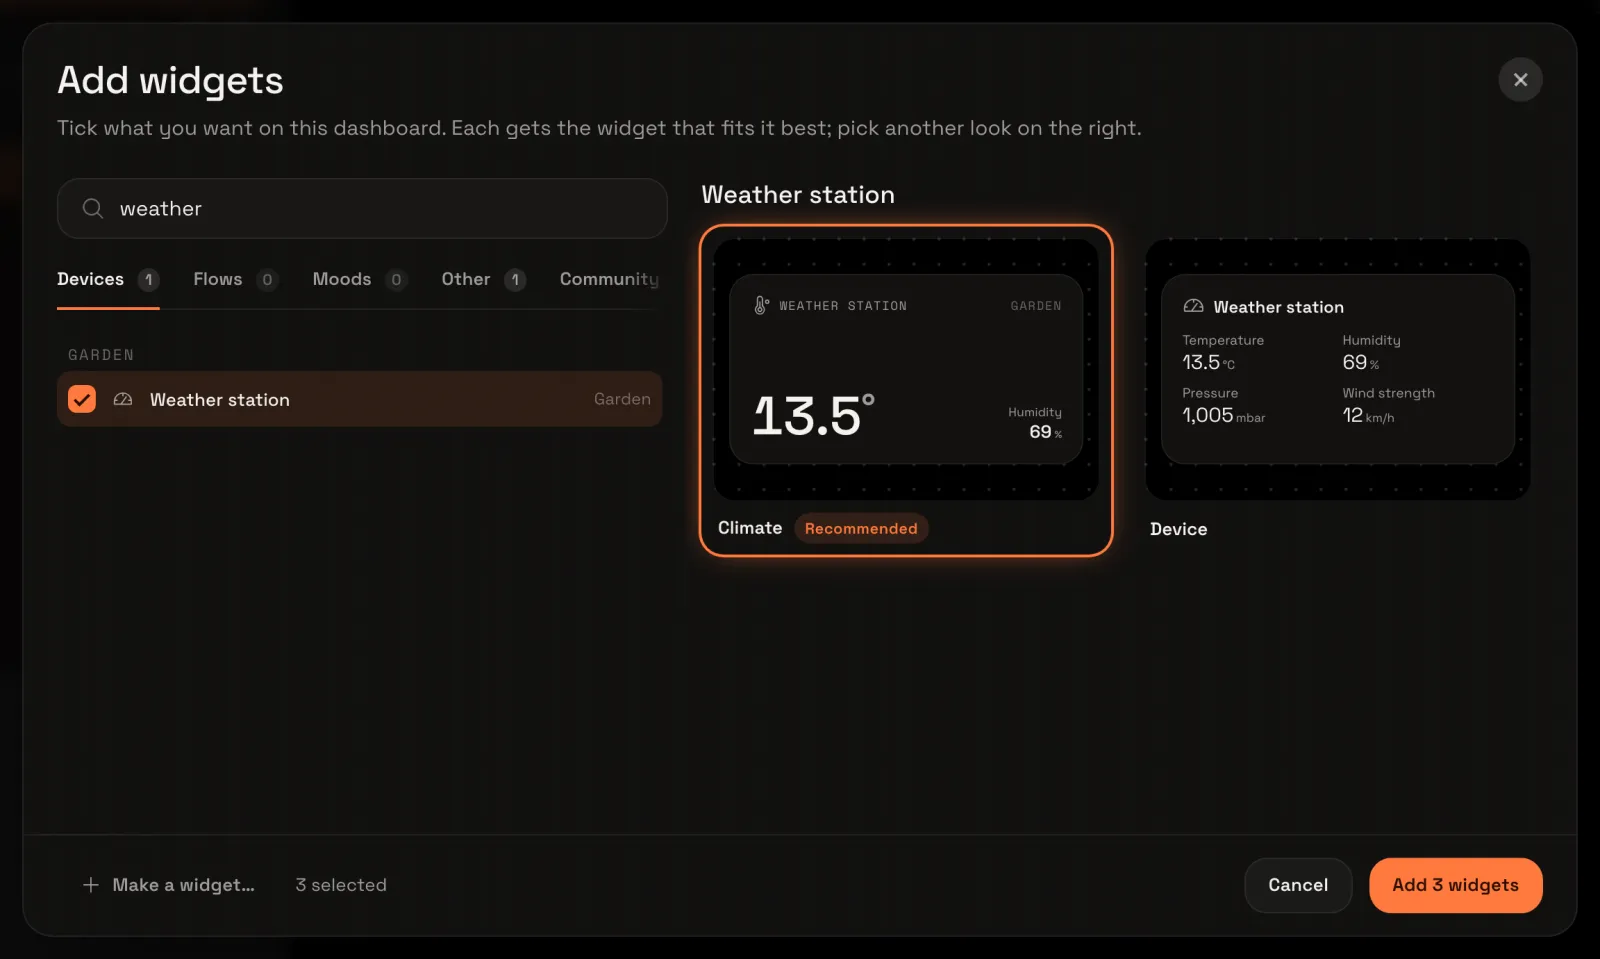
Type weather and tick Weather station. Its looks show on the right, and the button at the bottom now says Add 3 widgets.
Add them
Choose Add 3 widgets. The window closes and the lamp, the thermostat and the weather station are on your dashboard. It’s in edit mode now, ready to arrange, and a message says 3 widgets added.
Make the lamp taller
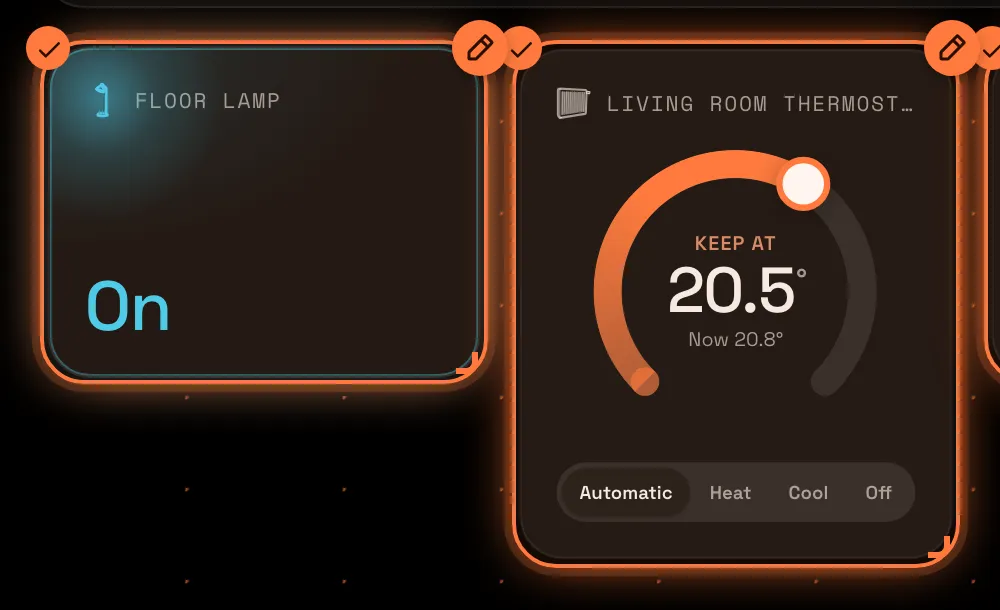
In edit mode, each tile has a corner bracket at its bottom right. Drag the lamp’s bracket down until the size on the lamp says 3 × 6: as tall as the thermostat. The dashboard saves by itself, and the header says Saved.
Finish editing
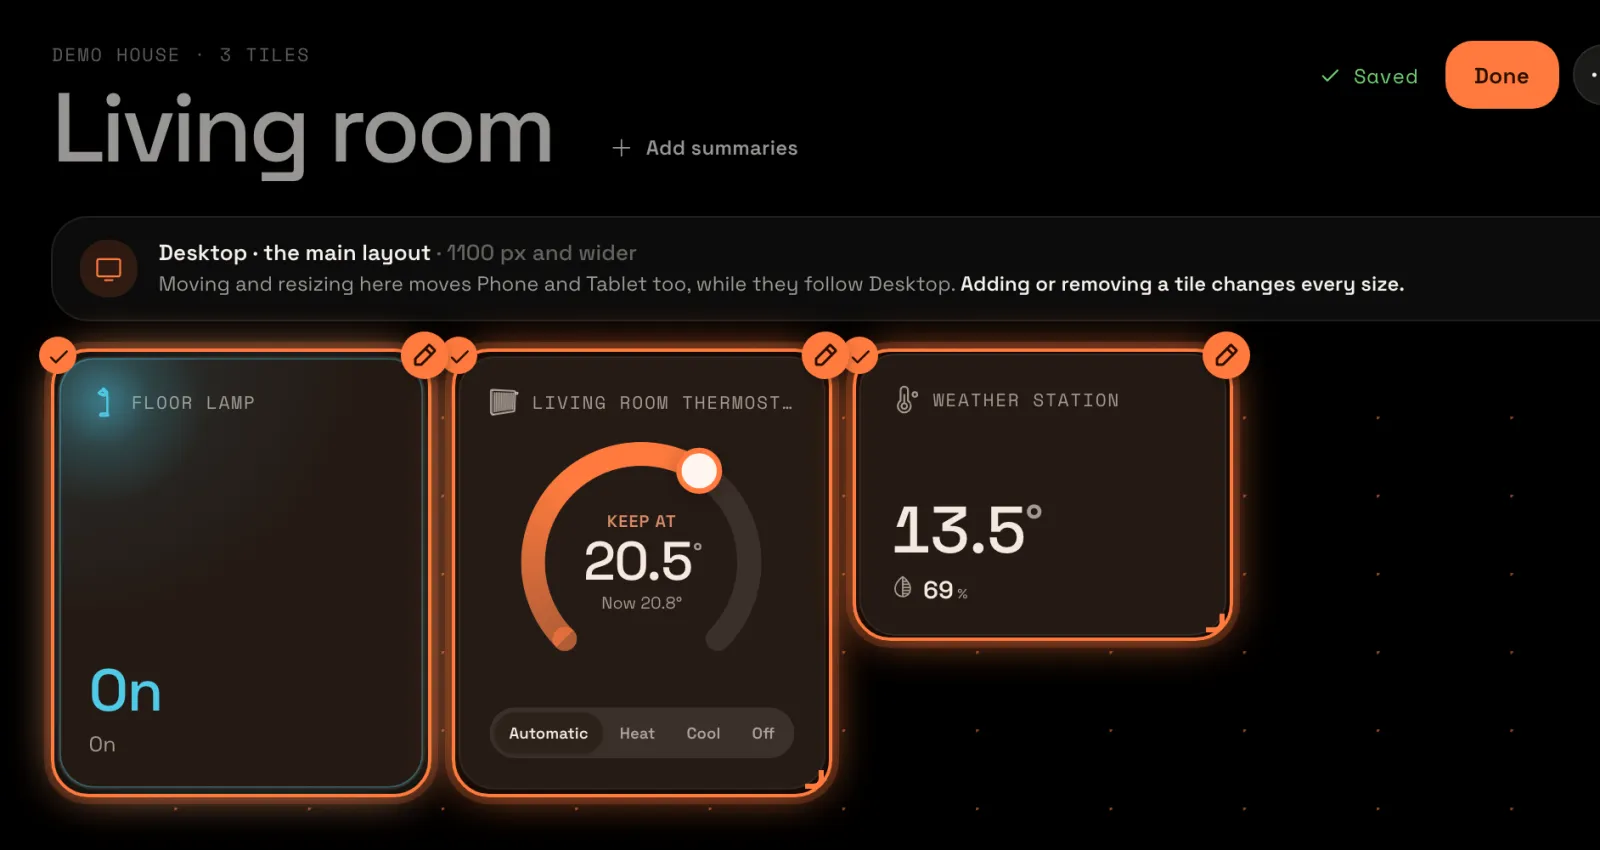
Choose Done at the top right. Edit mode ends, and the dashboard menu (⋯) is back where Done was.
Your widgets are live
The lamp says it’s On, the thermostat can be turned up and down, and the weather station shows the temperature and humidity in your garden. They change as your home does.
To change what a tile shows or how it looks, edit the dashboard and open the tile’s menu: see configure and style a tile. Every widget is in the widget gallery. Next: arrange tiles for each screen size, so your phone shows them its own way.