Tutorial
Start your house in 3D from a Tiledash house
Pick one of Tiledash’s ready-made 3D houses, with its solar, battery, car and the rest already marked, and see how your energy shows on it.
- Takes
- About 3 minutes
- Steps
- 6
What you end up with

This is the quickest way to your house in 3D: Tiledash has five houses ready, each a 3D picture with its spots already marked (the places where your solar, battery, car and the rest show their values). You can swap in a picture of your own house later and keep everything you set here.
Open your houses
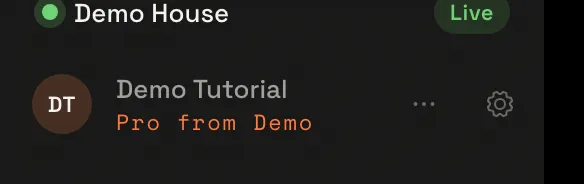
Choose the gear beside your name at the foot of the sidebar: it opens Settings.
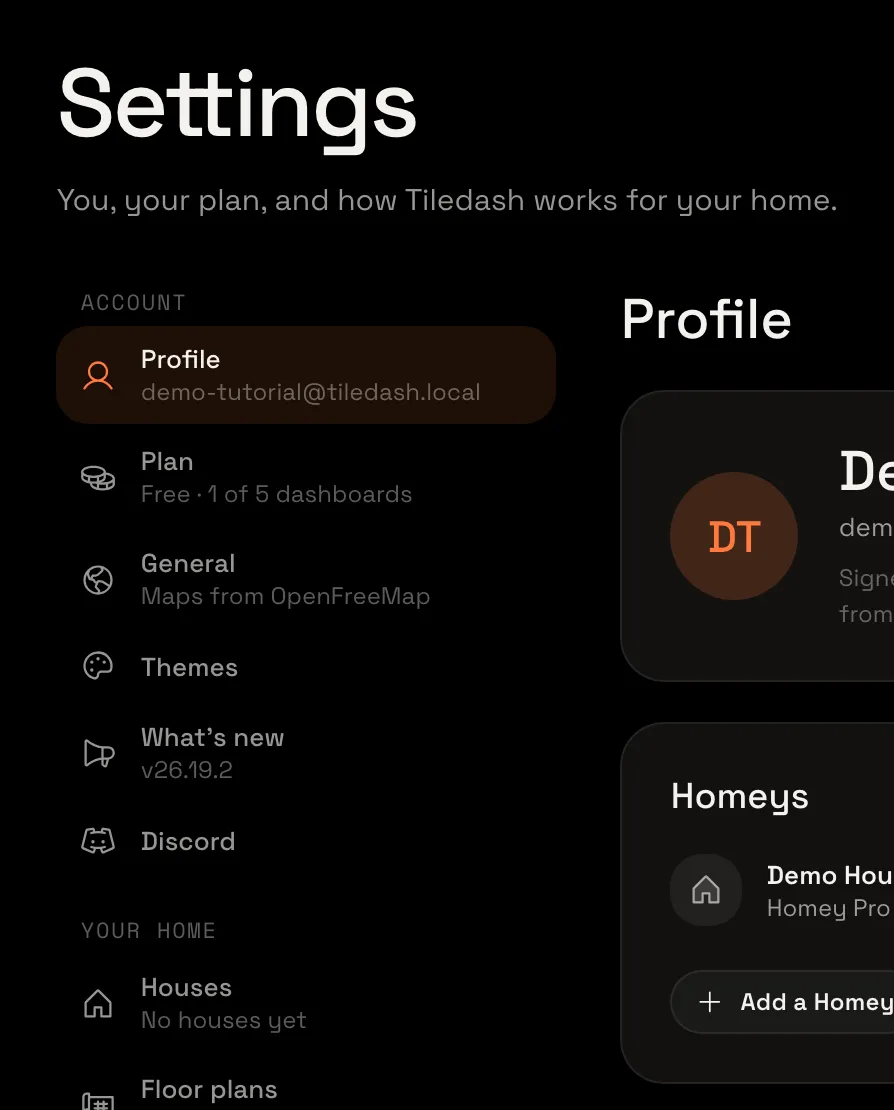
In the Settings menu, choose Houses. Your houses are listed here; while you have none, it says No houses yet.
Make a new house
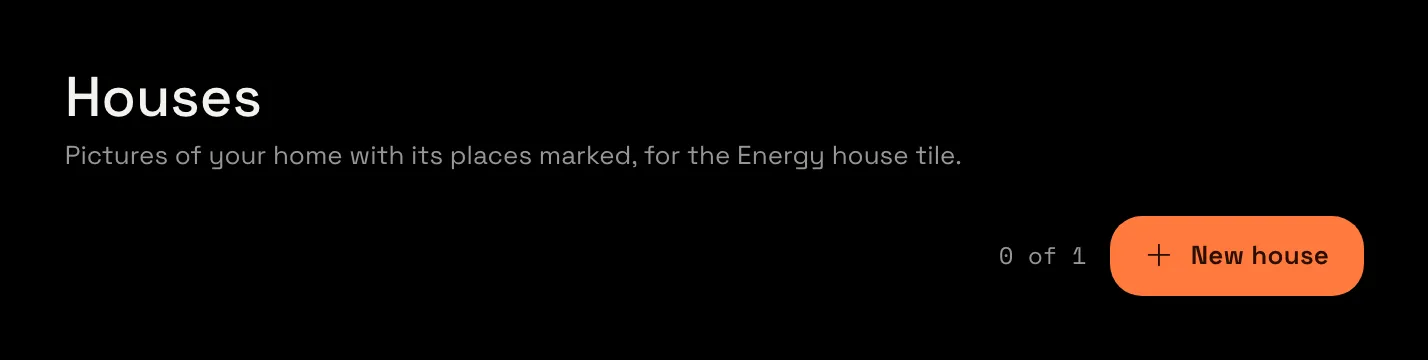
Choose New house. Beside it, Tiledash says how many houses you have and how many your plan holds: 0 of 1 on Free.
The new house opens in its editor, on its Front: a house can have several sides, and each side gets its own picture. Under Get a picture for this side are three ways to get one:
- Make it in Tiledash makes a picture from a photo of your house (see Turn a photo of your house into a 3D picture).
- Upload a picture takes one you already have (see Upload your own house picture and place its spots).
- A Tiledash house, below them, is one of Tiledash’s own. That’s the one for this tutorial.
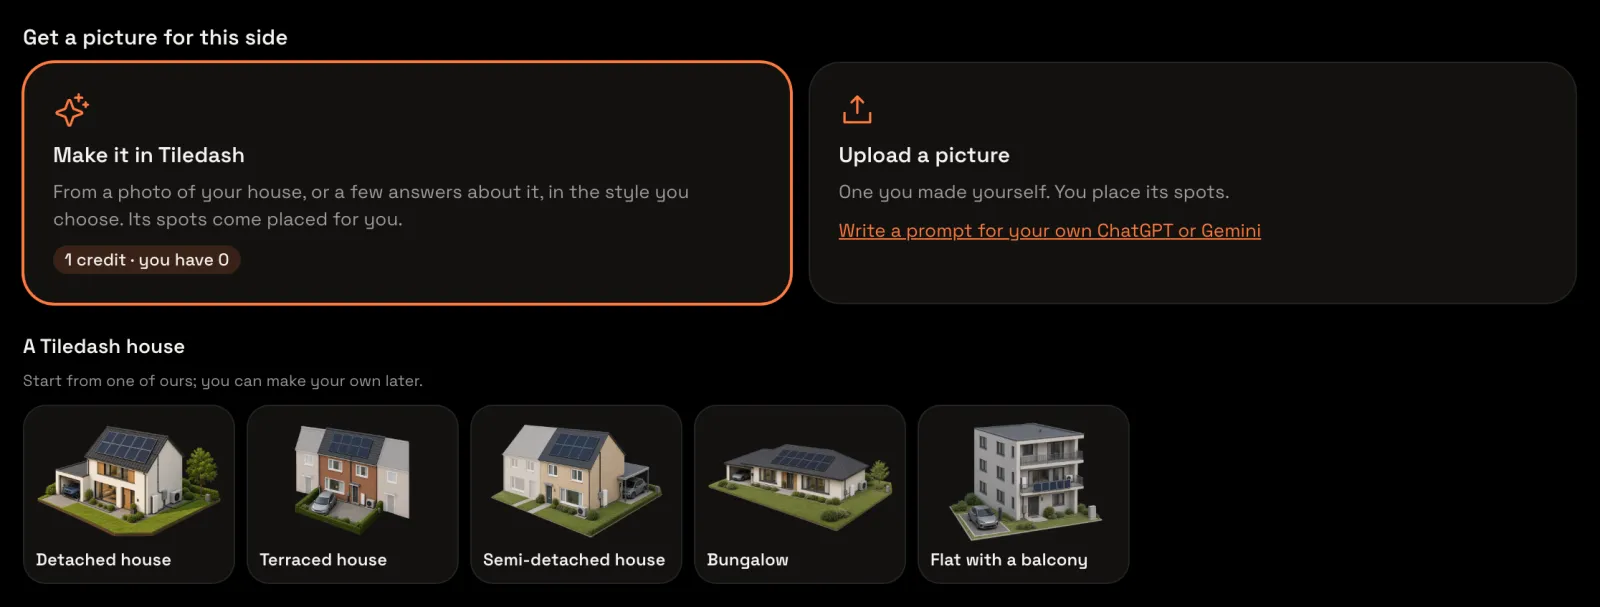
Pick a Tiledash house
Under A Tiledash house, choose the house most like yours: Detached house, Terraced house, Semi-detached house, Bungalow or Flat with a balcony. Here it’s the detached house.

The Front now shows the house, with a pin on each of its spots: the solar panels, the car, the home battery, the grid connection, the garden and more. Everything you change is saved by itself; the top right says Saved.
Name it
At the top, your house is called Home. Choose the name and type your own, here Our house. It’s the name you pick it by in a tile’s settings.
Beside the name is the Homey the house belongs to: its spots show the readings of that Homey’s devices. With one Homey, it’s already chosen.

Check its spots
On the right, Spots lists every place of the house. Each says what it shows (From your meters, or Nothing yet) and whether it’s Placed on this side. Choose Solar panels.
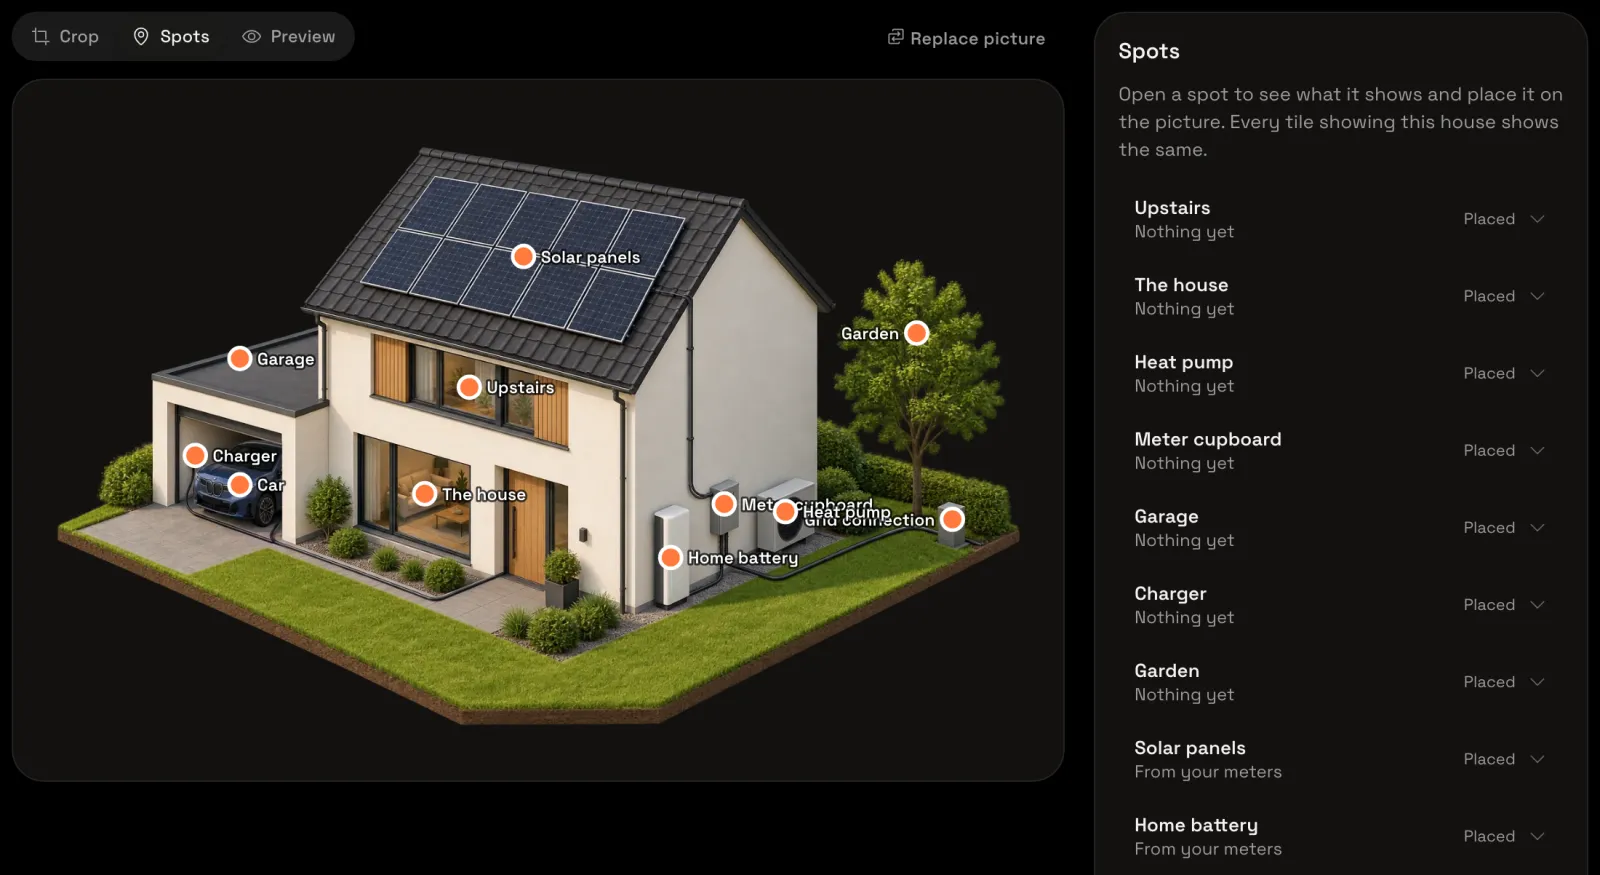
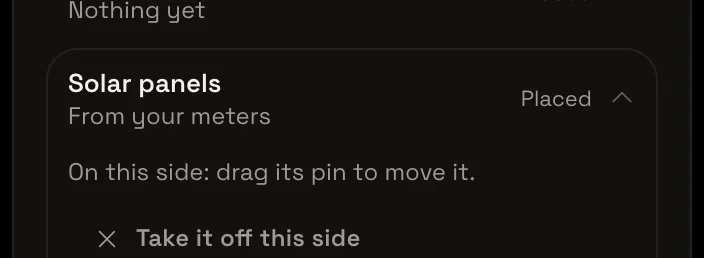
Solar panels opens. It shows your solar From your meters already: Tiledash found your energy meters by itself, and does the same for the grid, the battery and the car. On this side: drag its pin to move it tells you how to move a pin that isn’t quite right, and Take it off this side removes a spot from this picture.
Look at the preview
Above the picture, choose Preview.

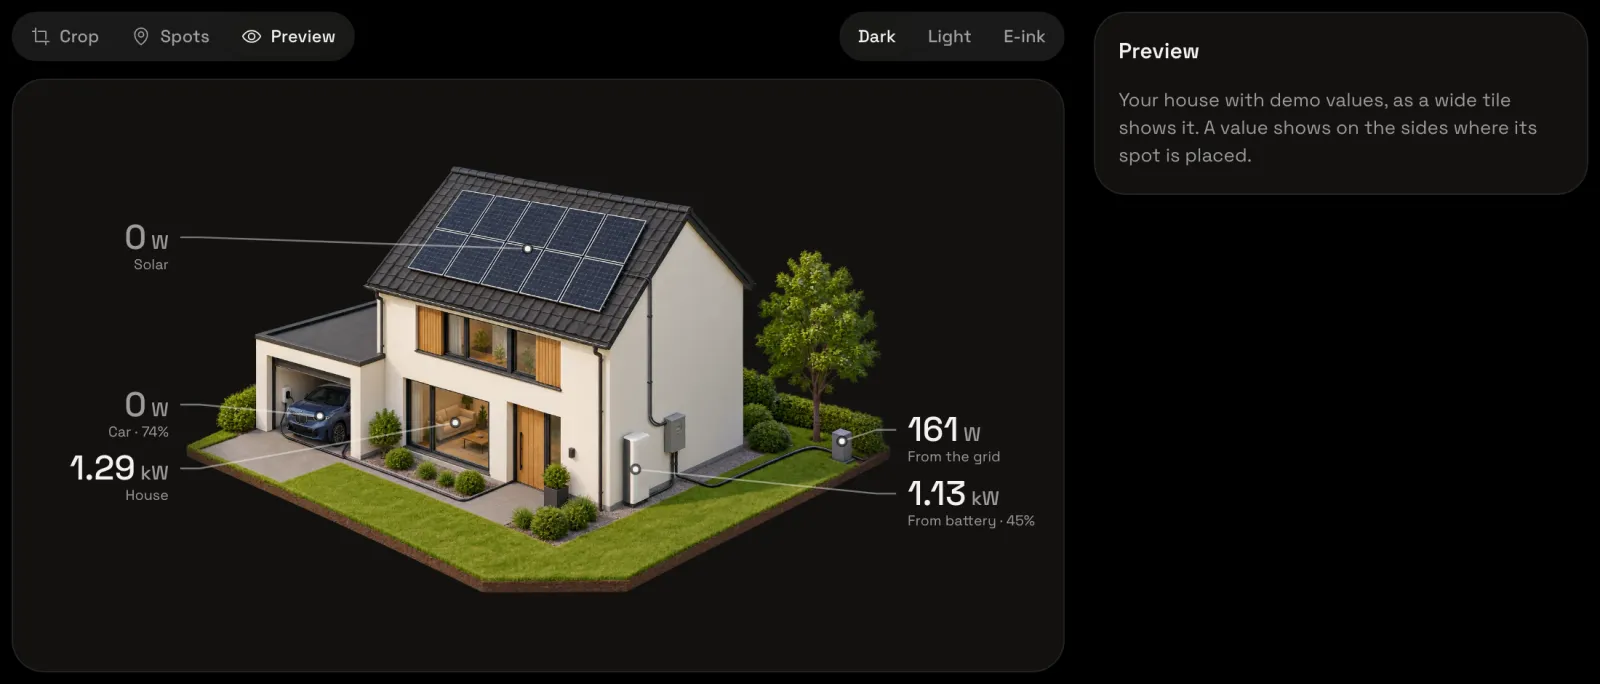
Your house shows as a wide tile on a dashboard shows it: each value beside its spot, with a line to it. Here it uses demo values; on your dashboard it shows your own.
Your house is ready
Your house is saved and ready for the Energy house tile: Show your house on a dashboard puts it there.
Want your own house instead? Choose Spots, then Replace picture above the picture to upload a picture of your own. Everything the spots show stays; check the pins still sit on the right places.