Tutorial
Make your first theme
Start a theme from Tiledash’s own, give it a colour, a moving background and tiles that fill when on, and put it on a dashboard.
- Takes
- About 5 minutes
- Steps
- 7
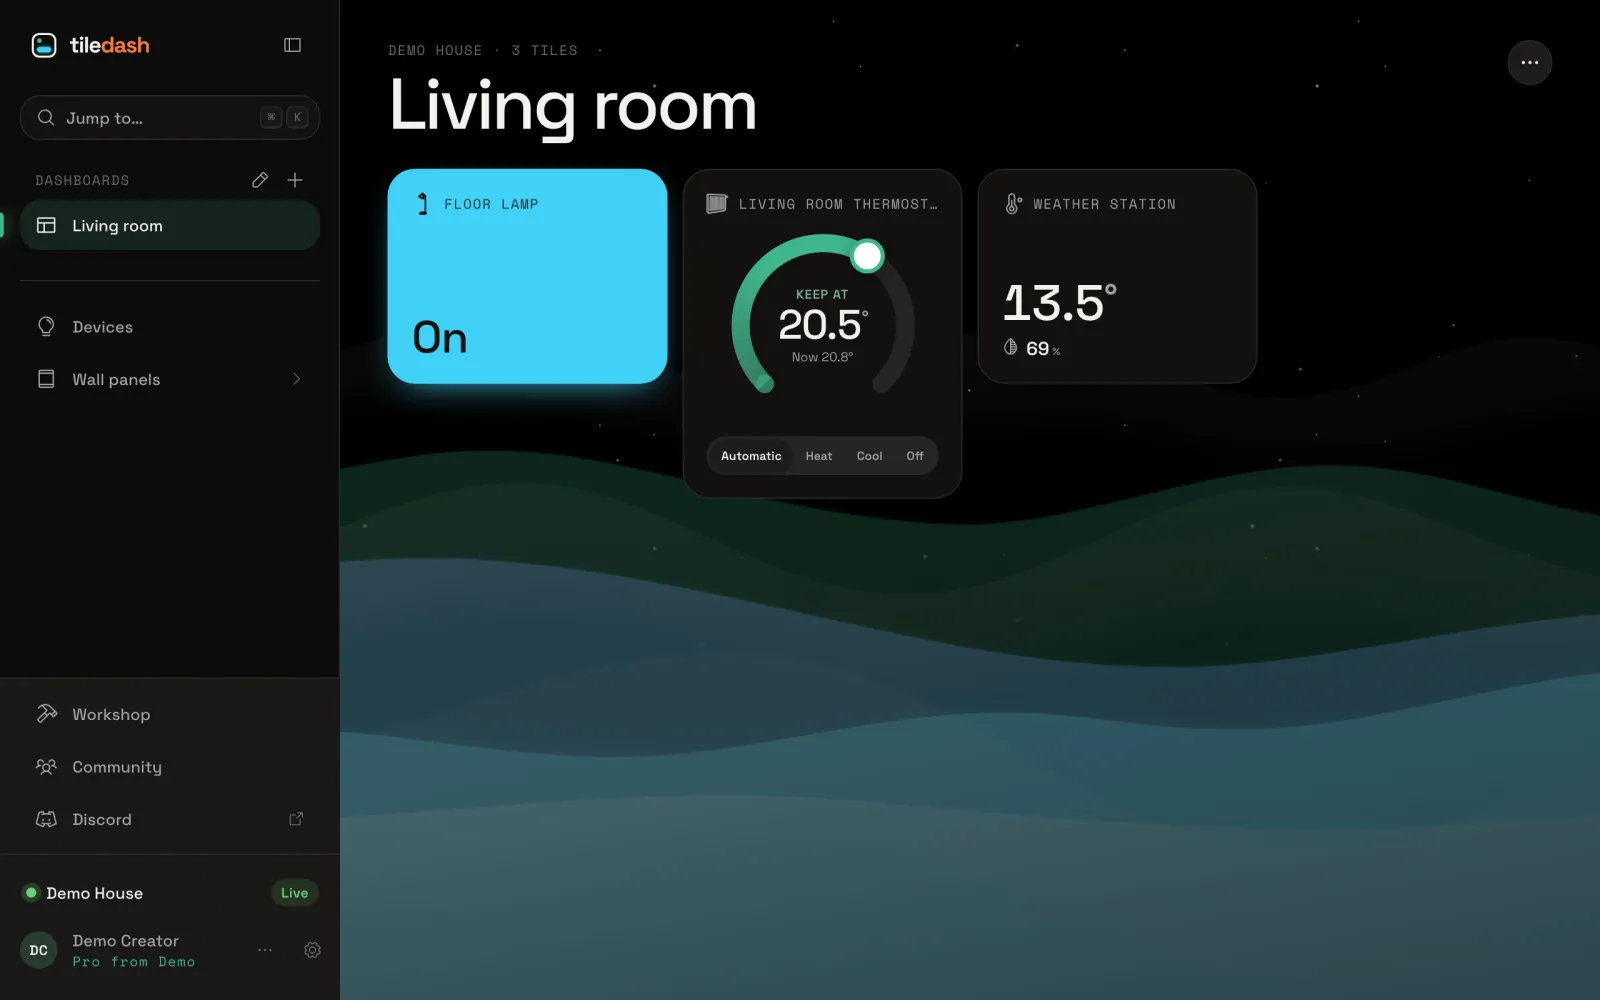
What you end up with

Start a new theme
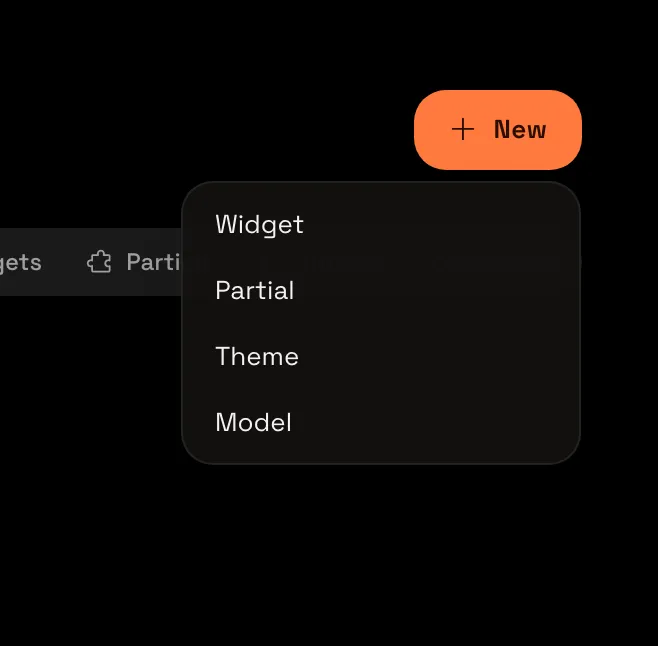
Choose Workshop in the sidebar, then New at the top and Theme.
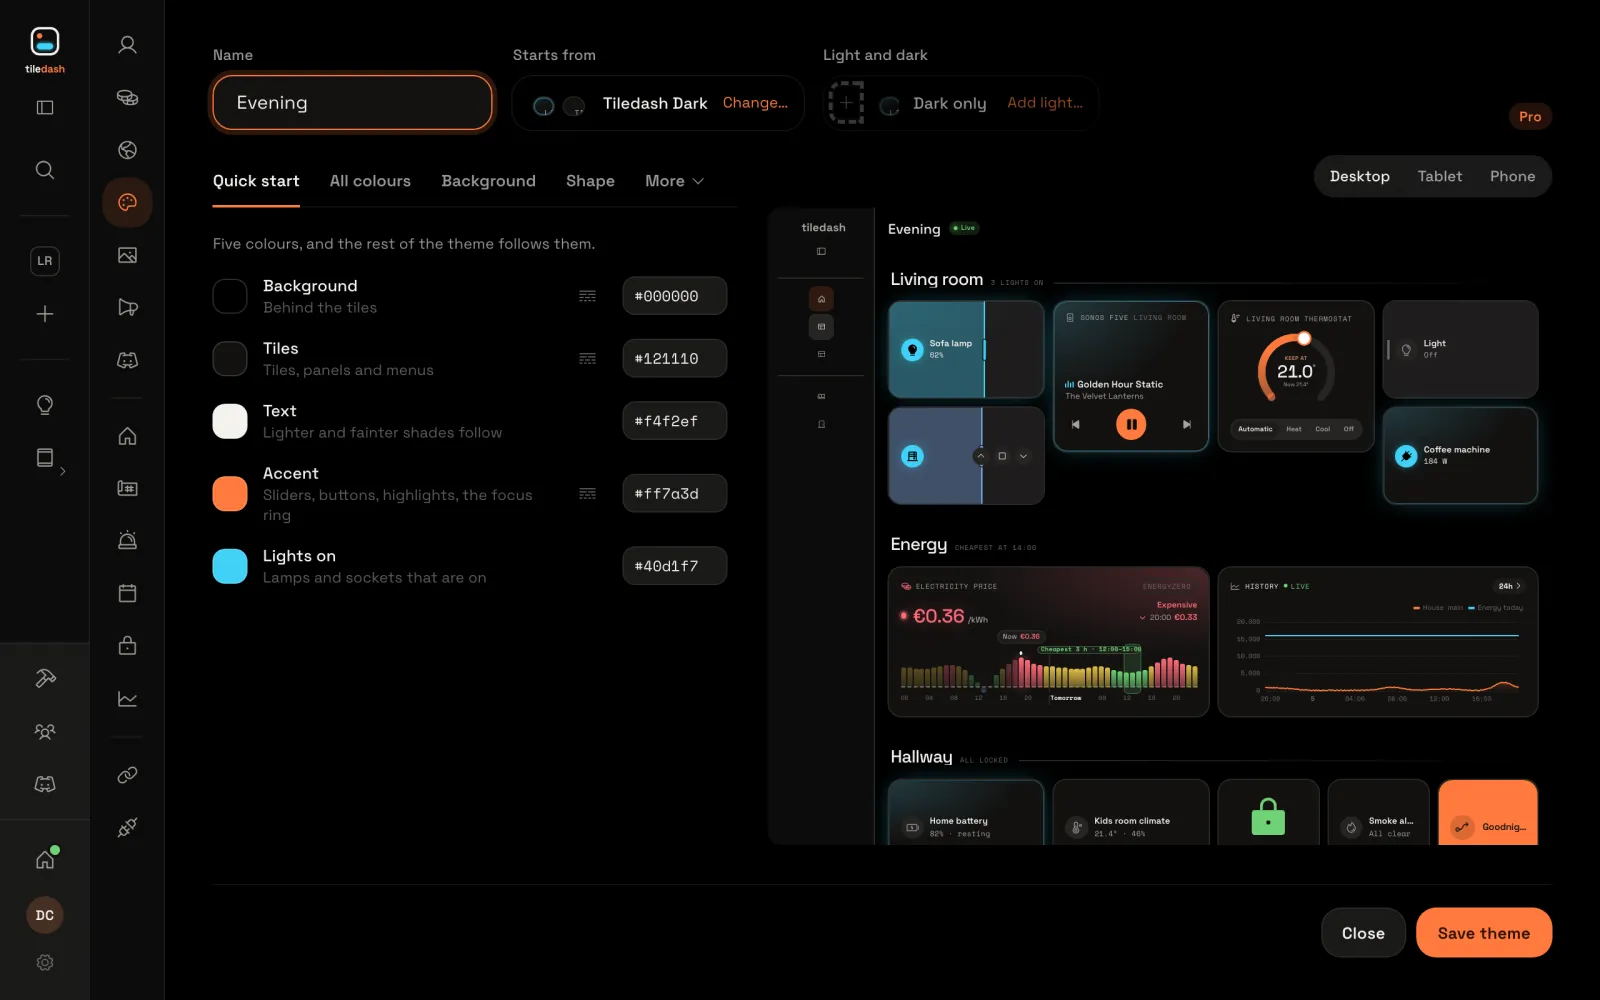
The theme editor opens. It starts from Tiledash’s own theme, Tiledash Dark; Change… beside Starts from picks another one. The preview on the right shows your theme on a sample dashboard as you go.
Name it
Type a name under Name, such as Evening. The preview carries the name at its top.
Pick its accent
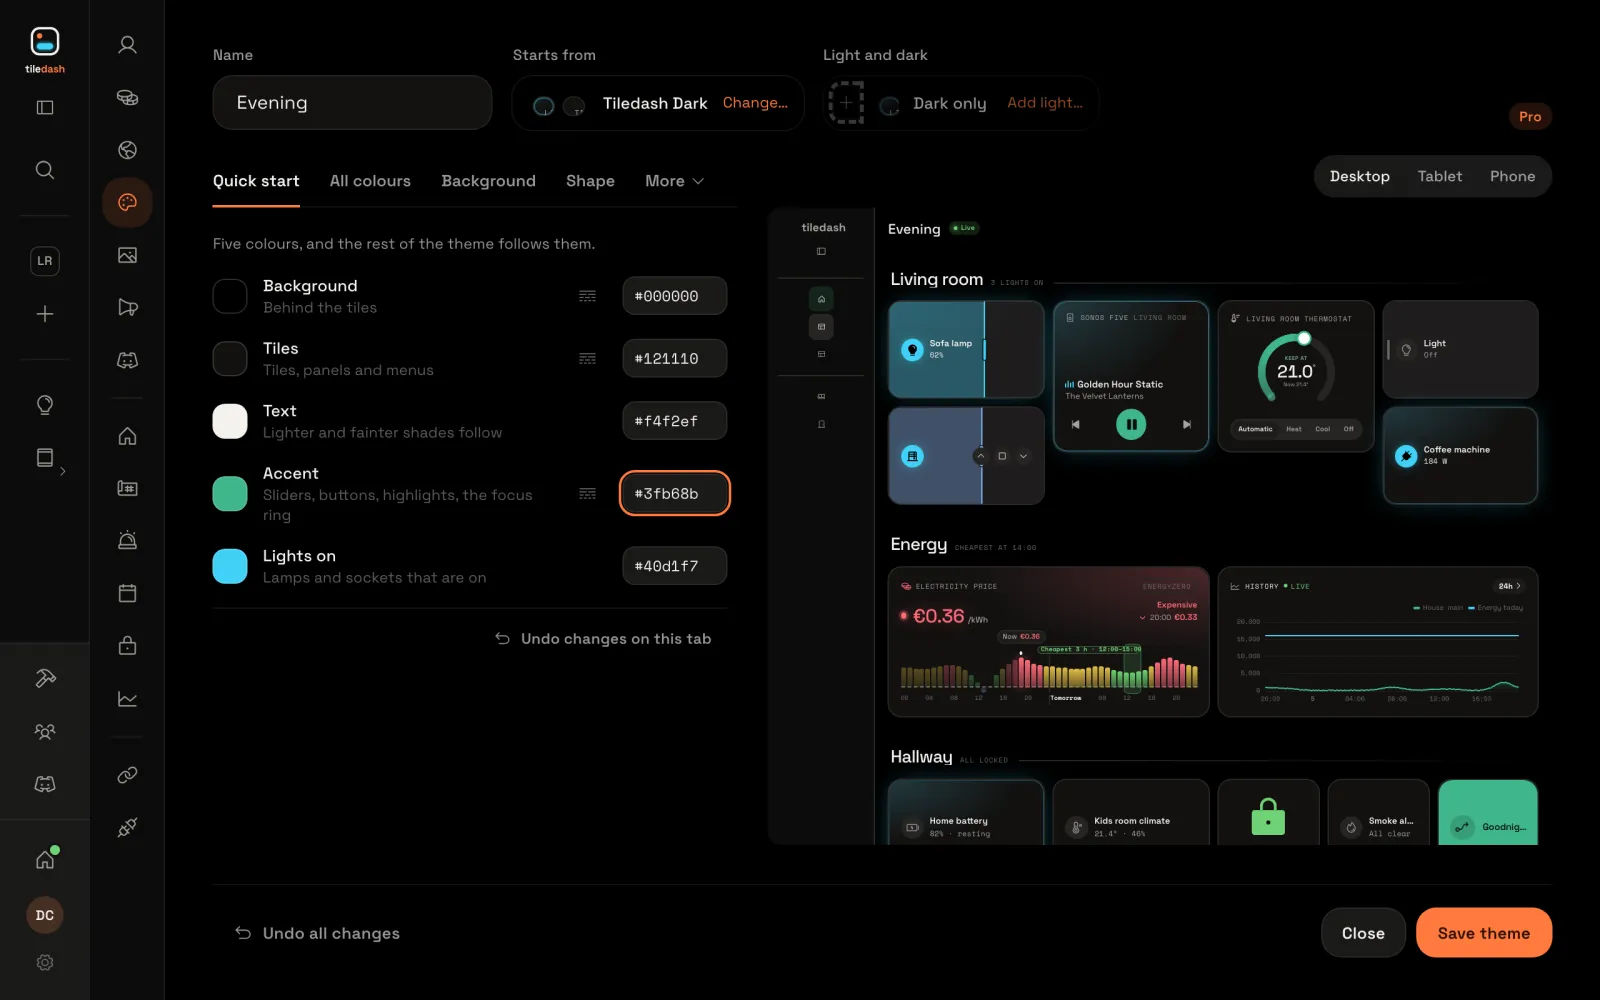
On Quick start, type a colour beside Accent, such as #3fb68b, and press Enter. The preview’s buttons turn green, and the rest of the theme follows the five colours here.
Give it a background
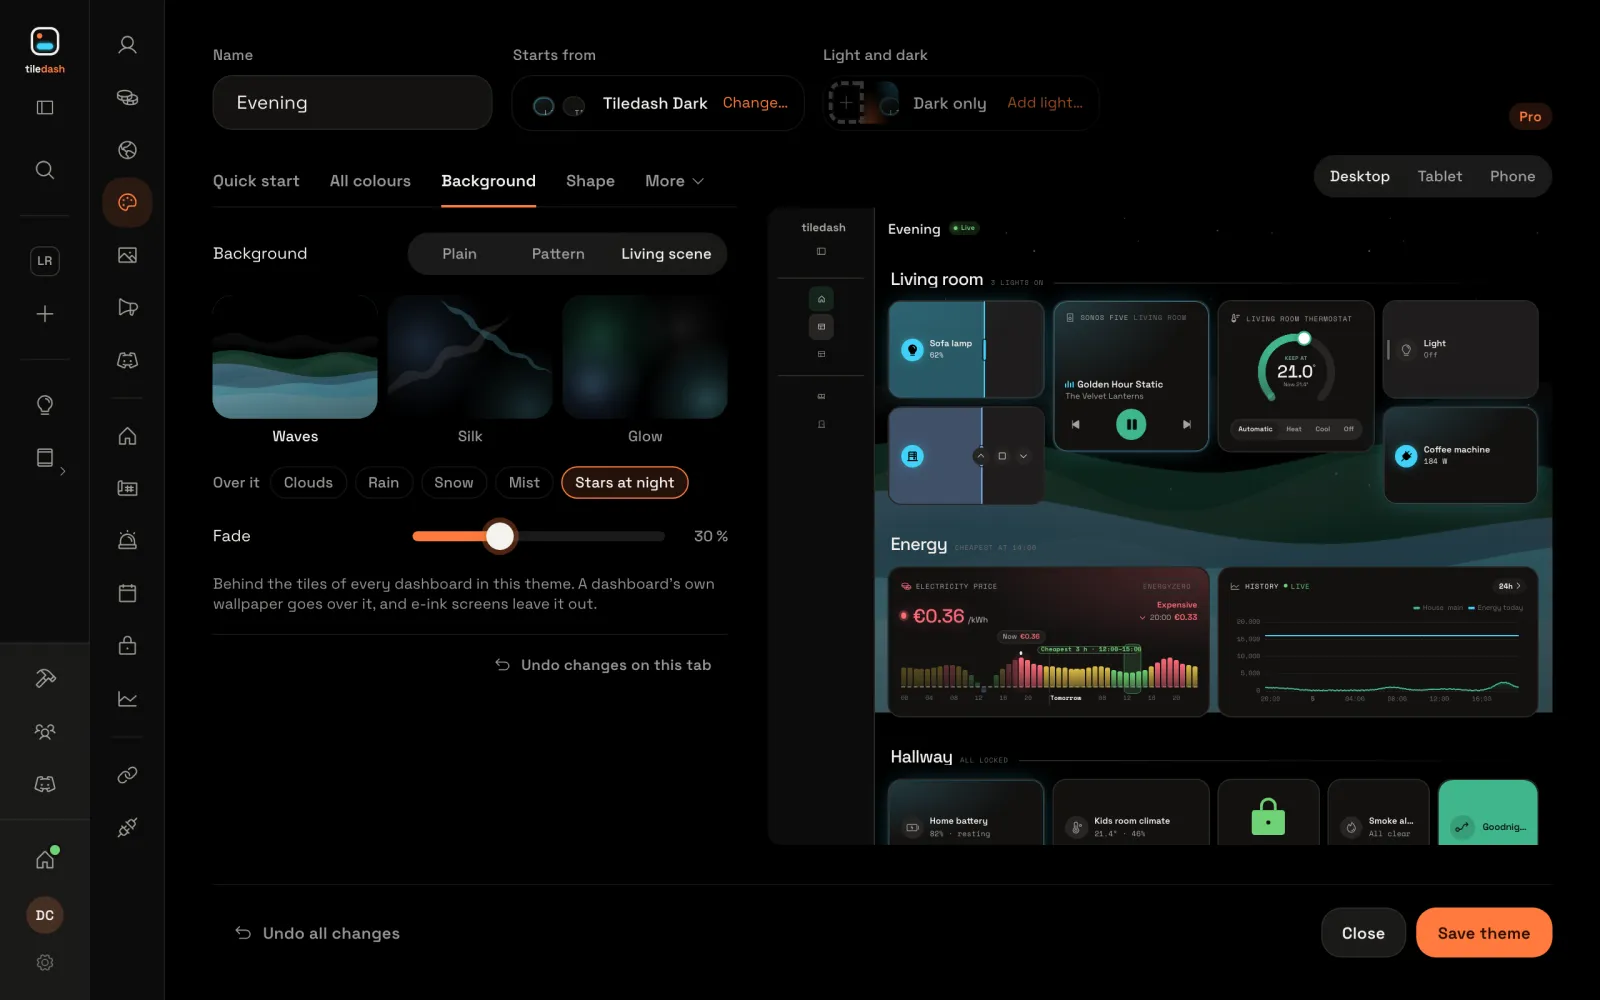
Choose the Background tab, then Living scene, Waves and Stars at night. The preview shows the waves behind its tiles.
Choose how a tile looks when it’s on
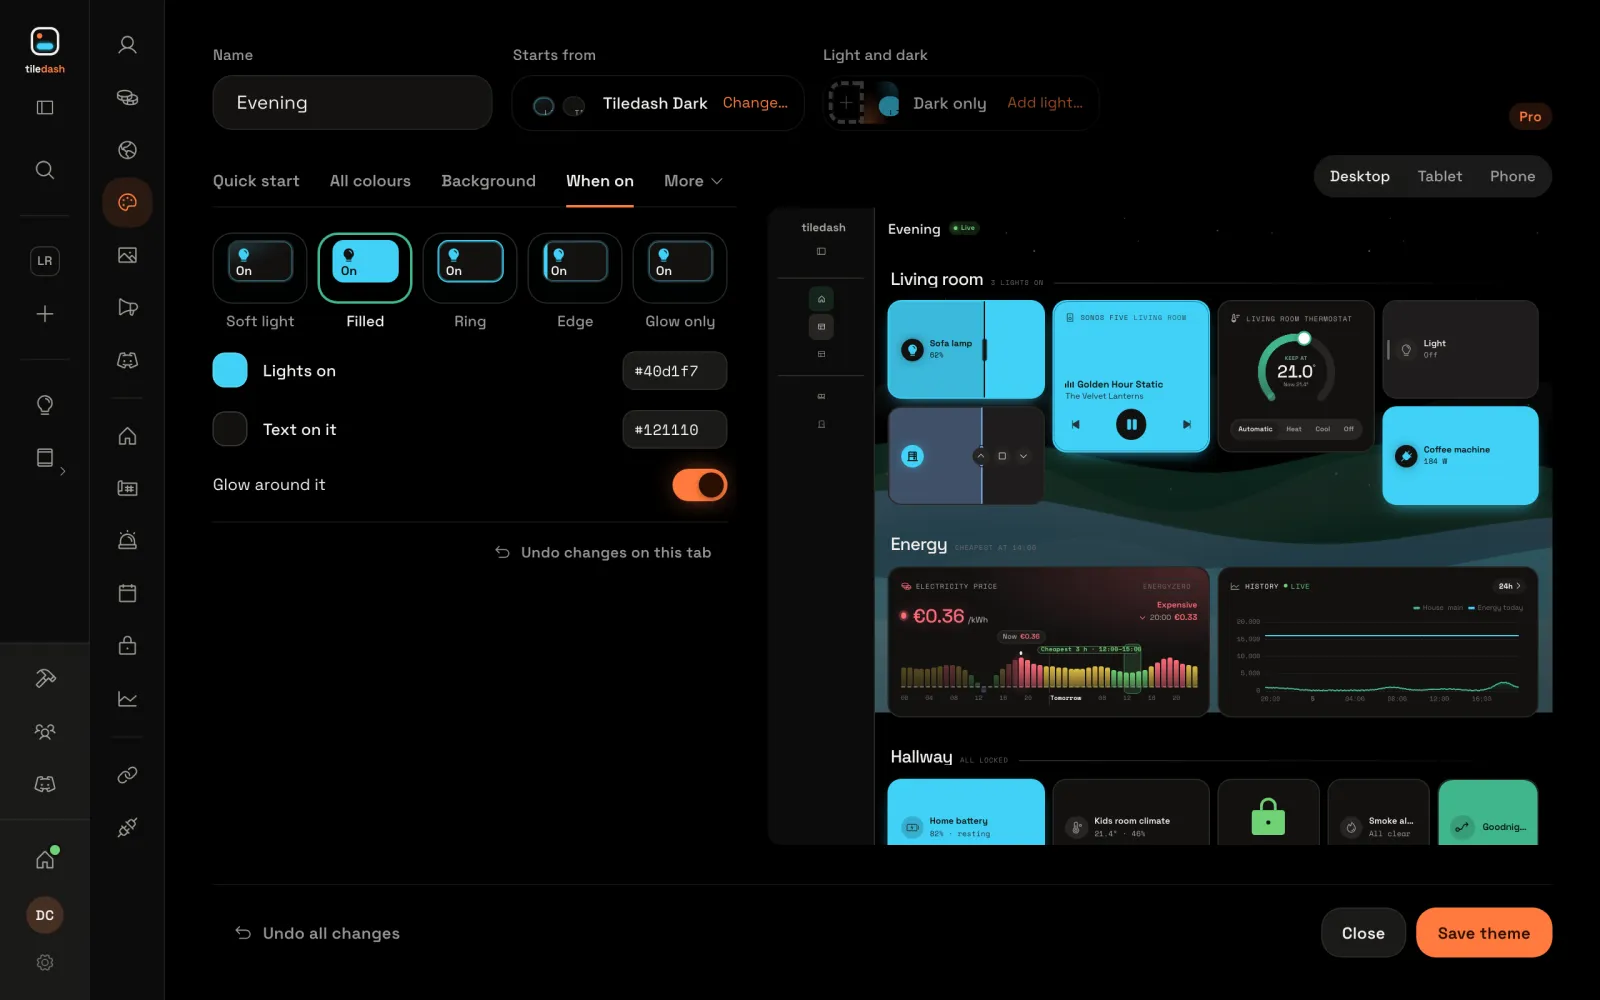
Choose More, then When on, and choose Filled. In the preview, the tiles that are on fill with the Lights on colour.
Save it
Choose Save theme. The button turns to Saved.
Give a dashboard your theme
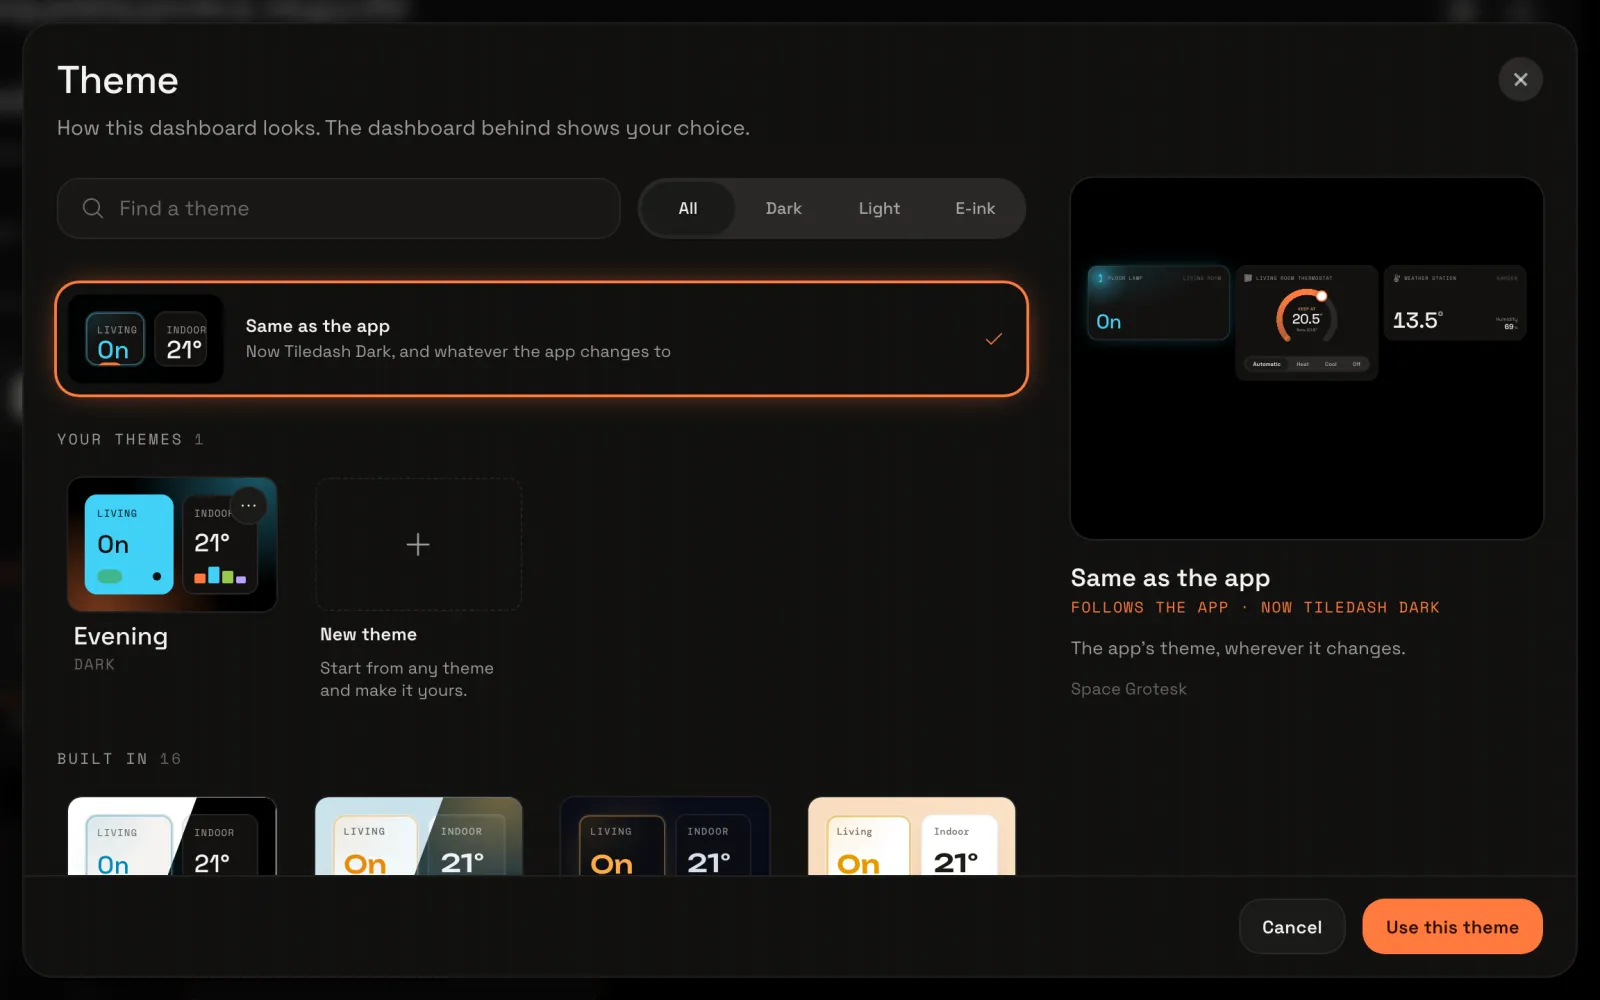
Open your dashboard, choose its ⋯ menu, Dashboard settings…, then Look and Change…. Your theme is in the list under Your themes: choose it, then Use this theme, and Save in the settings.
Your dashboard in your theme
The dashboard draws in your theme: the waves behind its tiles, and the lamp that is on filled with its colour.
Make your own theme goes through every tab of the editor, from the colours to the sidebar. Your AI assistant can make one for you too: Make a theme with your AI.