Tutorial
Build a model with your AI
Describe a desk, refine it in a live preview, and place your new furniture in a floor plan.
- Takes
- About 10 minutes
- Steps
- 7
What you end up with

Describe your desk
In a chat with your connected assistant, ask for the furniture you want. Include its dimensions in centimetres and the materials. You can copy this prompt:
Use Tiledash to design a desk called Studio desk. Make it 120 cm wide, 60 cm deep and 75 cm high, with a 3 cm wooden top and four slim metal legs. Draw it first, check the views, then save it to my models. Give me its live preview link.
The desk is saved as Studio desk. Your assistant’s wording and the exact design may differ; the pictures show one model made from this brief.
Open the live preview
Open the preview link your assistant gives you. The live preview shows Studio desk. Keep this page open while you refine the design in your chat.
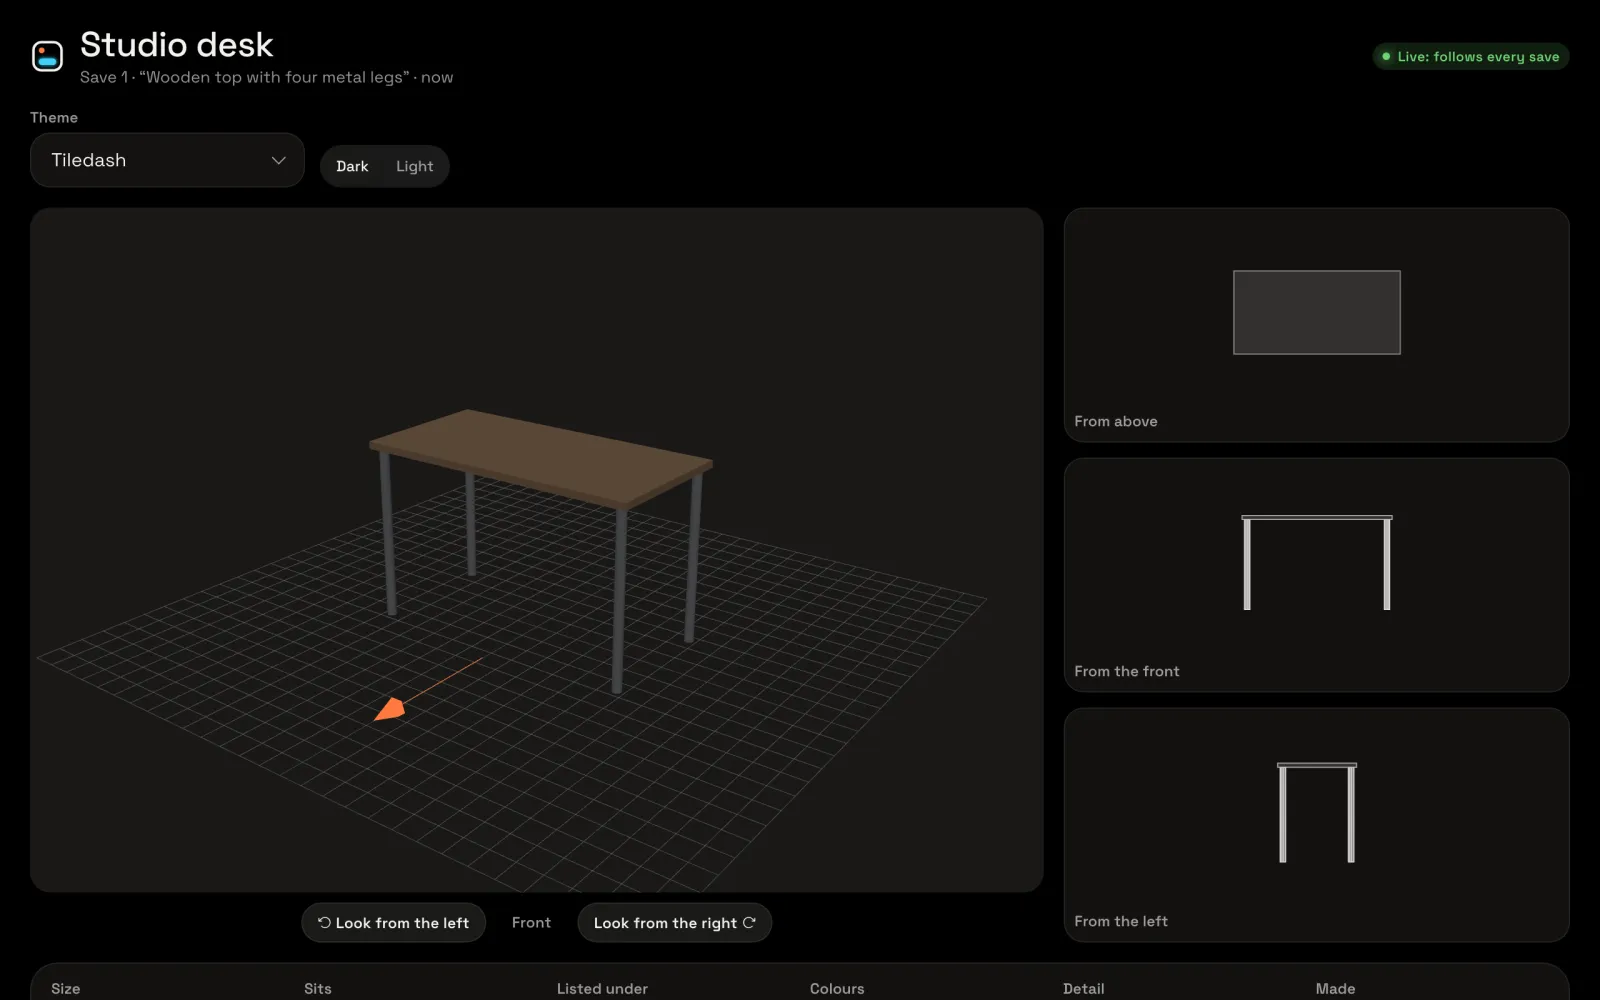
Look around the model
Choose the left view button beneath the 3D model, or drag the model to look around it. Scroll down to check the dimensions: this model is 120 × 60 × 75 cm. The preview also includes From above, front and side views so you can spot parts that overlap or sit in the wrong place.

Ask for a shelf
Return to your chat and ask for one change:
Add a wooden shelf under the back of Studio desk, between the legs. Make it 112 cm wide, 18 cm deep and 3 cm thick, with its bottom 48 cm above the floor. Keep the top and legs as they are. Save it with the note “Shelf under the top”.
The open preview updates to 6 parts, without reloading. Check the shelf before asking for another change.
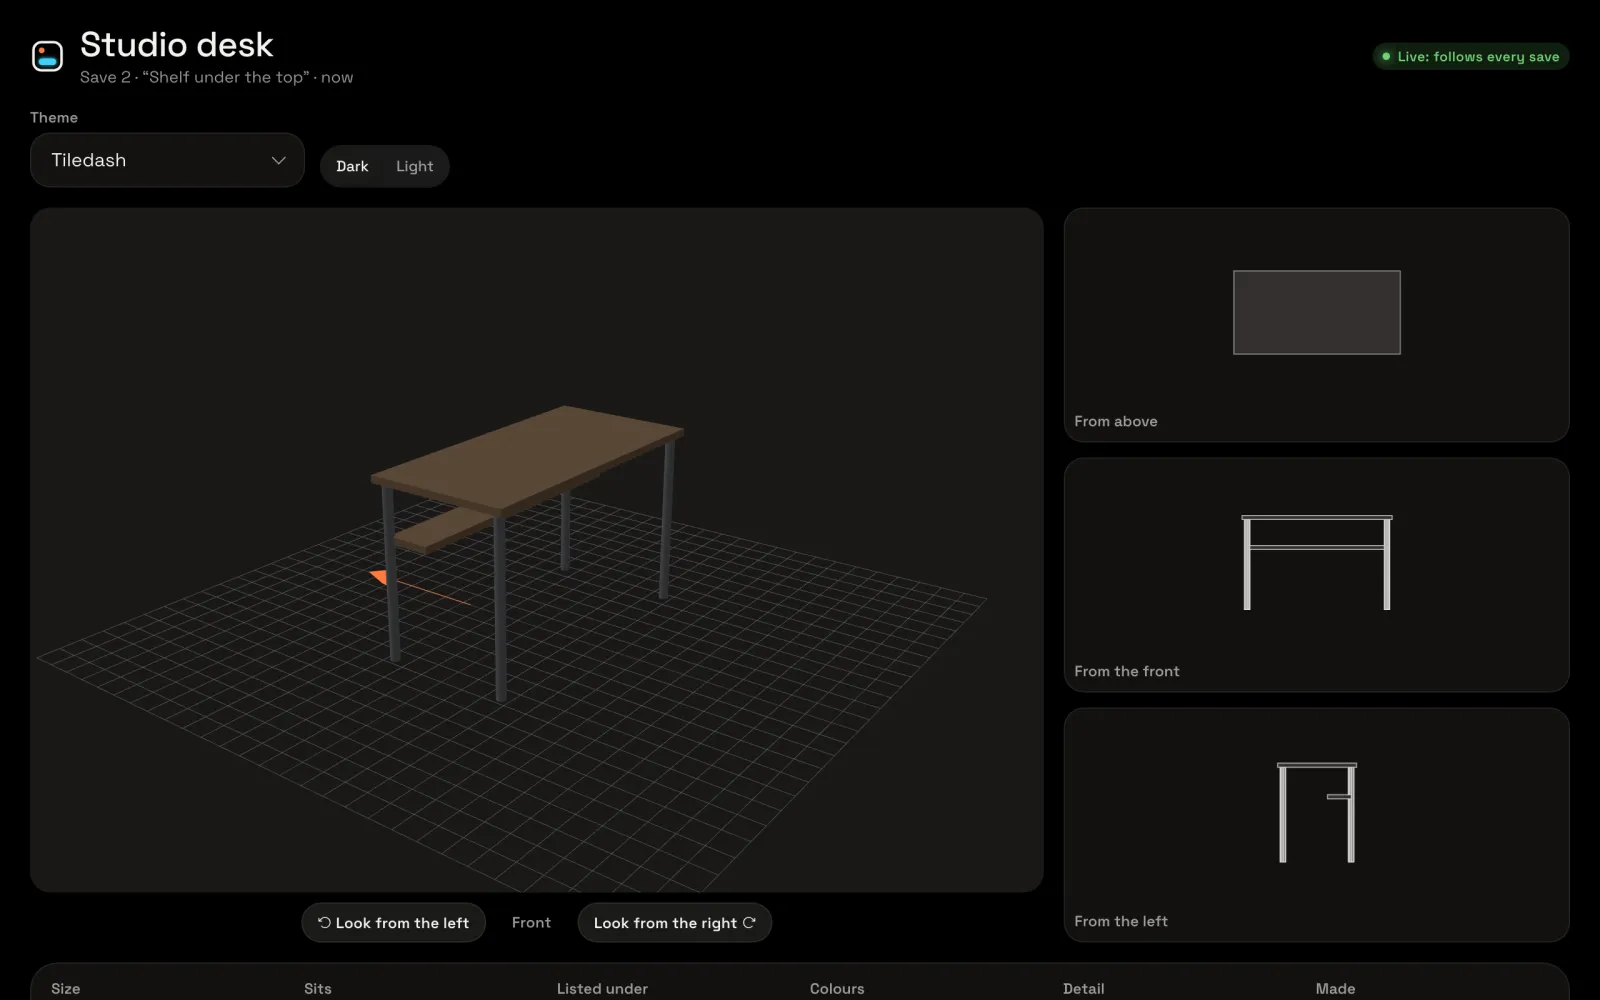
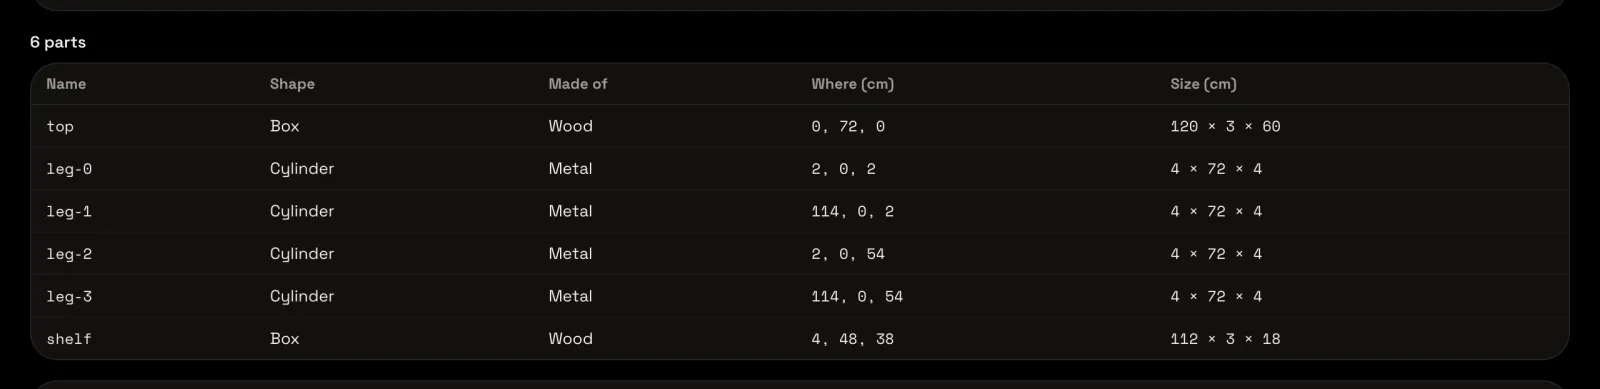
Open your floor plan
Return to Tiledash, choose the gear beside your name at the foot of the sidebar, then Floor plans. Open the plan where you want the desk; here, that’s Office. The floor planner opens. If it offers a short tour, choose No thanks.
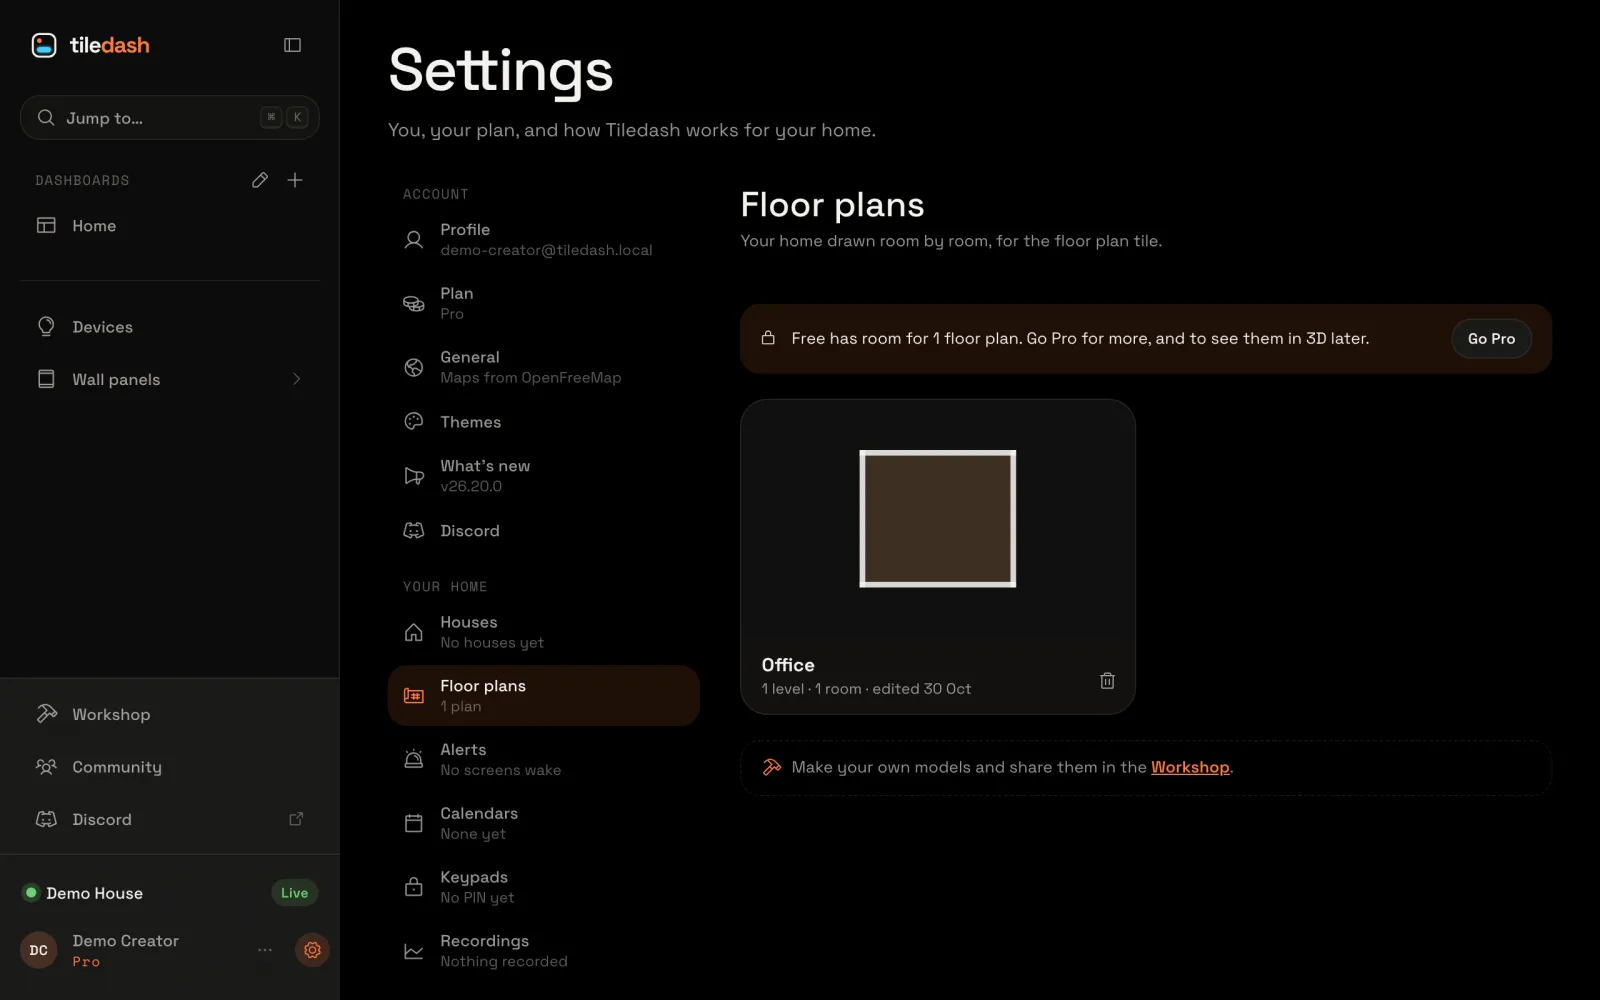
Find your model
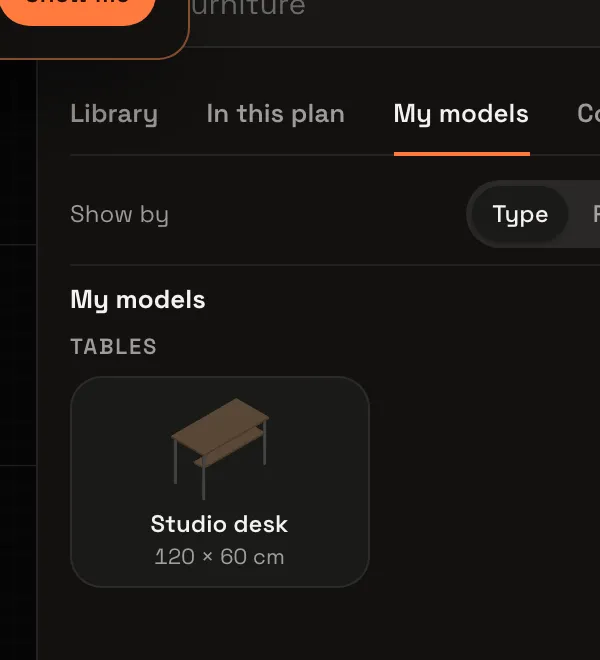
Choose Furniture, then My models.
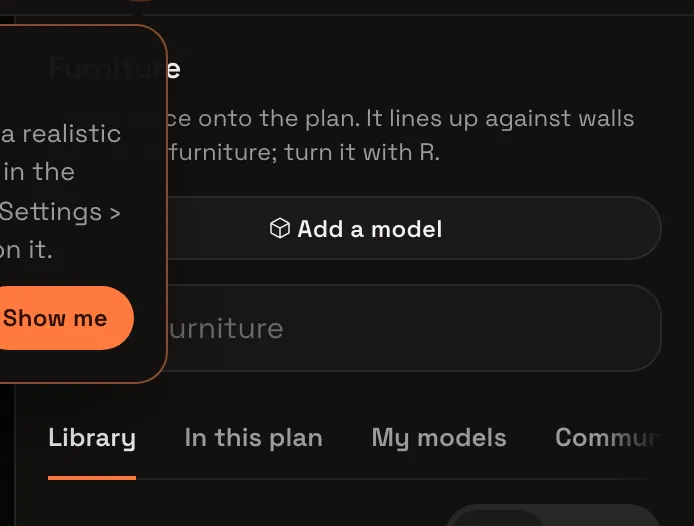
Studio desk is under My models. Choose it to start placing it.
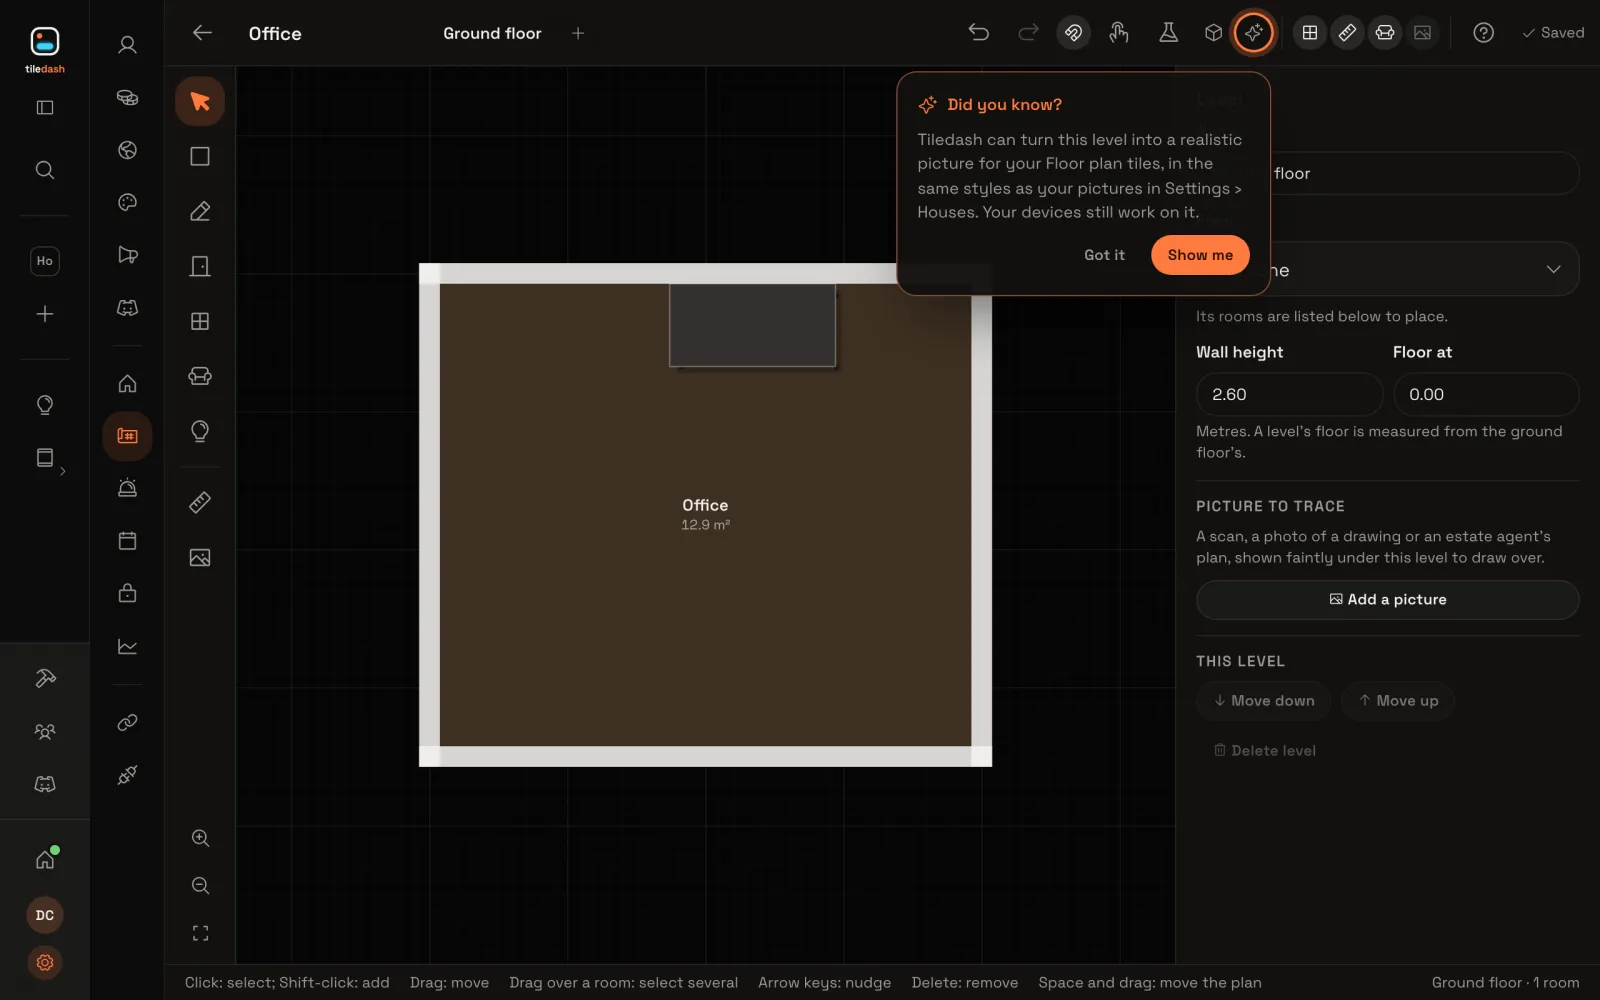
Place the desk
Move your pointer into the room and choose where the desk should stand. Press Escape to stop placing more copies. The desk is saved on your plan.
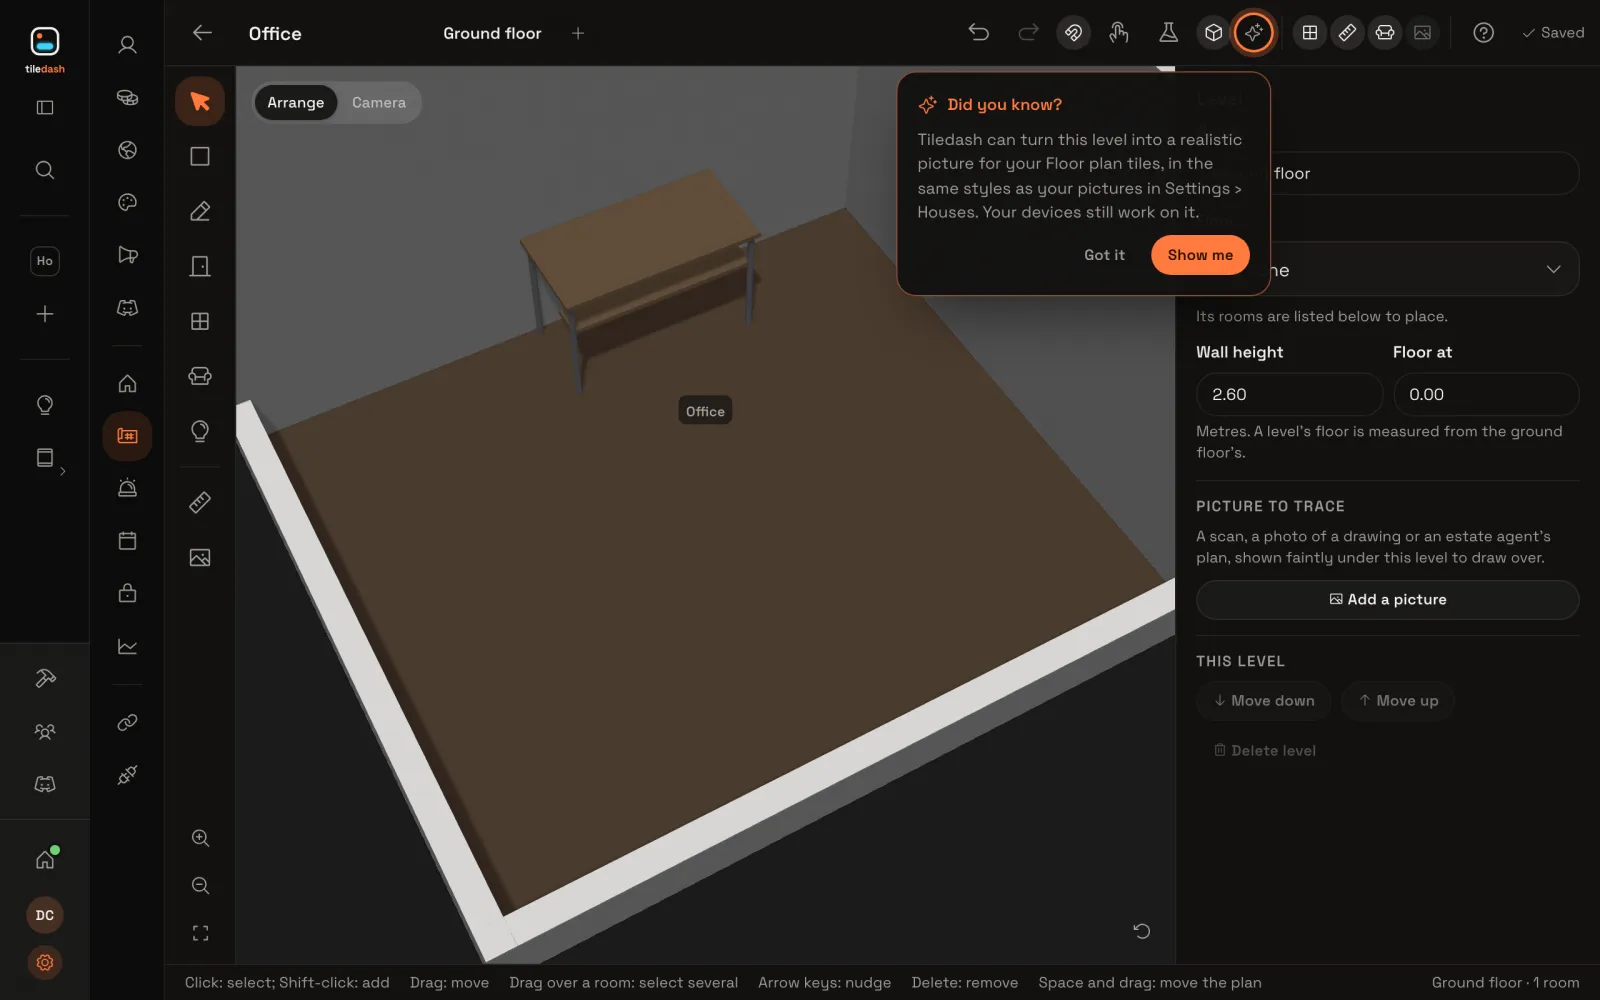
See your desk in 3D
Choose the cube button, 3D preview. The plan is now in 3D, with your desk in the room.
You can keep refining the same model with your assistant: saves update the model wherever you’ve placed it. Read Furniture for your floor plans for the other shapes you can ask for, and Floor plans for arranging the room.


