Tutorial
Sign in and connect your Homey
Your Tiledash account, made with your Homey account, and your Homey connected, ready for your first dashboard.
- Takes
- About 2 minutes
- Steps
- 4
What you end up with

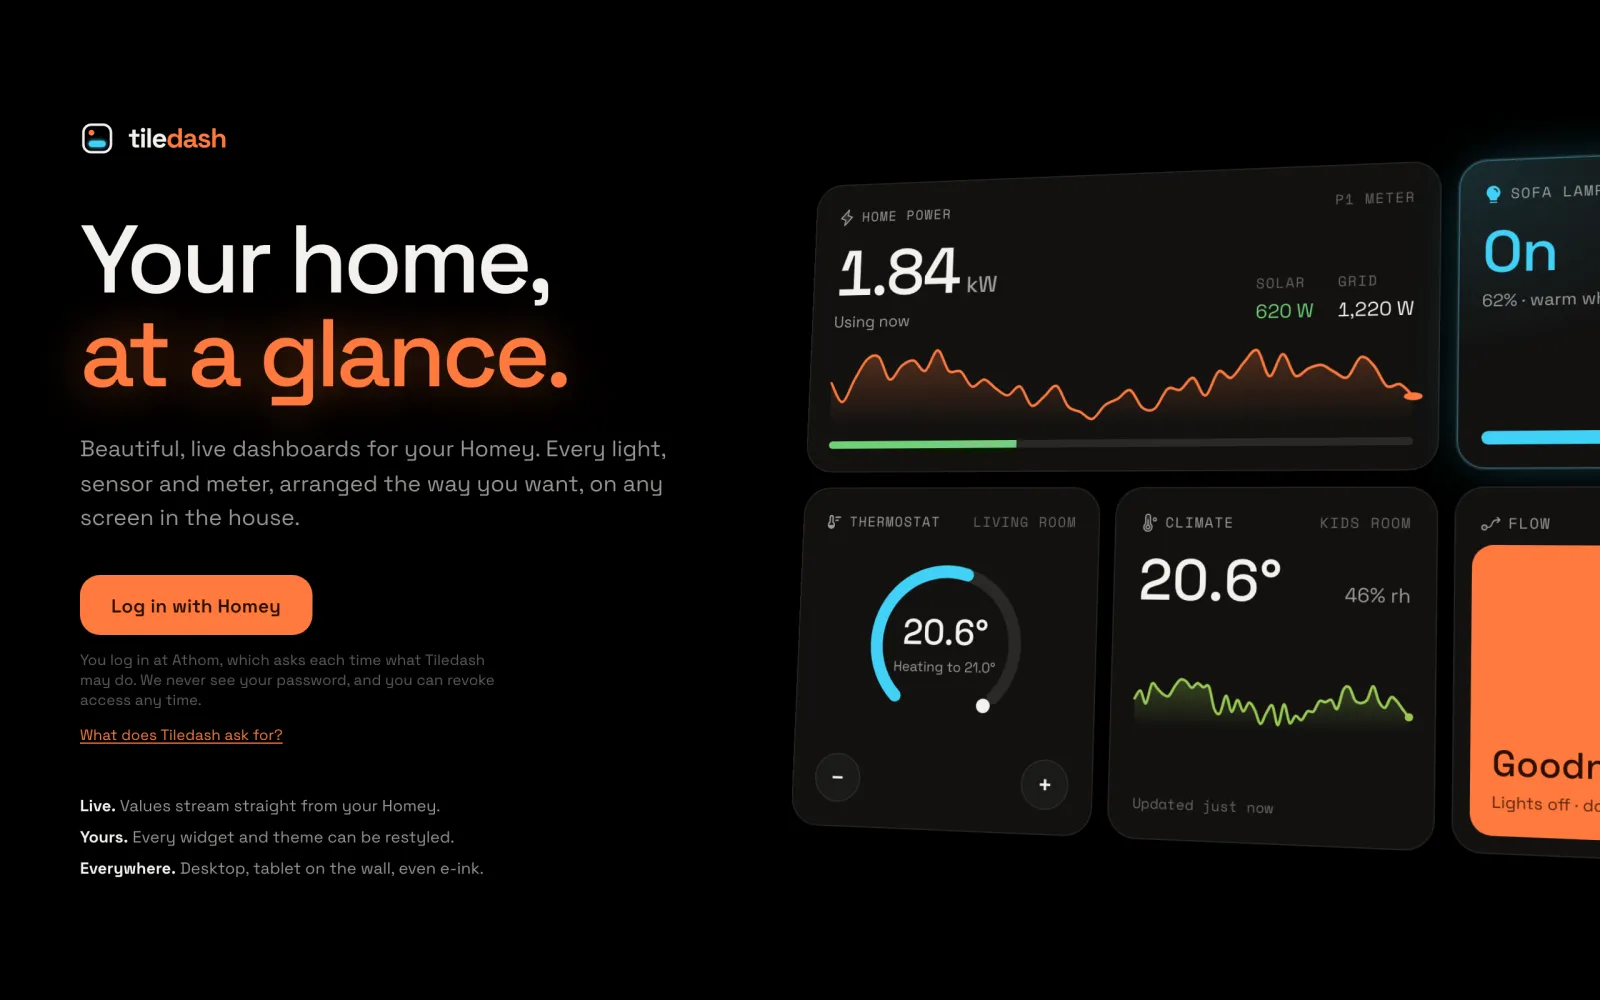
Open Tiledash
Go to my.tiledash.app and choose Log in with Homey. There’s no separate sign-up: the first time you log in, Tiledash makes your account from your Homey account.
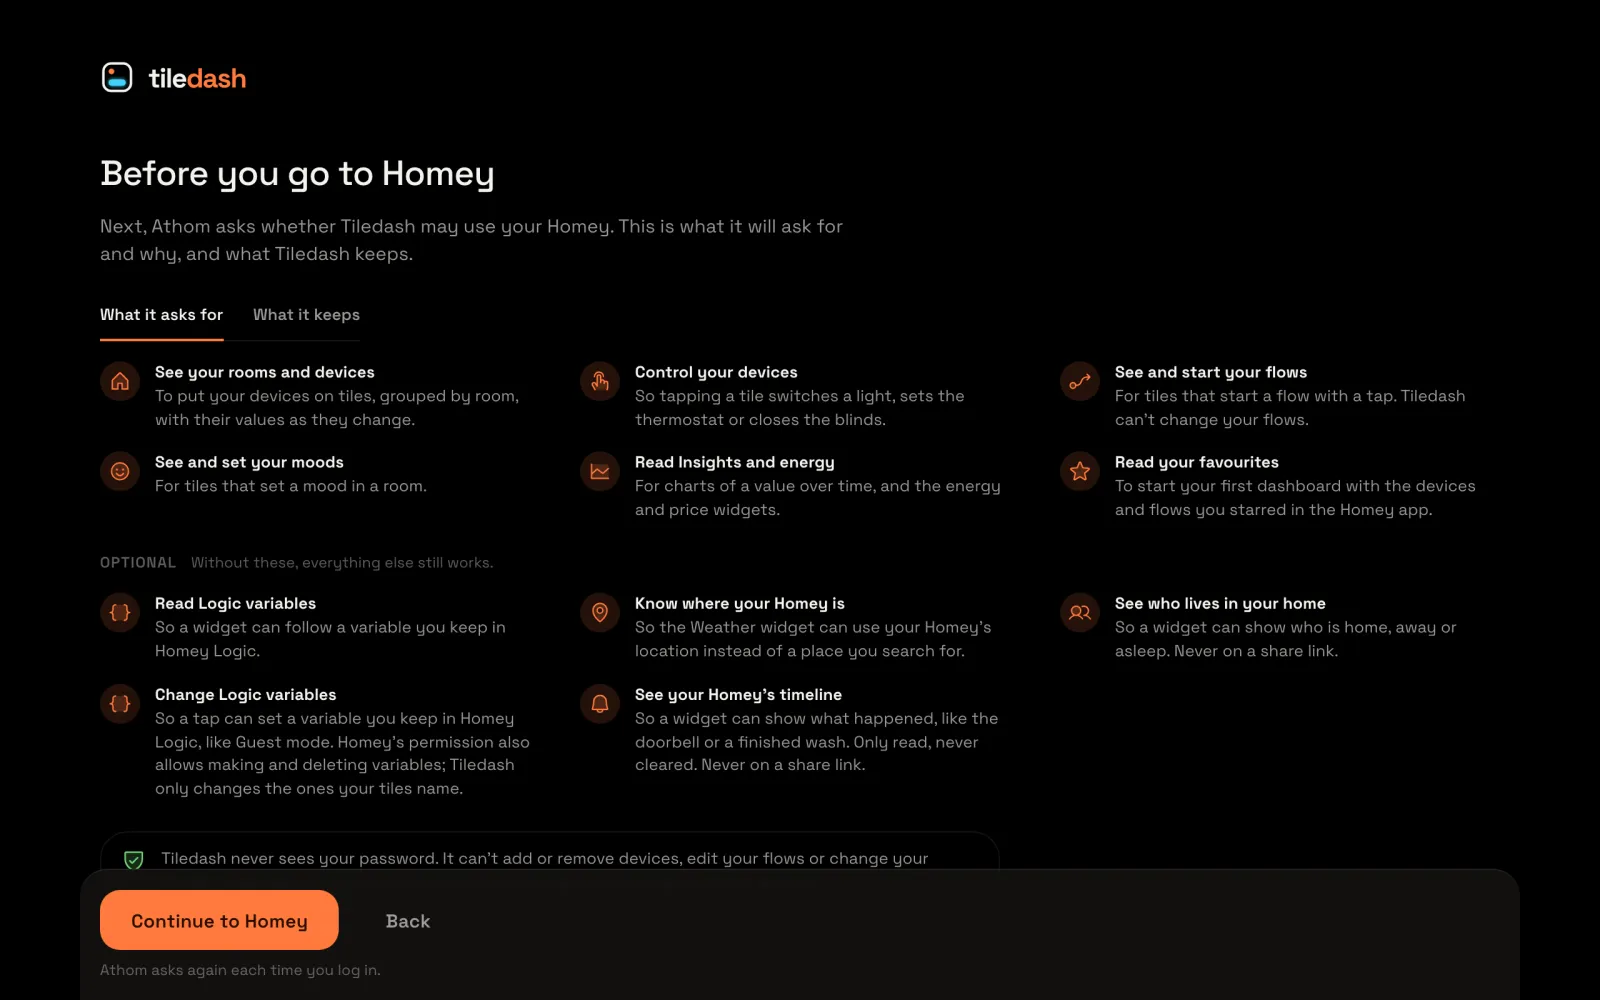
The first time on a browser, Tiledash first says what it will ask for.
See what Tiledash asks for
Before you go to Homey lists what Athom will ask you to allow, and why. What it keeps says what Tiledash stores. When you’ve read it, choose Continue to Homey.
Log in at Athom
Homey’s own page opens. Log in with your Homey account, as in the Homey app, and allow Tiledash. You’re back in Tiledash, which welcomes you by name and asks which Homey to connect: step 2 of 3, Choose your Homey.
Choose your Homey
Pick your Homey from the list (with one Homey, it’s picked already) and choose Connect.
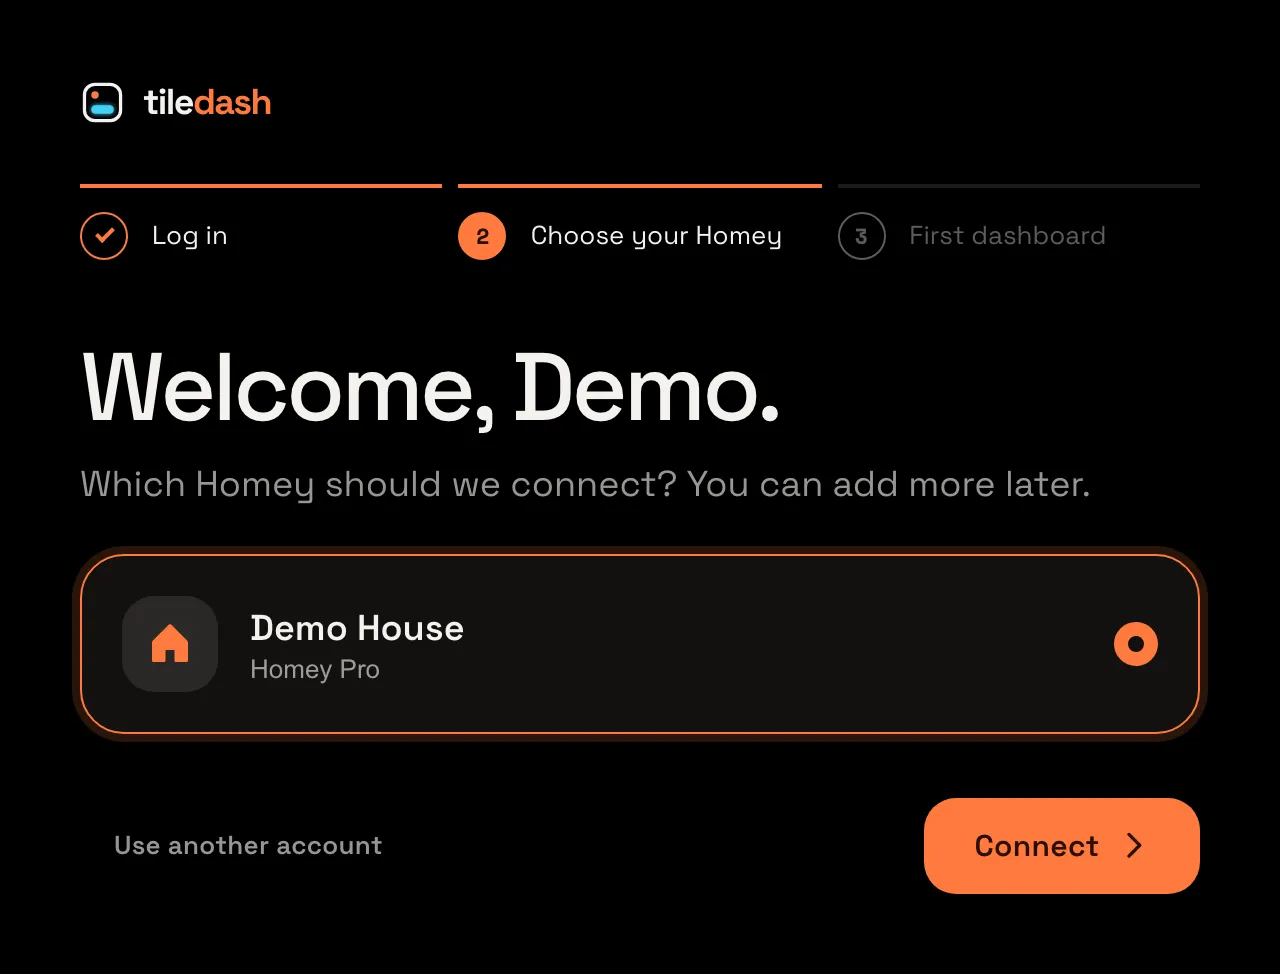
Your Homey is connected
Tiledash reads your rooms and devices, and Your first dashboard opens by itself, with suggestions made from your Homey and Home recommended.
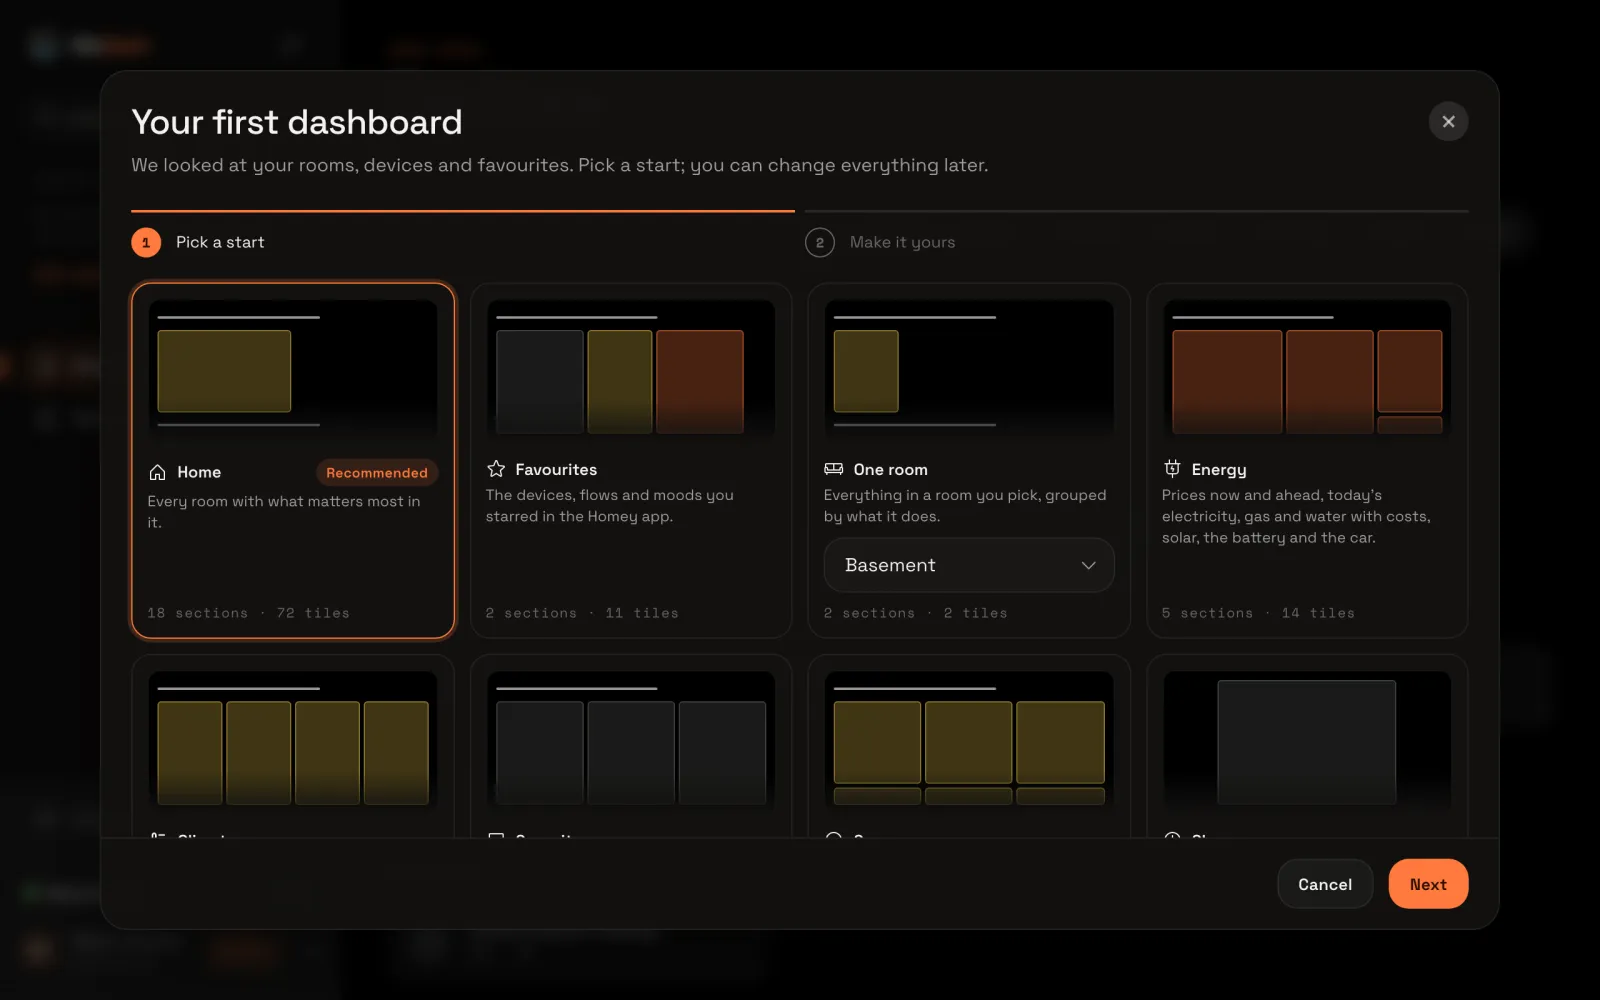
Next: make your first dashboard. What Tiledash can reach and keeps, and adding a second Homey, are in Your account and privacy.


